65 Walk-In Shower Ideas for Small Bathrooms
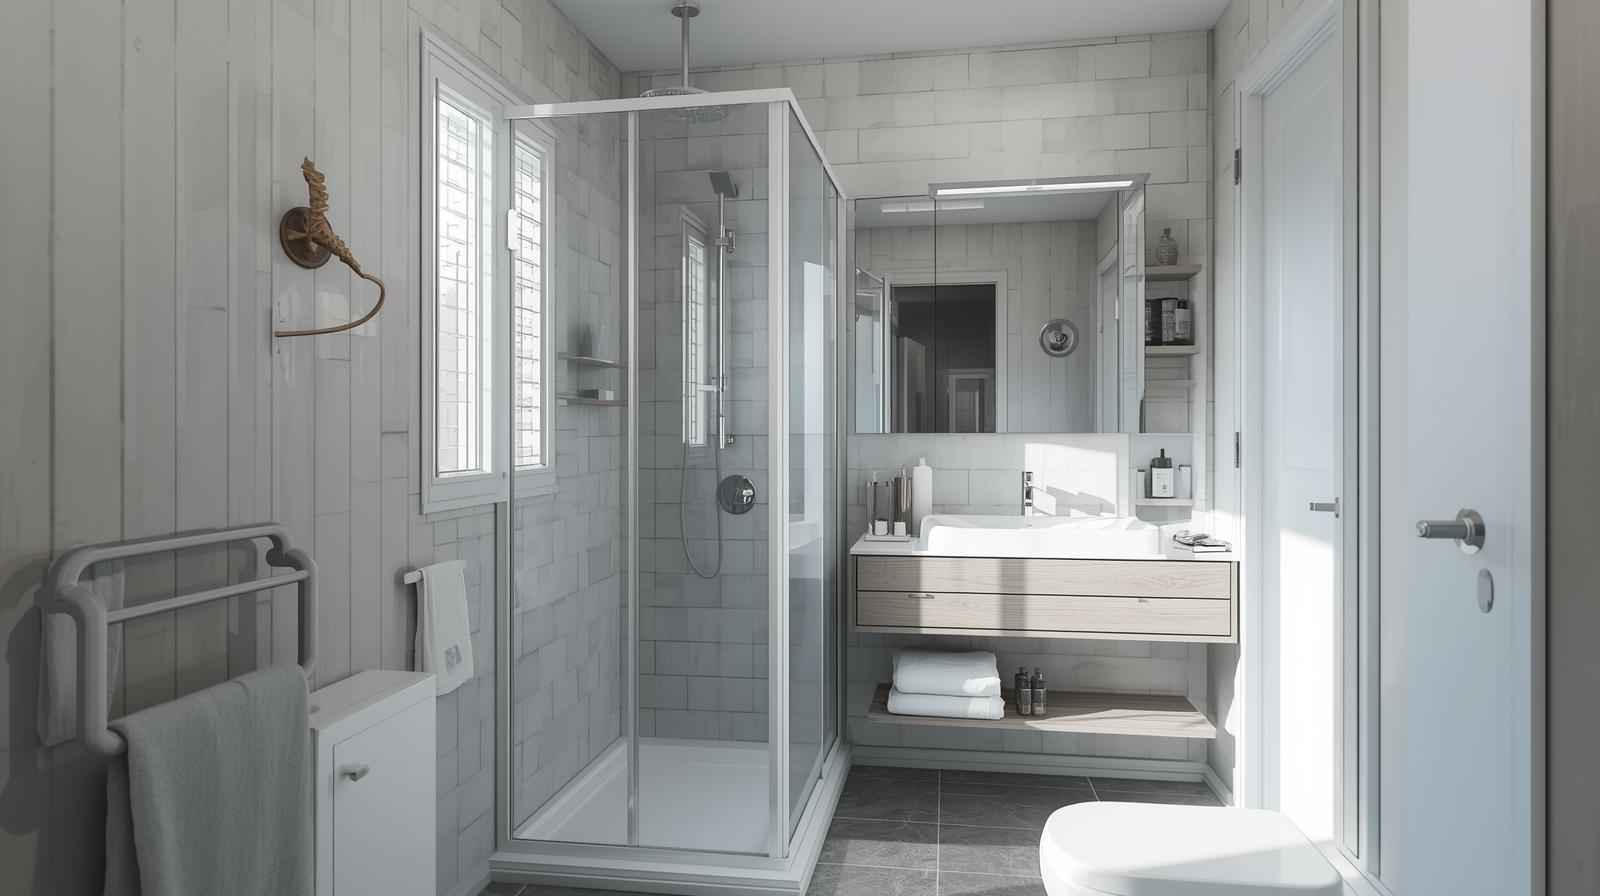
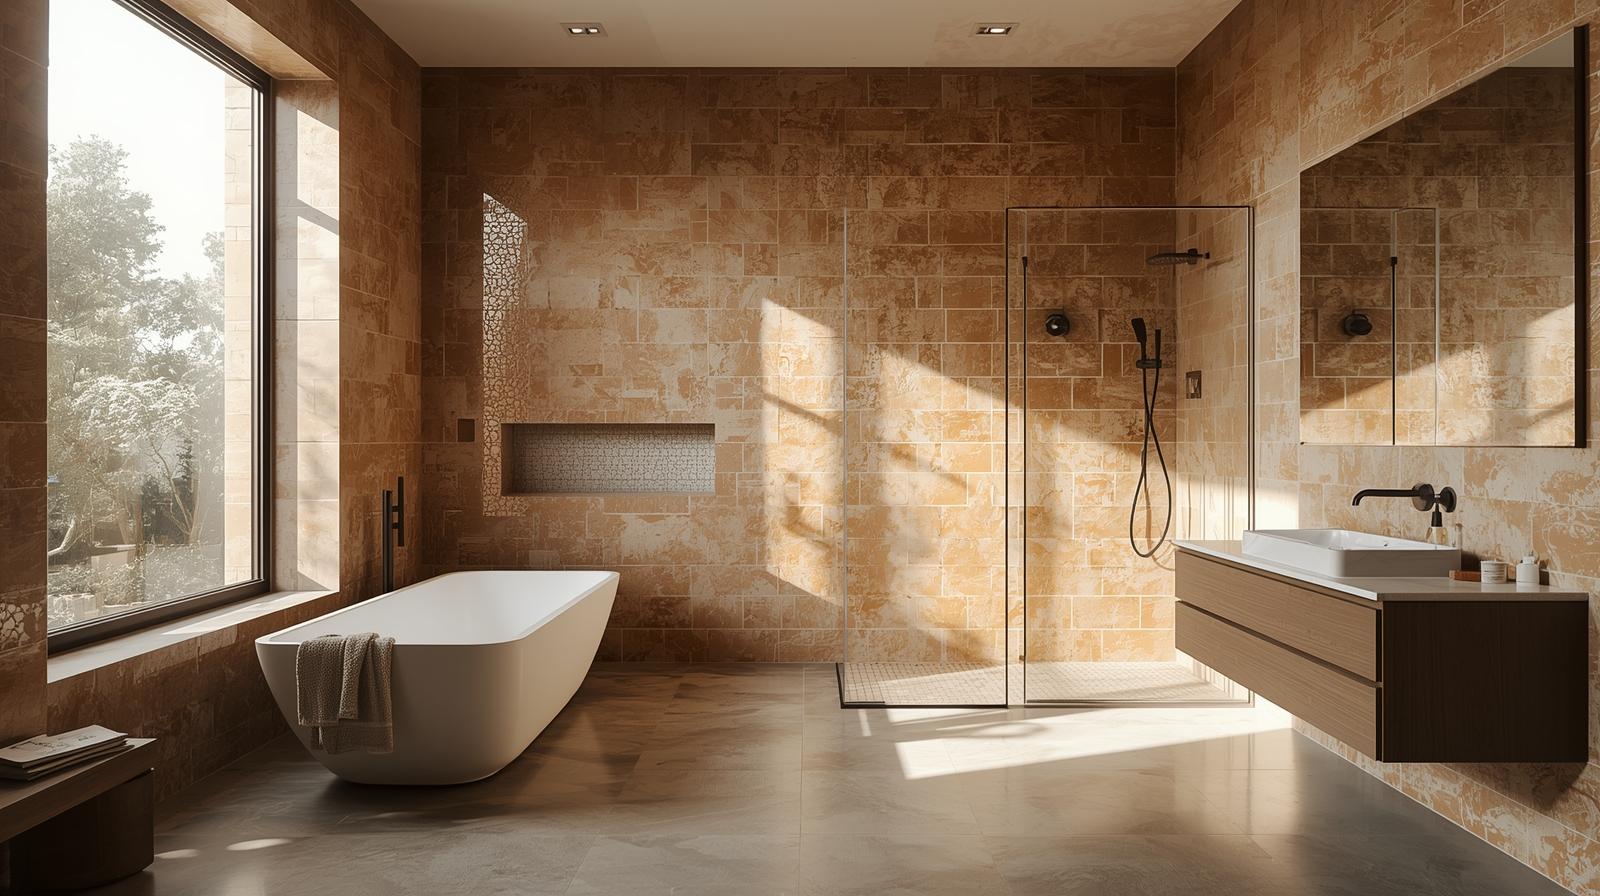
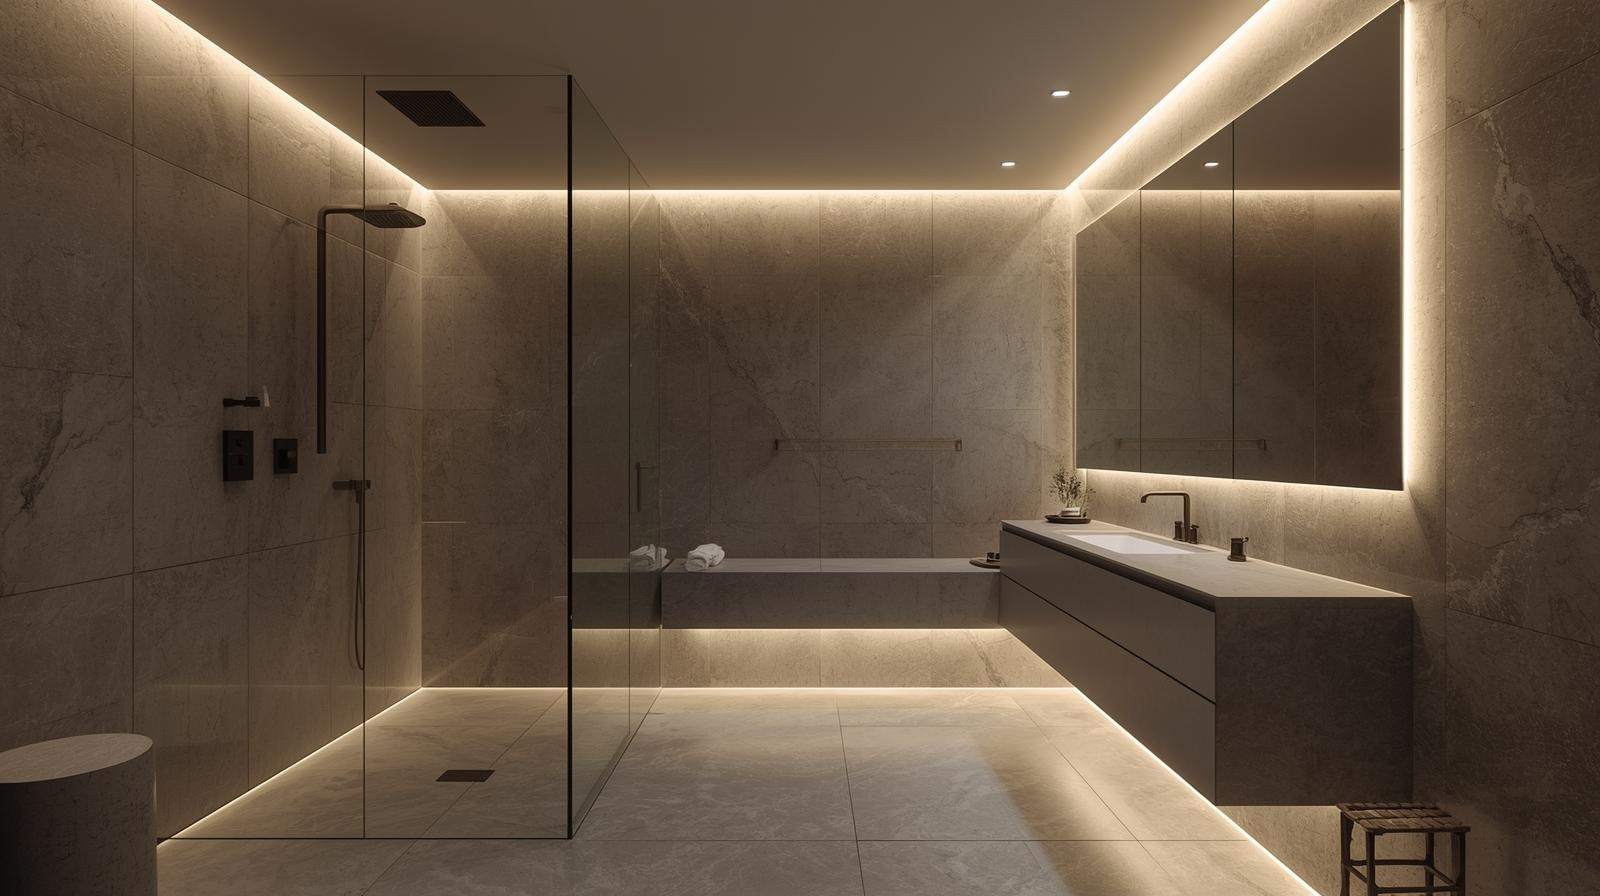
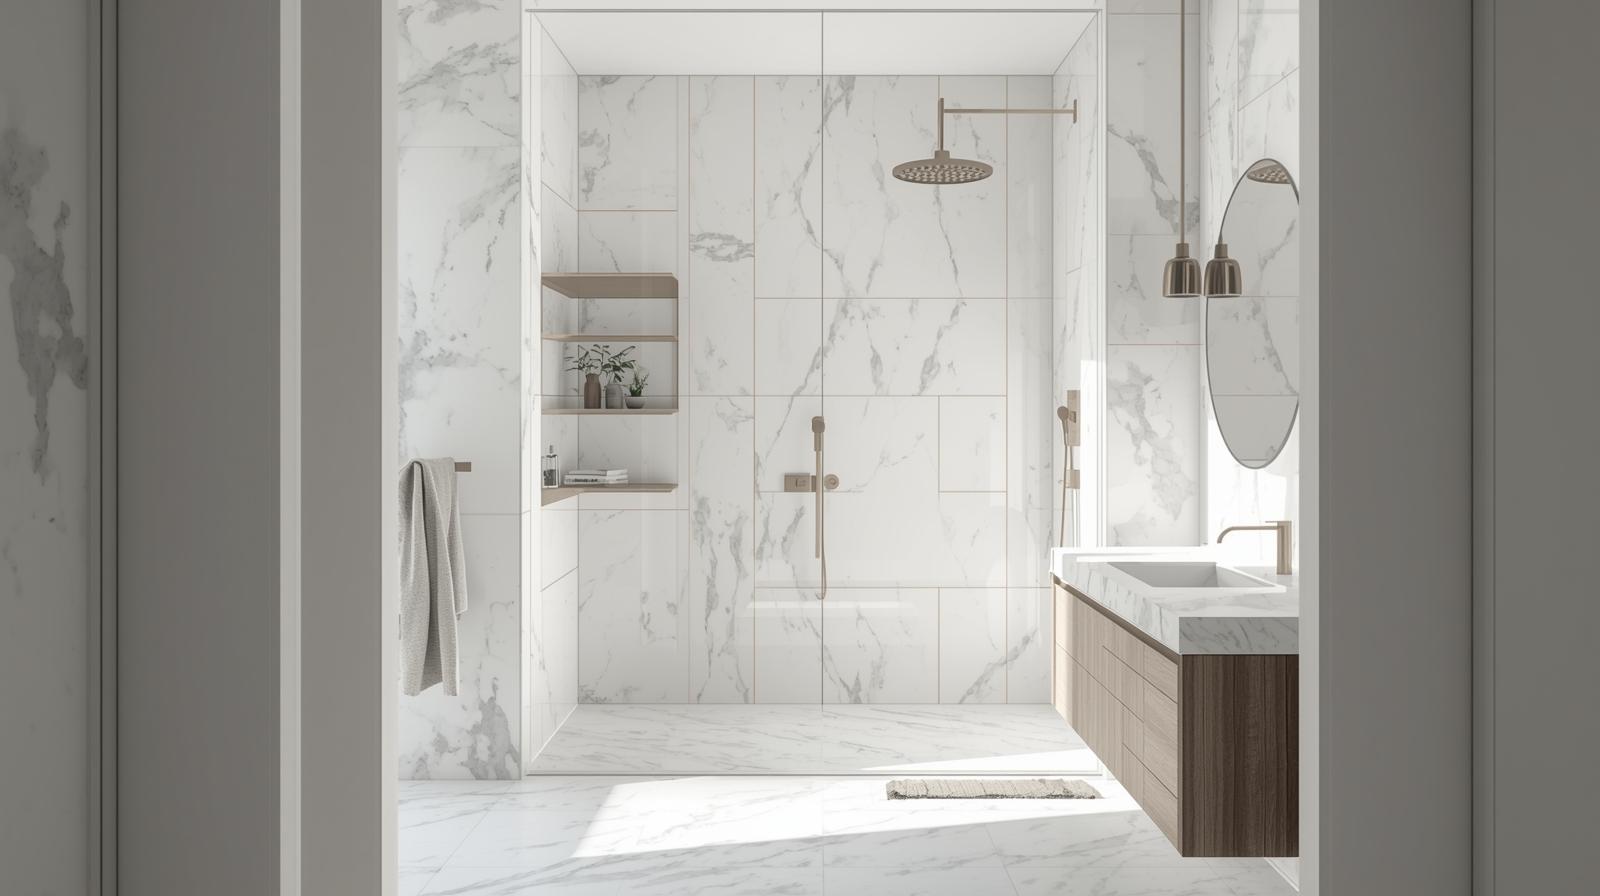
As a designer who has remodeled countless compact city apartments and cozy suburban homes, I’ve heard it a hundred times: “My bathroom is just too small for a walk-in shower.” It’s time to bust that myth. A well-designed walk-in shower doesn’t just fit into a small bathroom; it can actually make the entire space feel larger, brighter, and infinitely more luxurious. By removing the visual barrier of a tub and the clutter of a shower curtain, you create a seamless, open-concept feel. Forget what you think you know about small bathrooms. I’m here to show you 65 brilliant, space-savvy ideas that prove even the tiniest bathroom can accommodate the walk-in shower of your dreams.
Small Shower Statistics:
• Minimum Size: 36″ x 36″ (ADA compliant: 30″ x 60″ for transfer showers)
• Average Cost: $3,000 – $8,000 for a complete small shower remodel
• ROI: 60-70% return on investment for bathroom remodels
• Space Saving: Walk-in showers use 25-30% less floor space than tub-shower combos
• Most Common Mistake: Insufficient waterproofing leading to leaks and mold
Part 1: Planning Your Small Walk-In Shower
Critical Measurements and Space Planning
The Geometry of Small Showers
Understanding the mathematical constraints of your space is essential for successful design:
Minimum Clearance: 30″ width minimum for comfortable standing (36″ preferred)
Door Swing: Hinged doors require 24″ clearance, sliding doors require none
Fixture Placement: Shower head should be 76-80″ from floor, controls at 48″
Slope Calculations: Floor must slope 1/4″ per foot toward drain (2% grade)
Niche Placement: Center at 48-54″ from floor, minimum 12″ x 4″ x 3.5″ deep
ADA Compliance for Small Spaces
Accessibility Standards for Compact Showers
Even small showers can be accessible with proper planning:
- Transfer Showers: 36″ x 36″ minimum with fold-down seat and grab bars
- Roll-in Showers: 30″ x 60″ minimum for wheelchair access
- Threshold Height: Maximum 1/2″ for curbless designs
- Seat Requirements: 17-19″ height, 3″ depth, 500 lb capacity
- Grab Bar Placement: 33-36″ above floor, 1.5″ clearance from wall
- Control Accessibility: Operable with closed fist, maximum 48″ height
Permitting and Code Requirements
Essential Code Compliance
Before starting any shower remodel, verify these critical requirements:
• Waterproofing: Continuous membrane extending 6″ above shower head (IRC P2708.1)
• Ventilation: 50 CFM exhaust fan for bathrooms under 100 sq ft (IRC M1507.3)
• Electrical: GFCI protection within 6′ of water source (NEC 210.8)
• Drain Sizing: Minimum 2″ diameter for shower drains (IPC 709.1)
• Structural: Floor joists must support 50 PSF live load + weight of materials
Part 2: Space-Saving Layouts & Clever Designs
1. The Corner Commitment
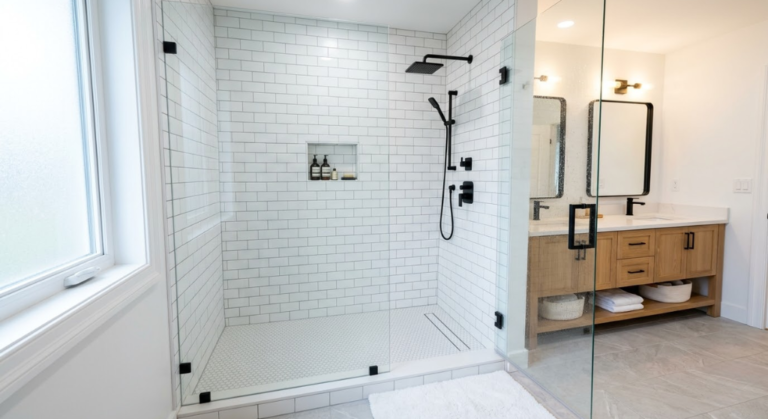
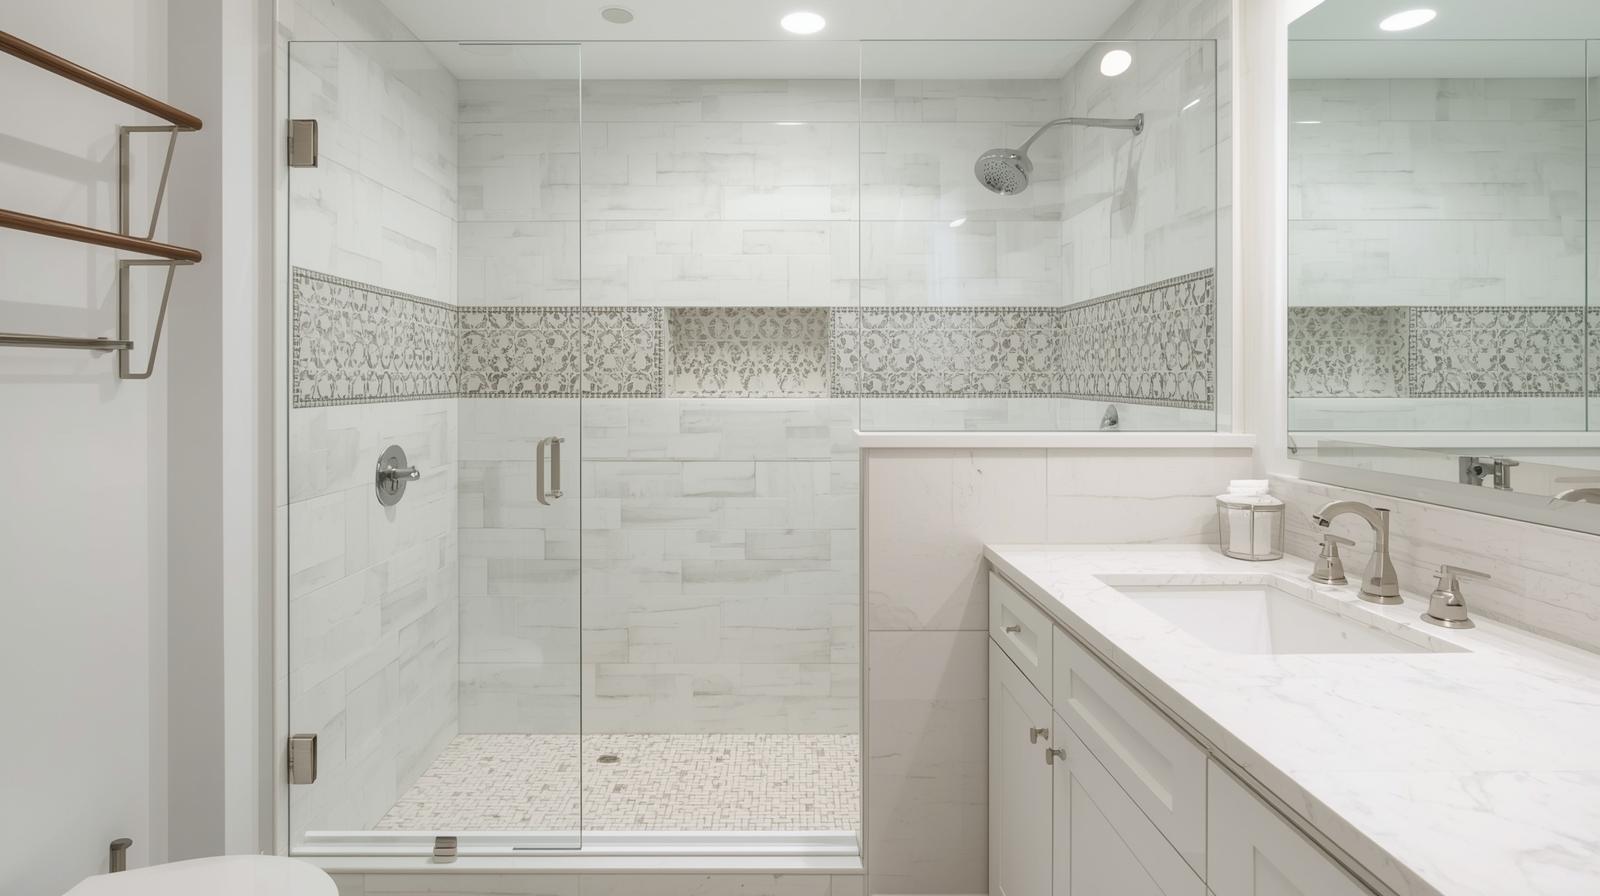
Tuck your shower into a corner to maximize floor space in the main bathroom area. This is the most efficient layout for square or L-shaped rooms. Ideal for 36″ x 36″ configurations. Corner placement preserves valuable wall space for vanities and storage.

2. Curbless Entry
Removing the shower curb creates an unbroken line of sight, making the floor look larger. It’s also a major accessibility win. Requires precise slope planning (1/4″ per foot minimum) and linear drain installation. Perfect for creating seamless transitions in small spaces.

3. The Linear Drain
A linear drain allows the entire shower floor to slope gently in one direction, enabling the use of large, continuous floor tiles for a spacious feel. Channel drains range from 32″ to 48″ lengths. Installation requires careful planning of floor structure and waterproofing.
4. The Pony Wall Partition
A half-wall provides splash protection and a sense of separation without blocking light or sightlines like a full wall would. Typically 42-48″ tall with glass above. Can incorporate recessed storage or shower controls. Excellent for defining shower space in open layouts.
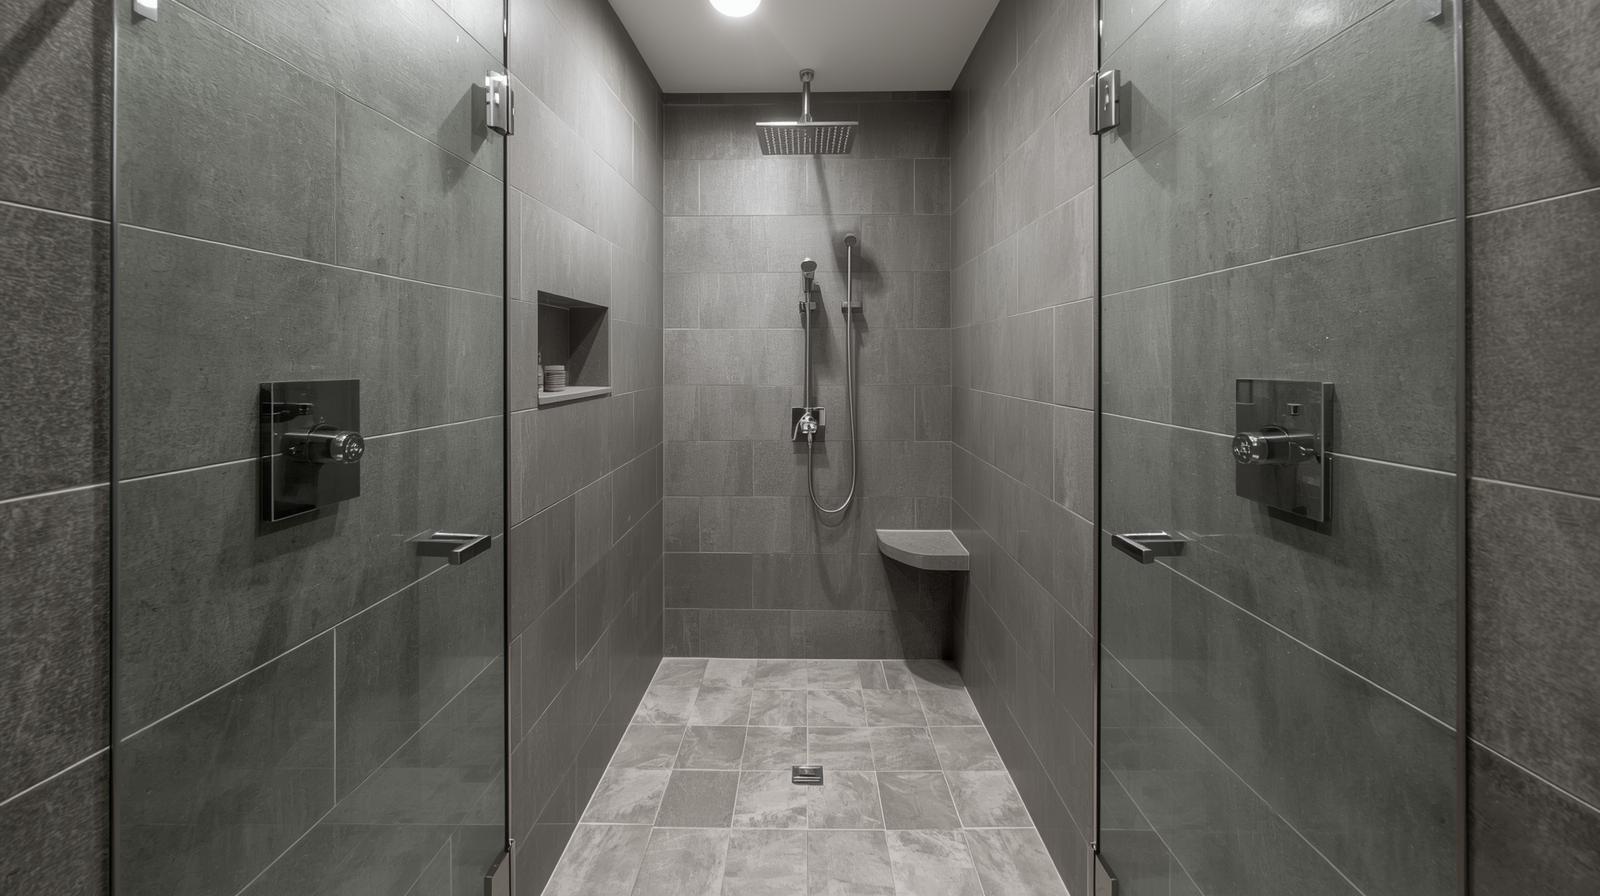
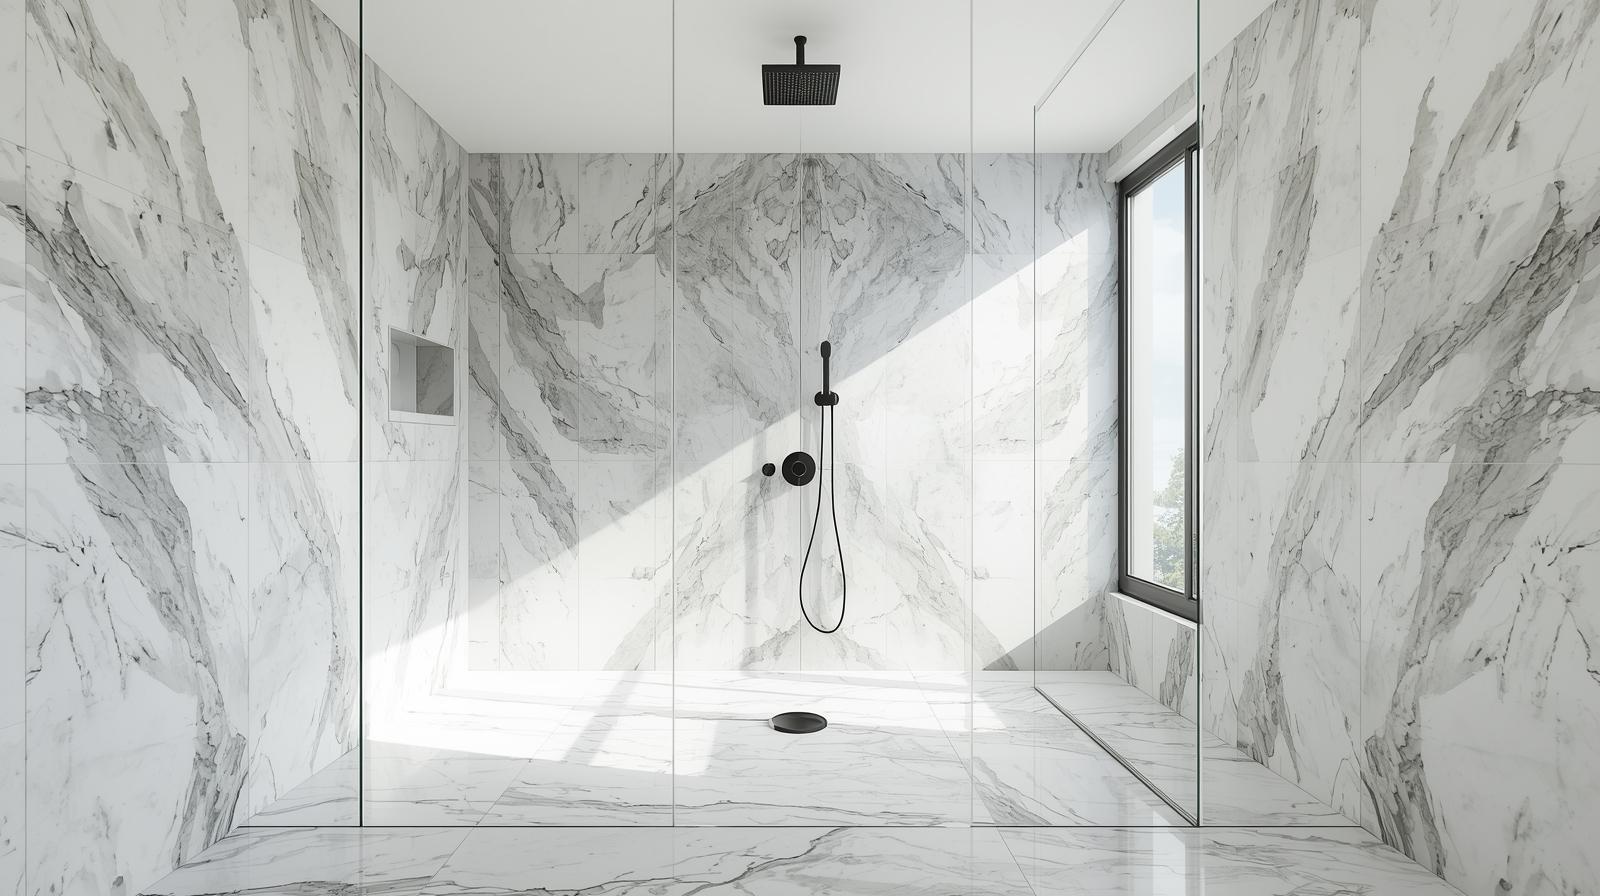
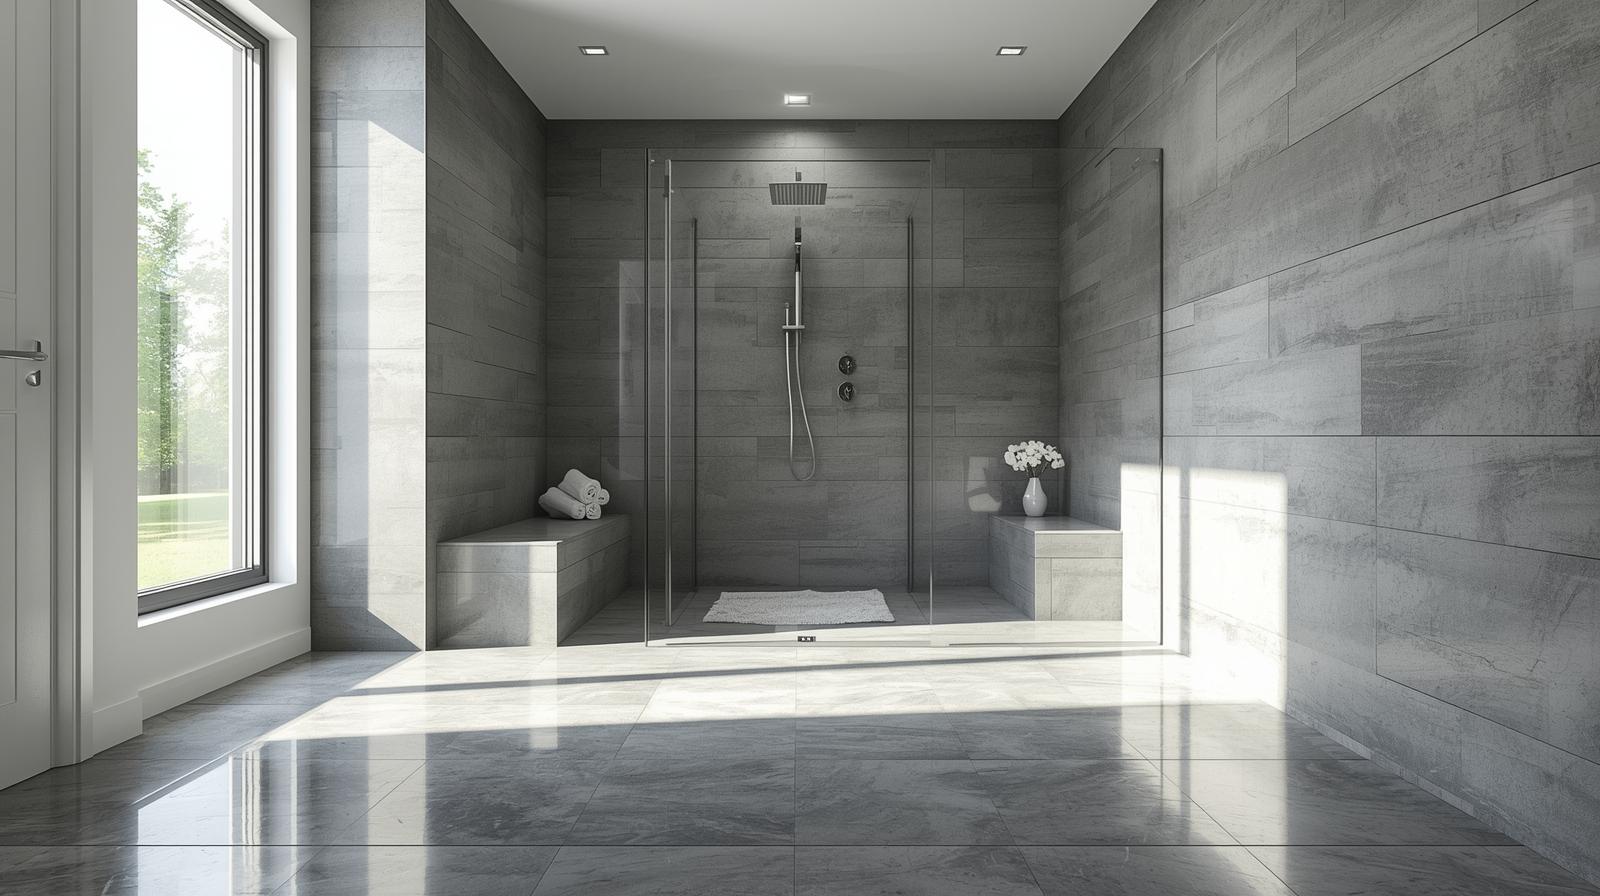
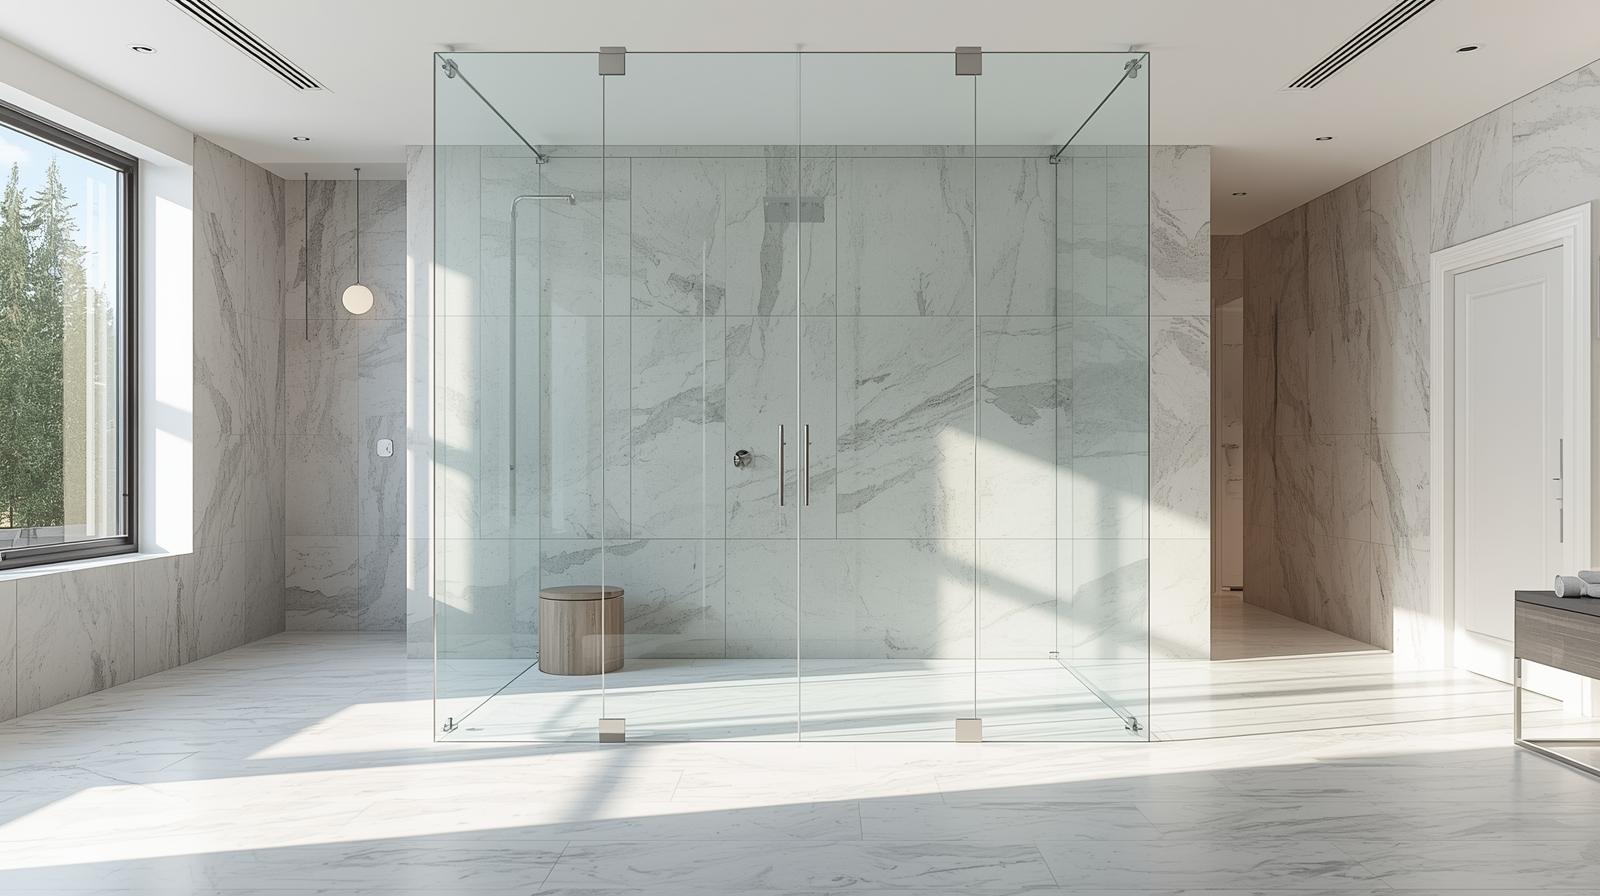
5. The Full Wet Room
For the ultimate space-saver, waterproof the entire bathroom and eliminate the shower enclosure altogether. It’s a bold, minimalist look. Requires complete waterproofing of walls and floor with membrane system. Ideal for bathrooms under 50 sq ft where every inch counts.
6. The Narrow Alcove
Transform a former closet or awkward nook into a shower stall. What it lacks in width, it can make up for in depth and style. Minimum width of 30″ workable with careful planning. Use sliding or pocket doors to maximize usable space.
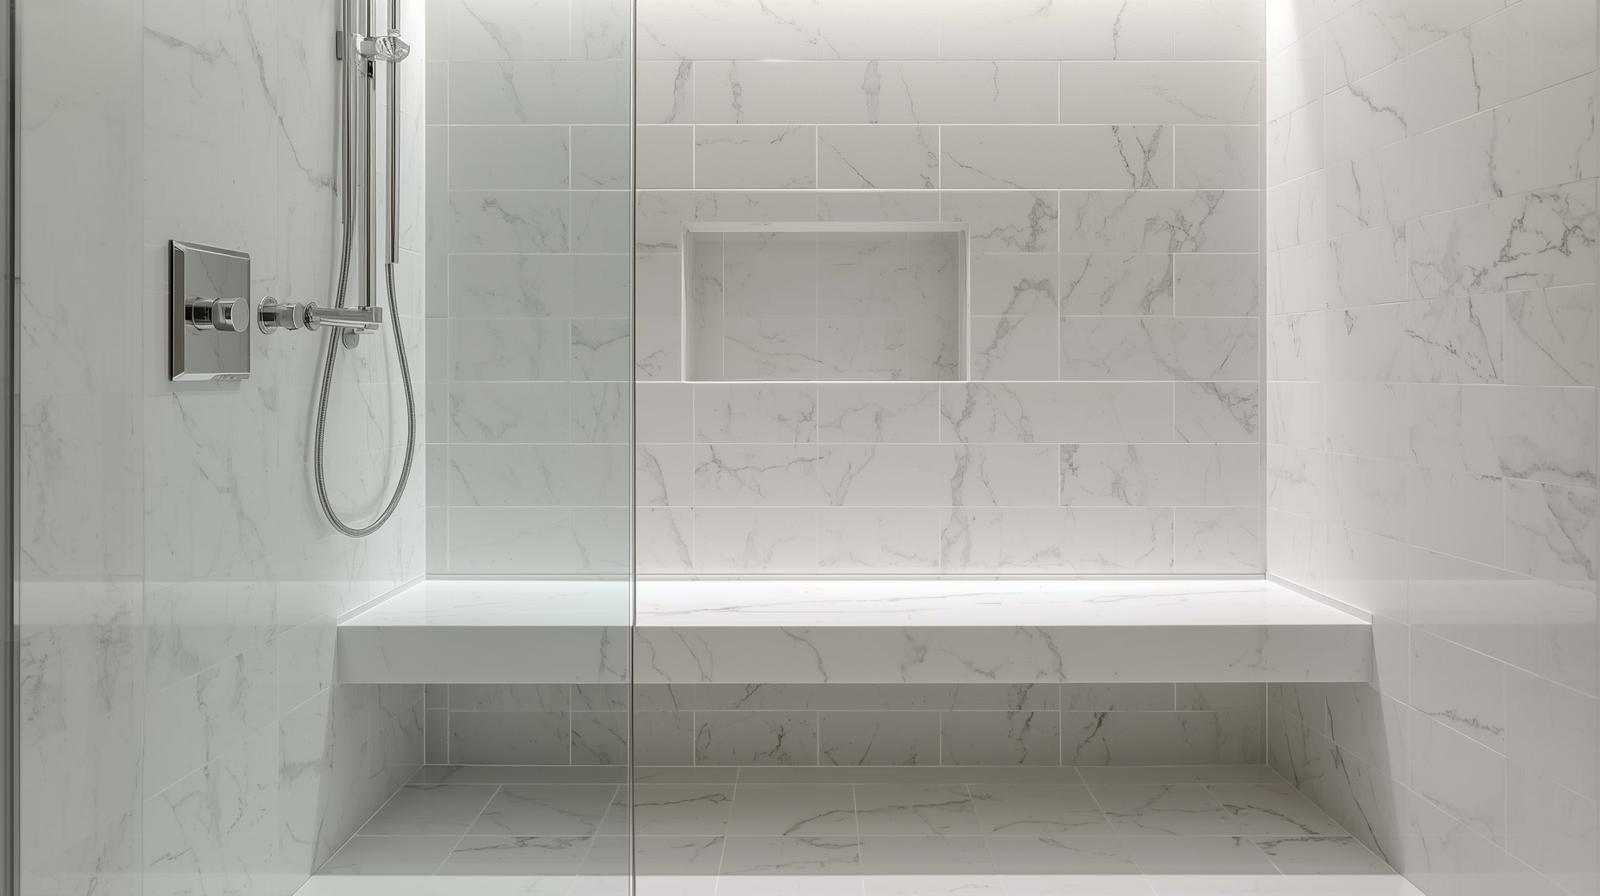
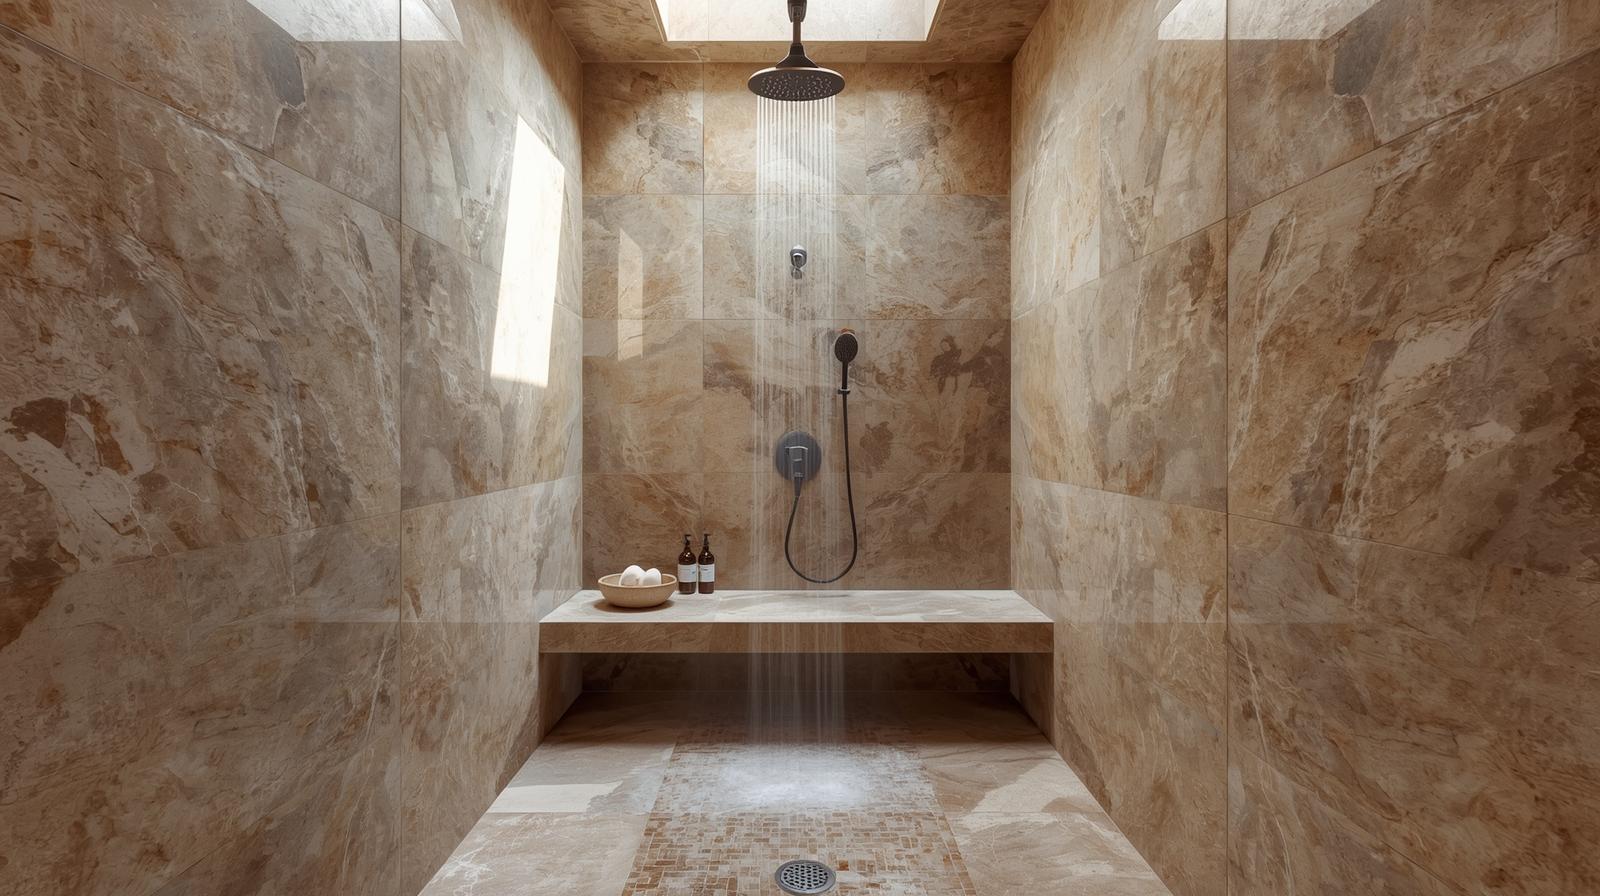
7. The Floating Bench
A wall-mounted floating bench provides seating or storage without the visual bulk of a built-in bench, keeping the floor clear. Requires structural support for 300+ lb load. Ideal for steam showers or accessible designs. Keep depth to 12-15″ to preserve standing room.
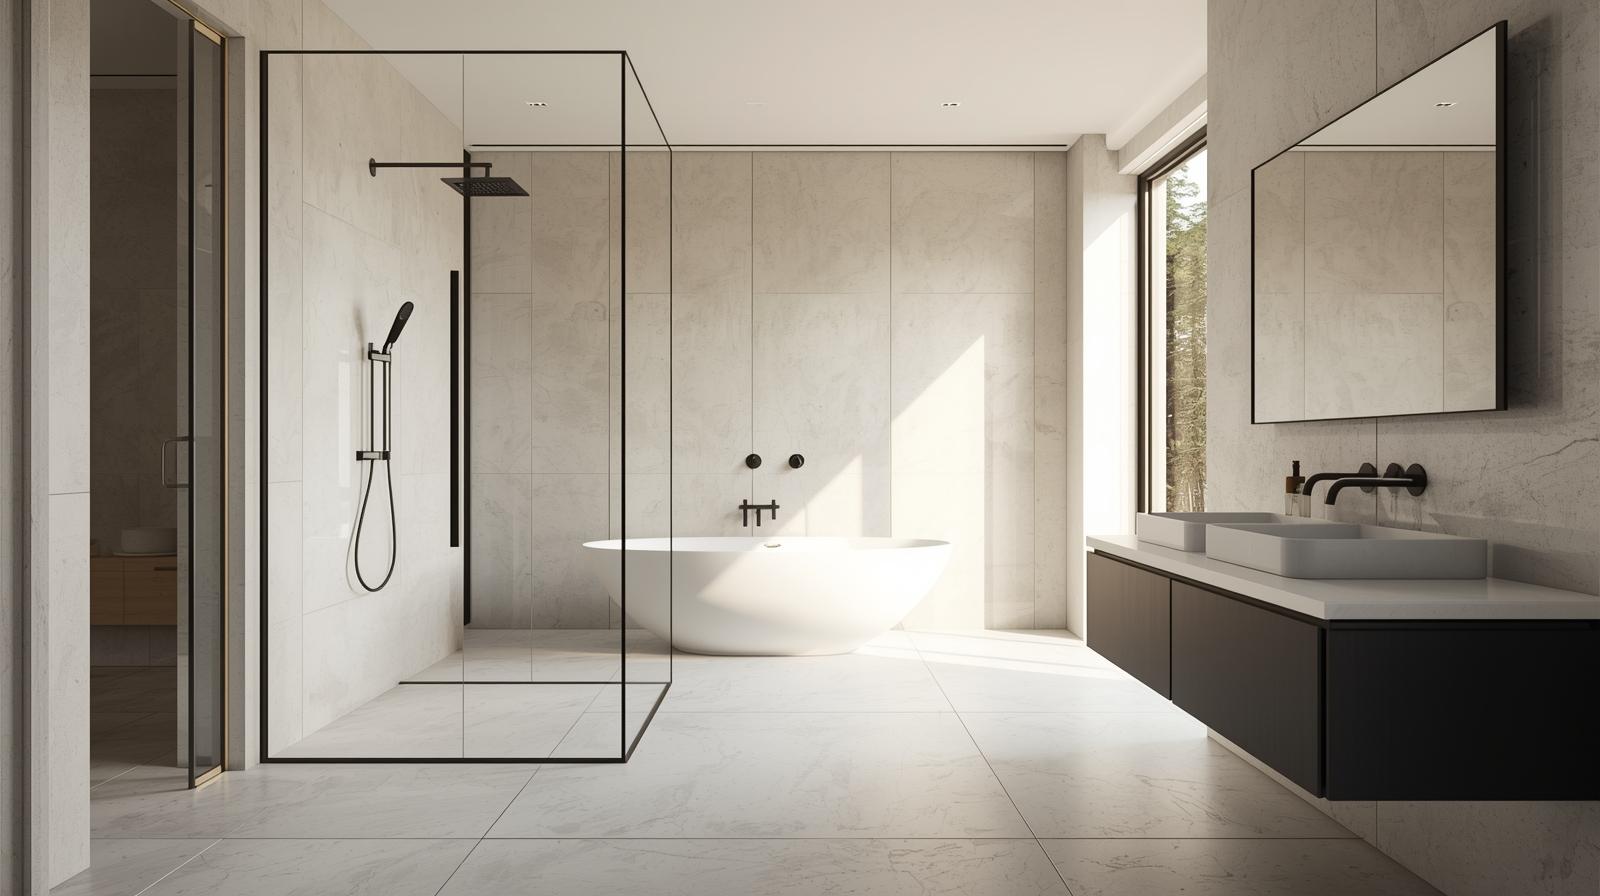
8. Doorless Wonder
A carefully designed shower with a fixed glass panel can contain water effectively without needing a door, creating the most open feel possible. Requires precise placement of shower head (away from opening) and proper floor slope. Saves 6-8″ of door swing space.
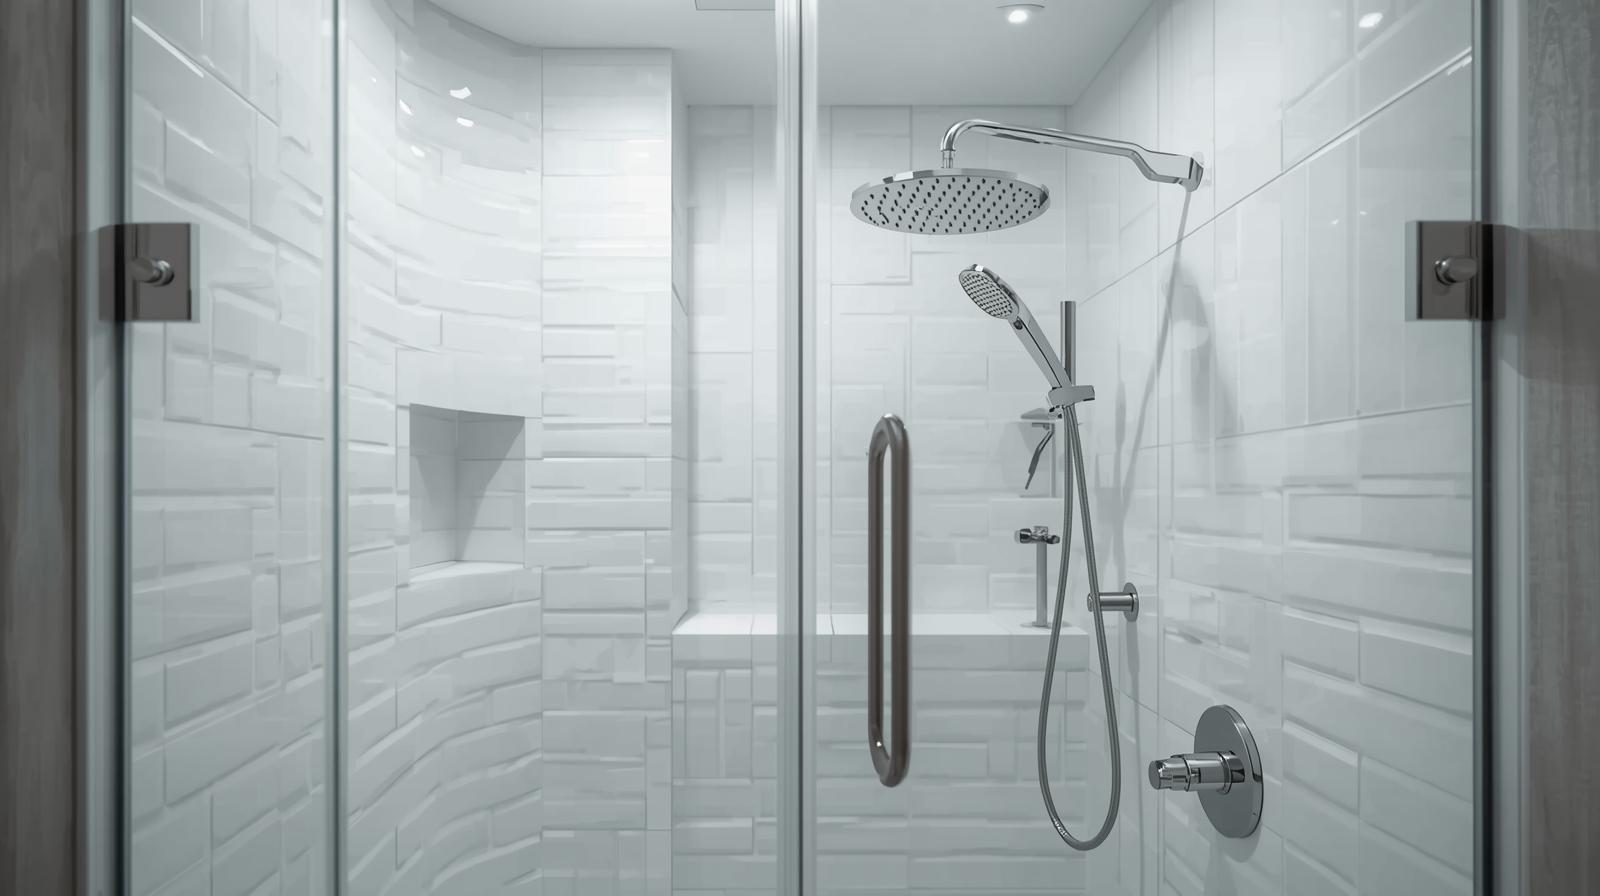
9. Rounded Corner Shower
A curved glass enclosure softens the look and shaves off sharp corners, which can improve traffic flow in a tight space. Custom curved glass adds 15-25% to enclosure cost but provides significant safety benefits in high-traffic areas.
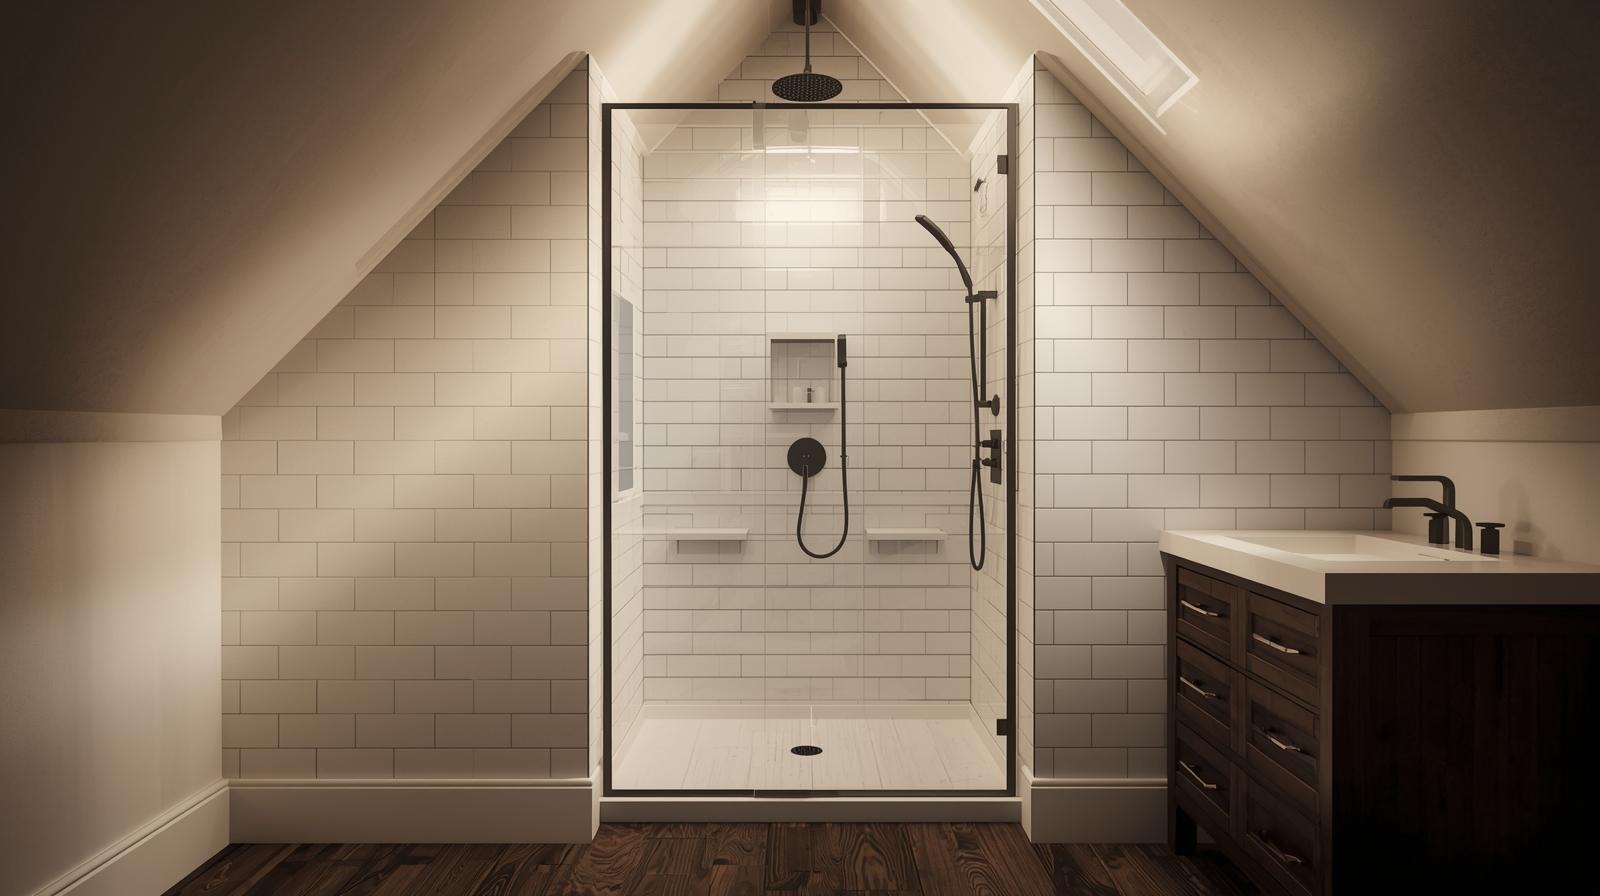
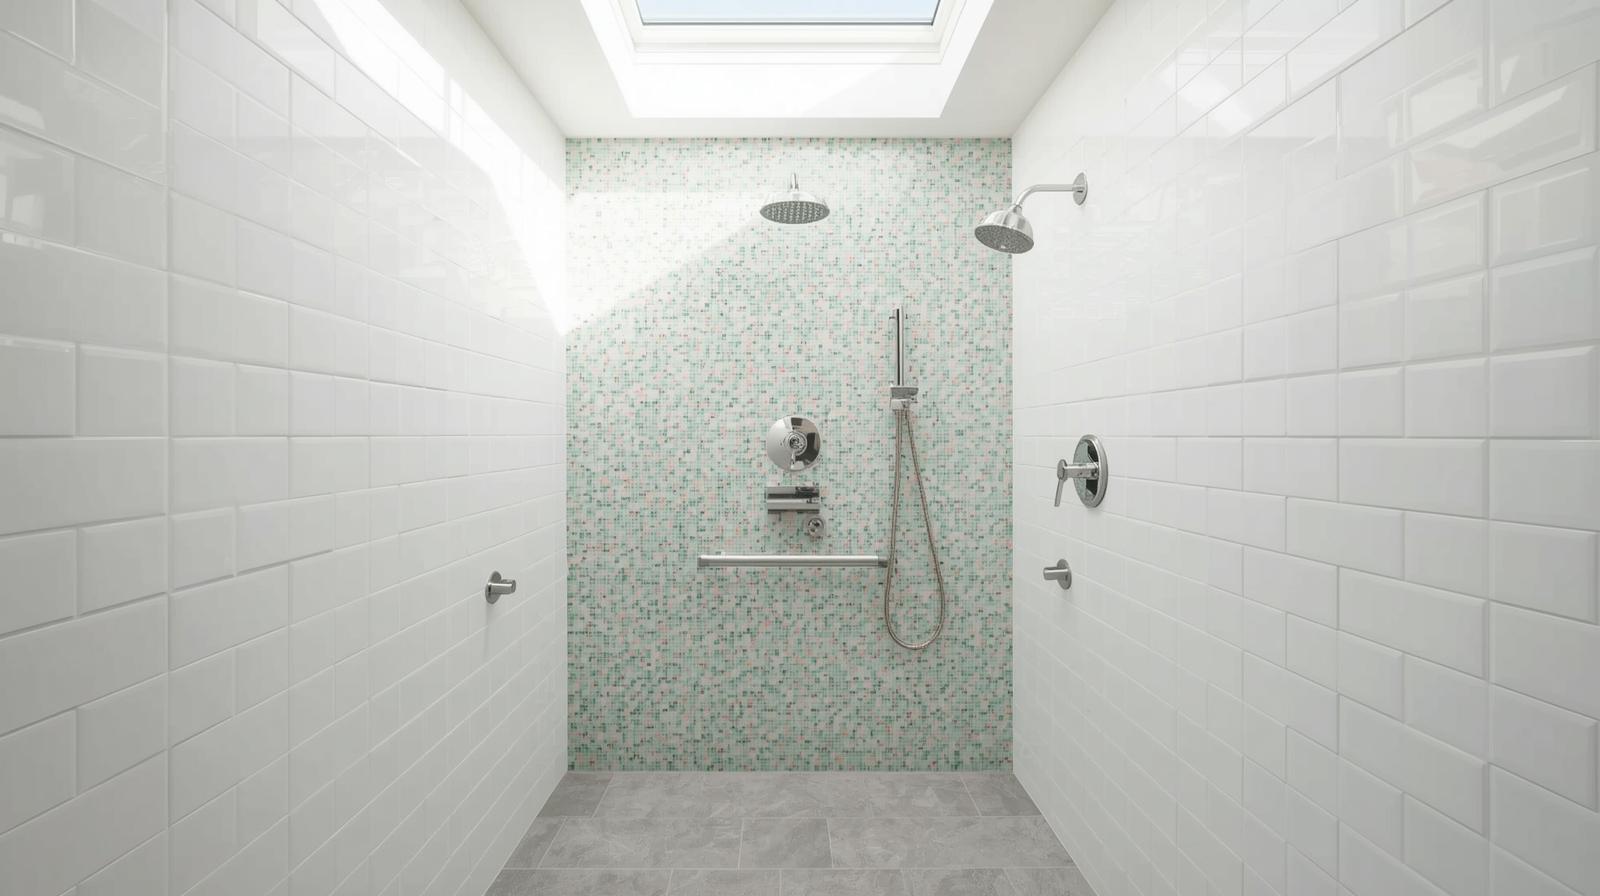
10. Under-the-Eaves Shower
Utilize the unique geometry of an attic or room with a sloped ceiling. Place the shower head on the tall wall and let the space taper. Minimum 80″ height required at shower head location. Consider skylight above for natural light enhancement.
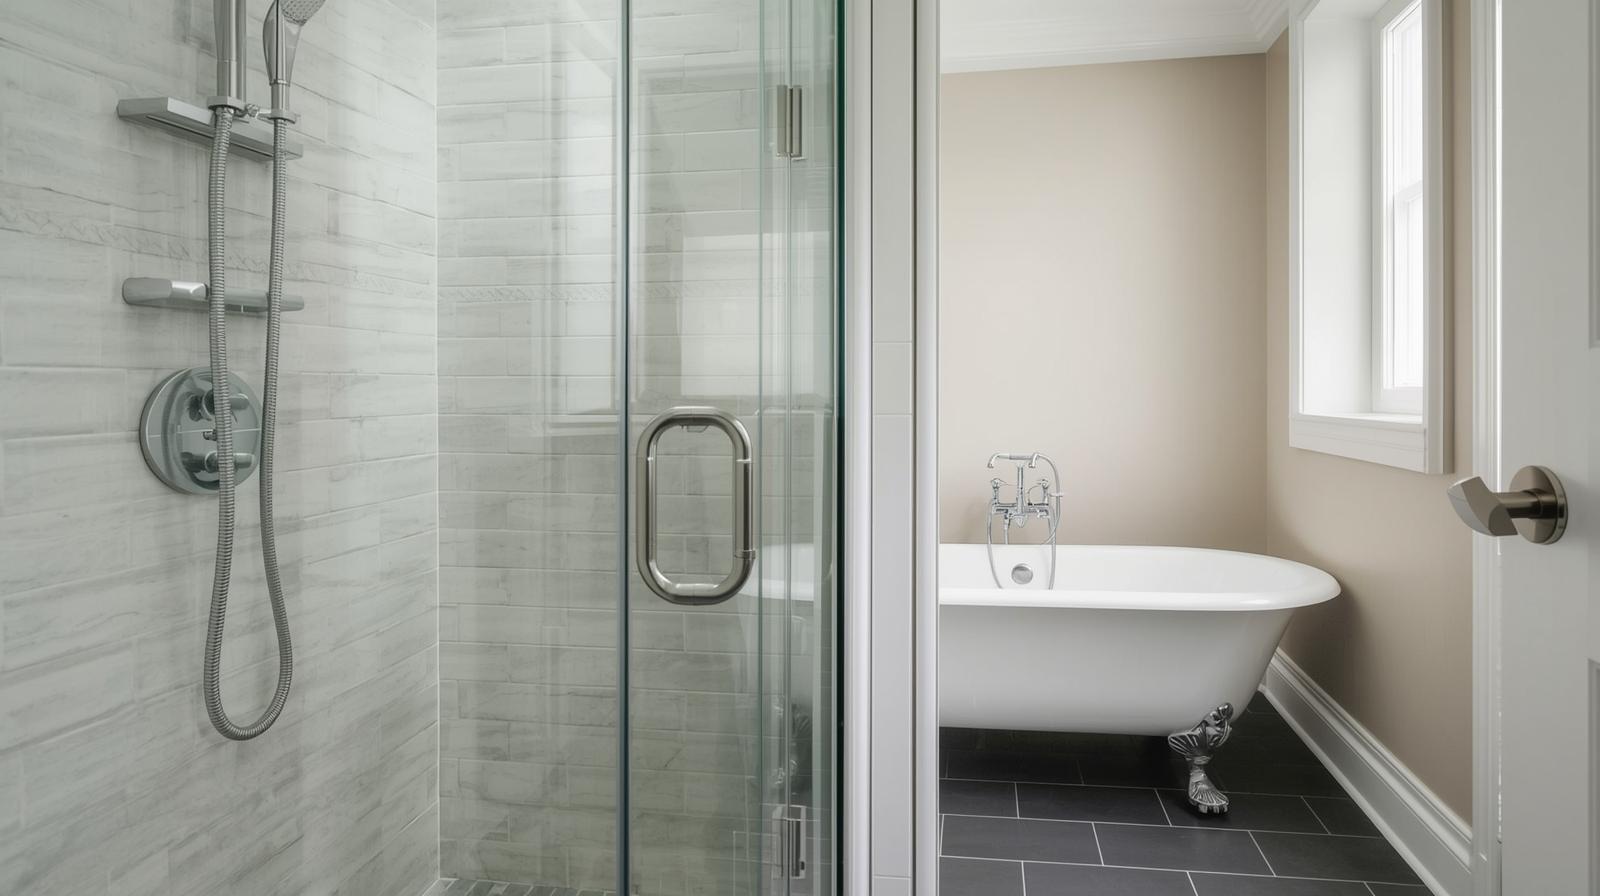
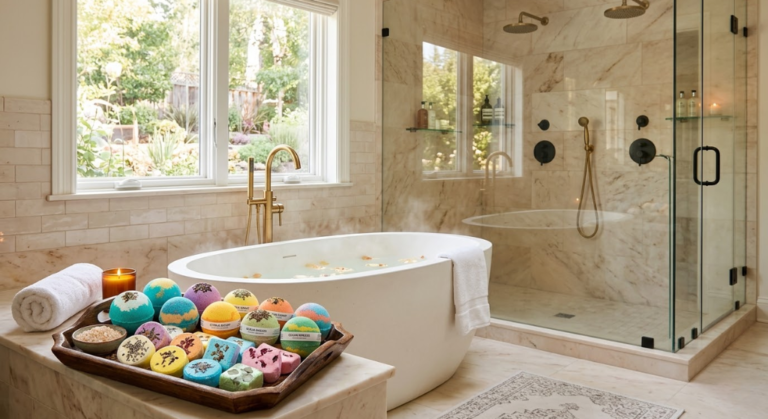
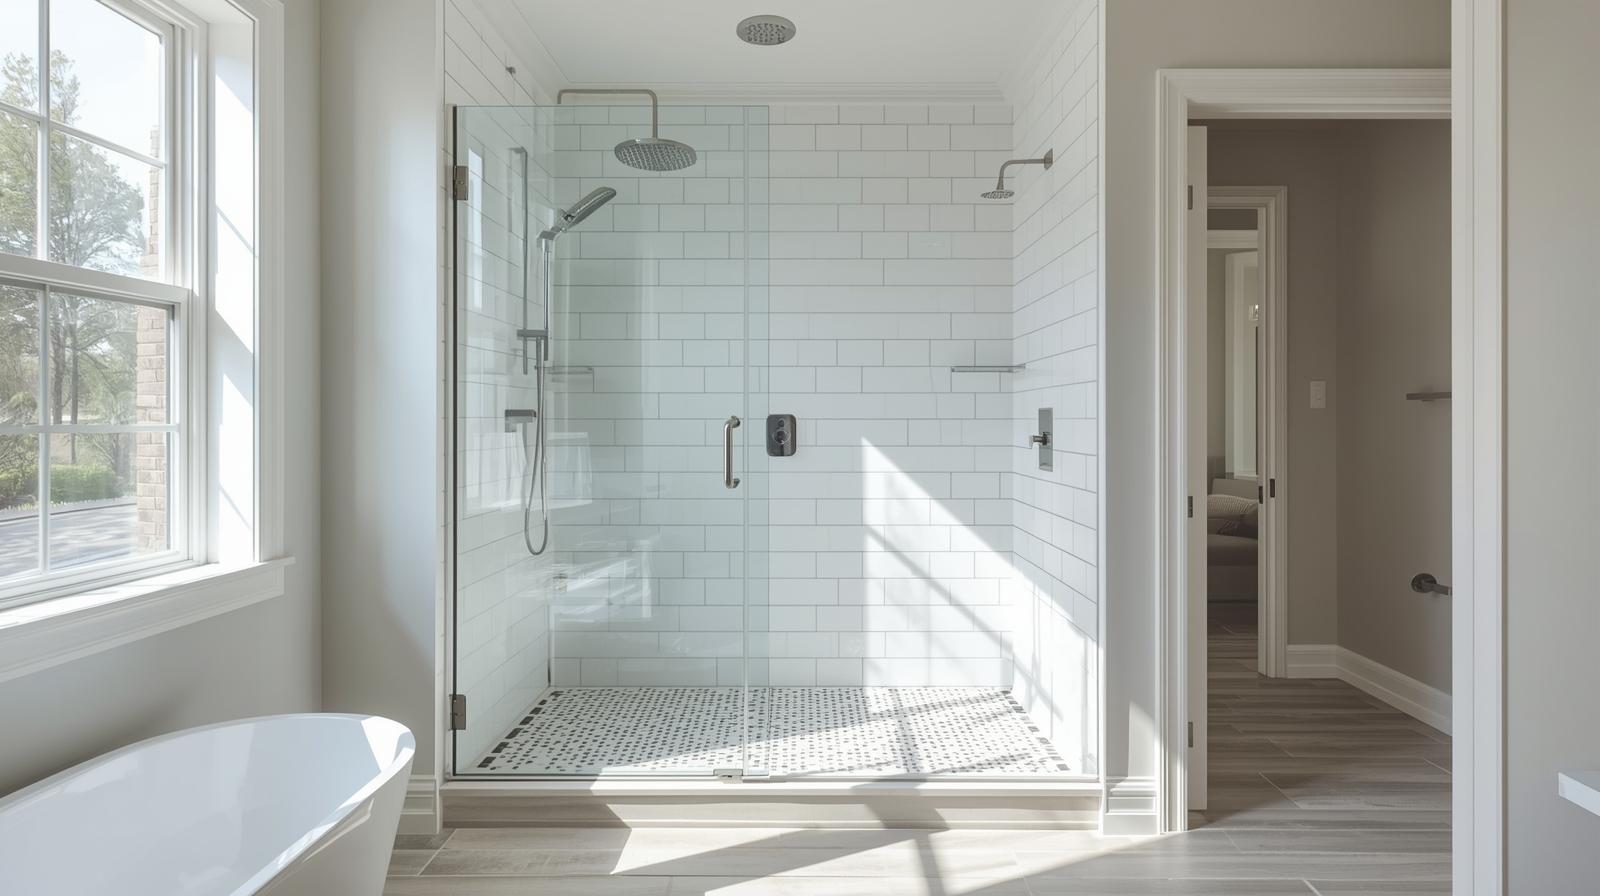
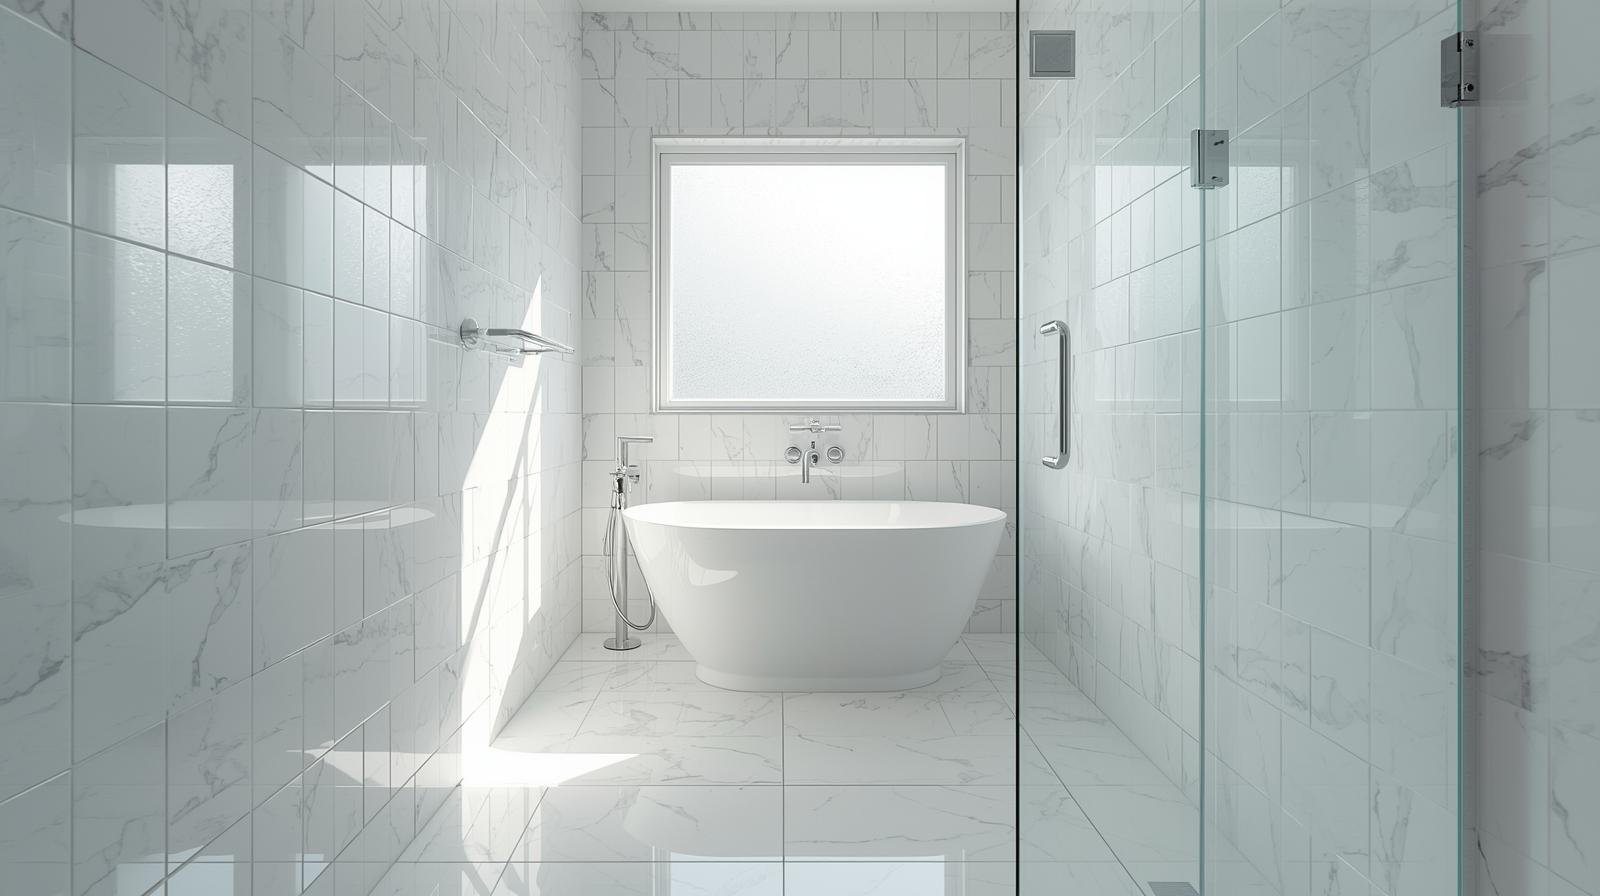
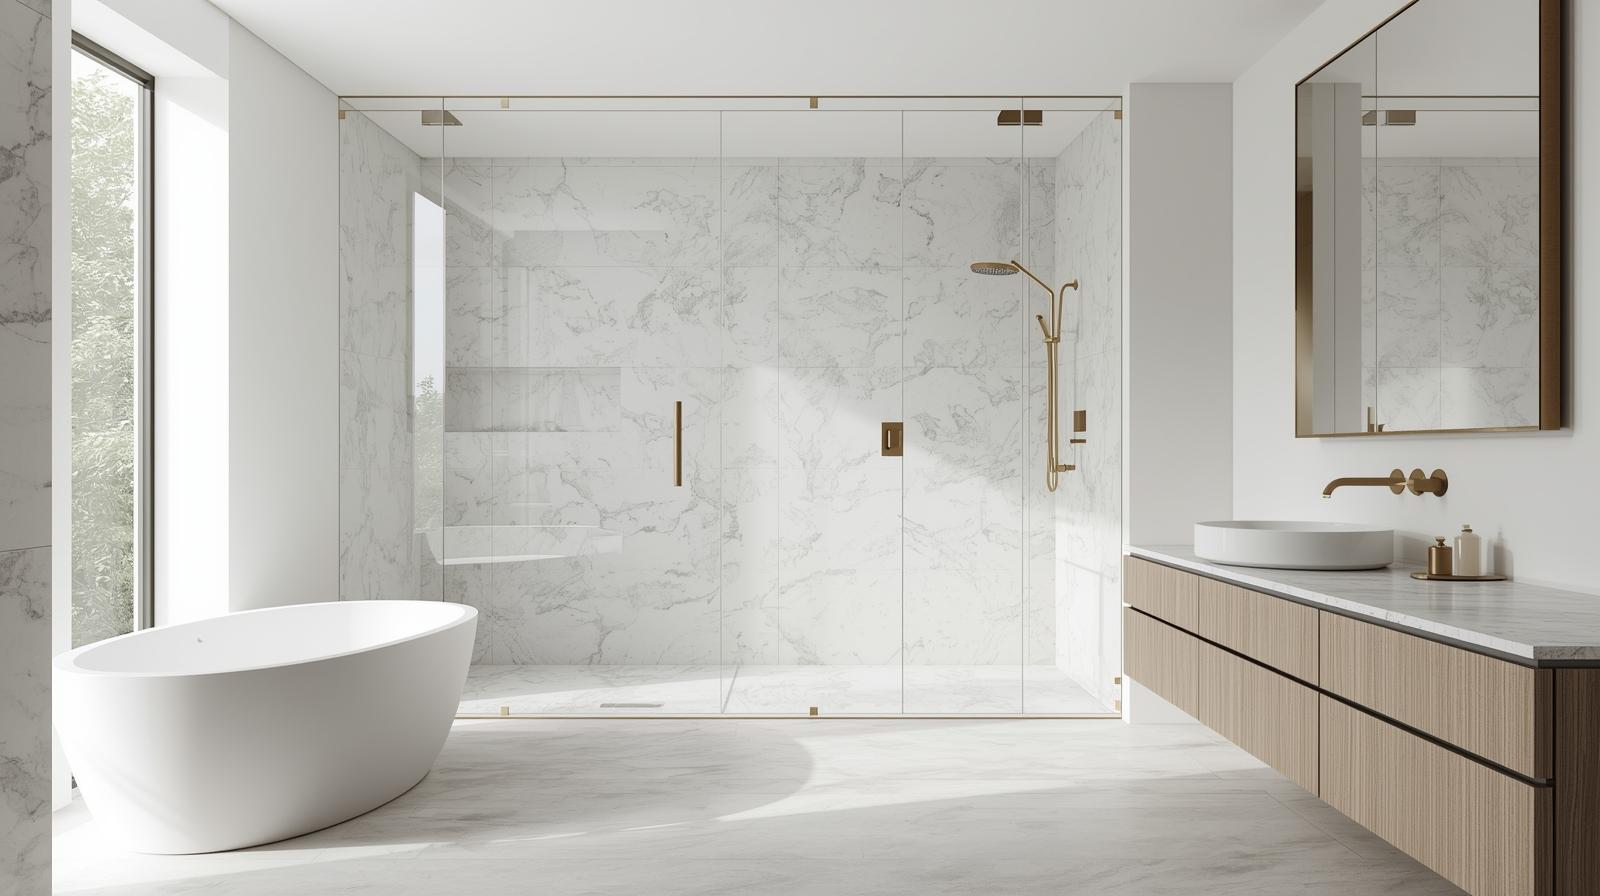
11. Tub-Adjacent Layout
Place a small walk-in shower next to a freestanding tub. A single glass panel can often serve as a splash guard for both. Creates luxurious spa-like feel in minimal space. Shared drain plumbing can reduce installation costs by 15-20%.
12. The 36×36 Standard
A 36″ by 36″ shower is a comfortable minimum size. Don’t be afraid to go with a standard square footprint; you can make it feel custom with tile and fixtures. Meets most building codes and provides adequate room for comfortable use.
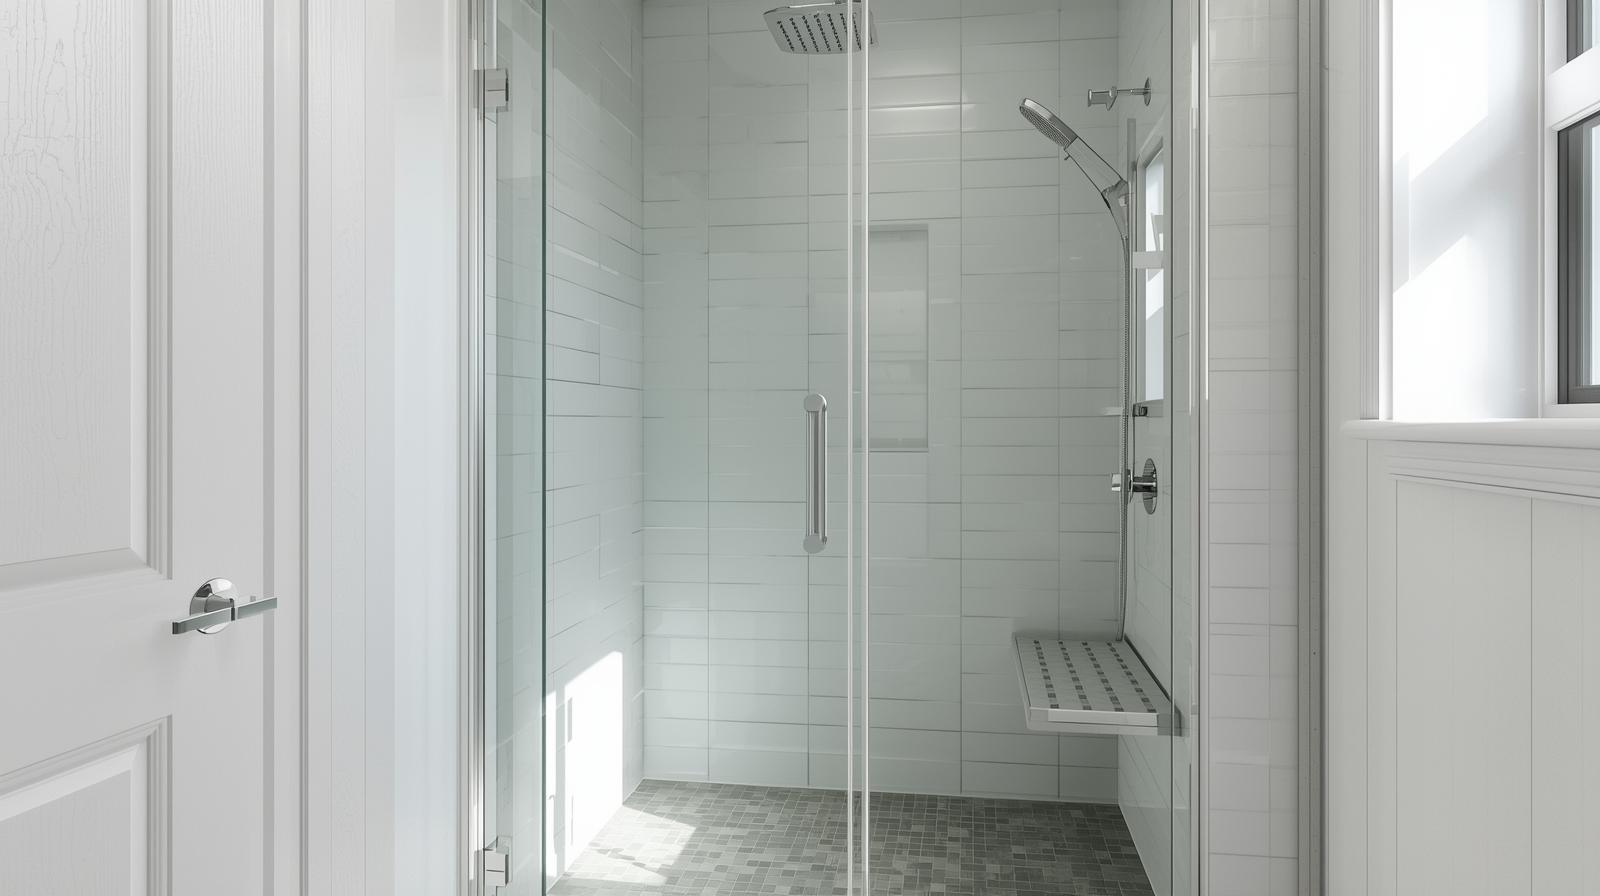
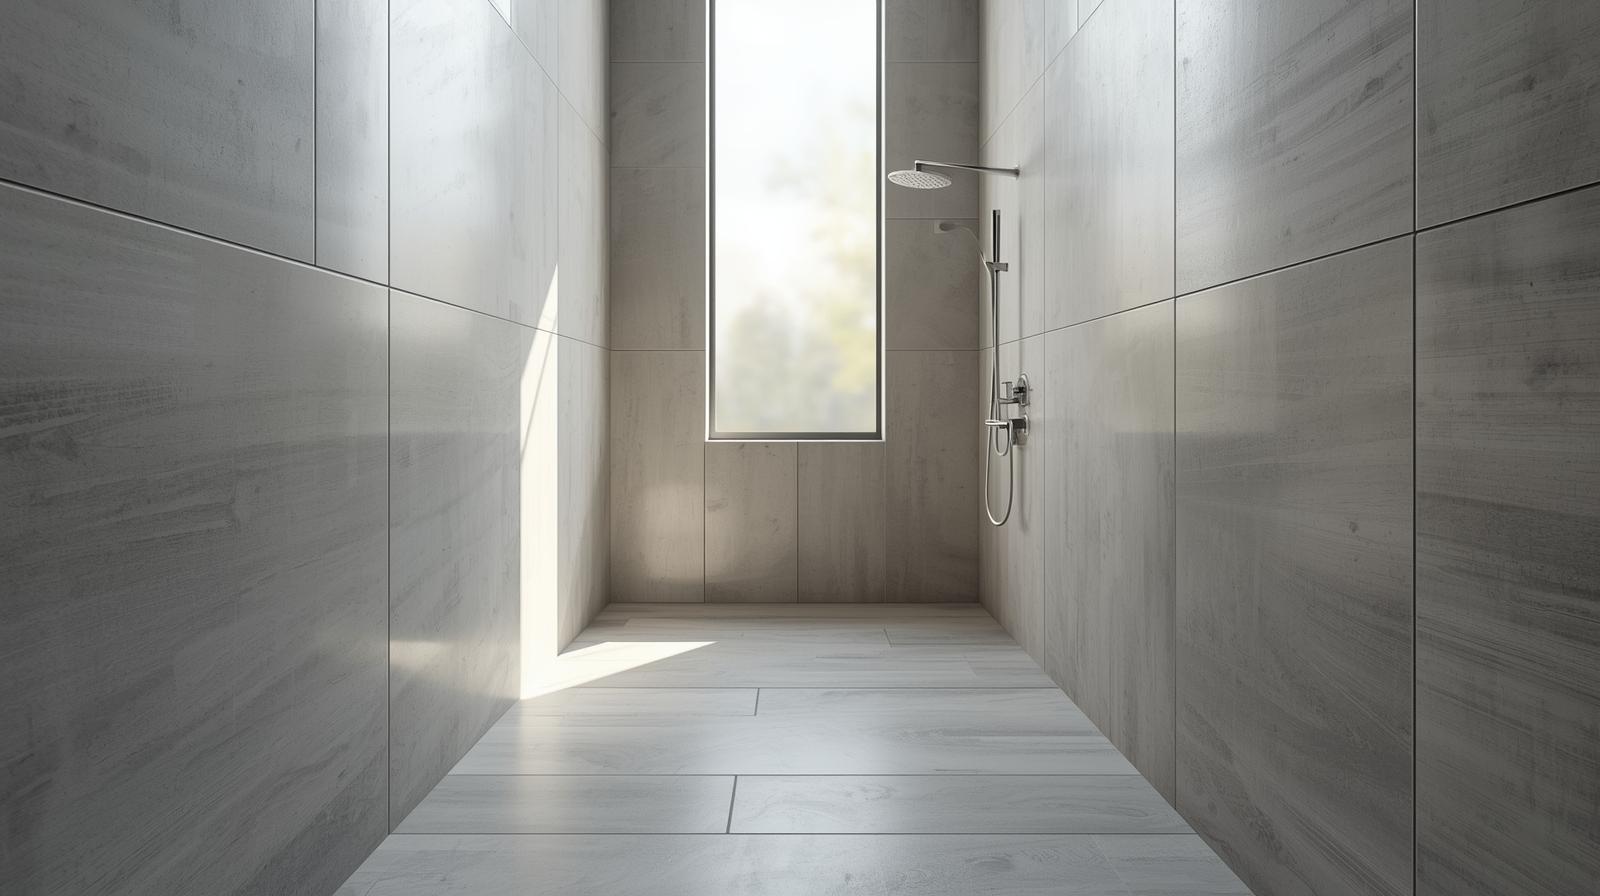
13. The Galley Shower
If your bathroom is long and narrow, embrace it with a “galley” style shower that runs the full length of the short wall. Minimum width of 30″ with length up to 60″. Place controls at entrance for easy access. Ideal for converting old tub alcoves.
A Designer’s Note on Waterproofing
With open and curbless designs, professional waterproofing is non-negotiable. I always specify a topical membrane system like Schluter-KERDI or RedGard that covers the walls and floor, creating a completely sealed “tank.” This is the single most important investment for a long-lasting, leak-free shower. For wet rooms, extend waterproofing 6″ above the shower head and across the entire bathroom floor with up-stands at walls.
Shower Pan Options Comparison
| Pan Type |
Best For |
Installation Time |
Cost Range |
Waterproofing |
Customization |
| Pre-fabricated |
Quick remodels, DIY projects |
2-4 hours |
$200-$600 |
Built-in |
Limited sizes |
| Mortar Bed |
Custom designs, irregular spaces |
8-16 hours |
$800-$2,000+ |
Separate membrane |
Fully customizable |
| Foam Pan System |
Lightweight, quick install |
4-6 hours |
$300-$800 |
Integrated or separate |
Modular sizes |
| Tiled Curbless |
Accessibility, wet rooms |
12-24 hours |
$1,500-$3,000+ |
Complete membrane |
Fully customizable |
Part 3: Clever Tile Ideas to Make a Space Feel Bigger
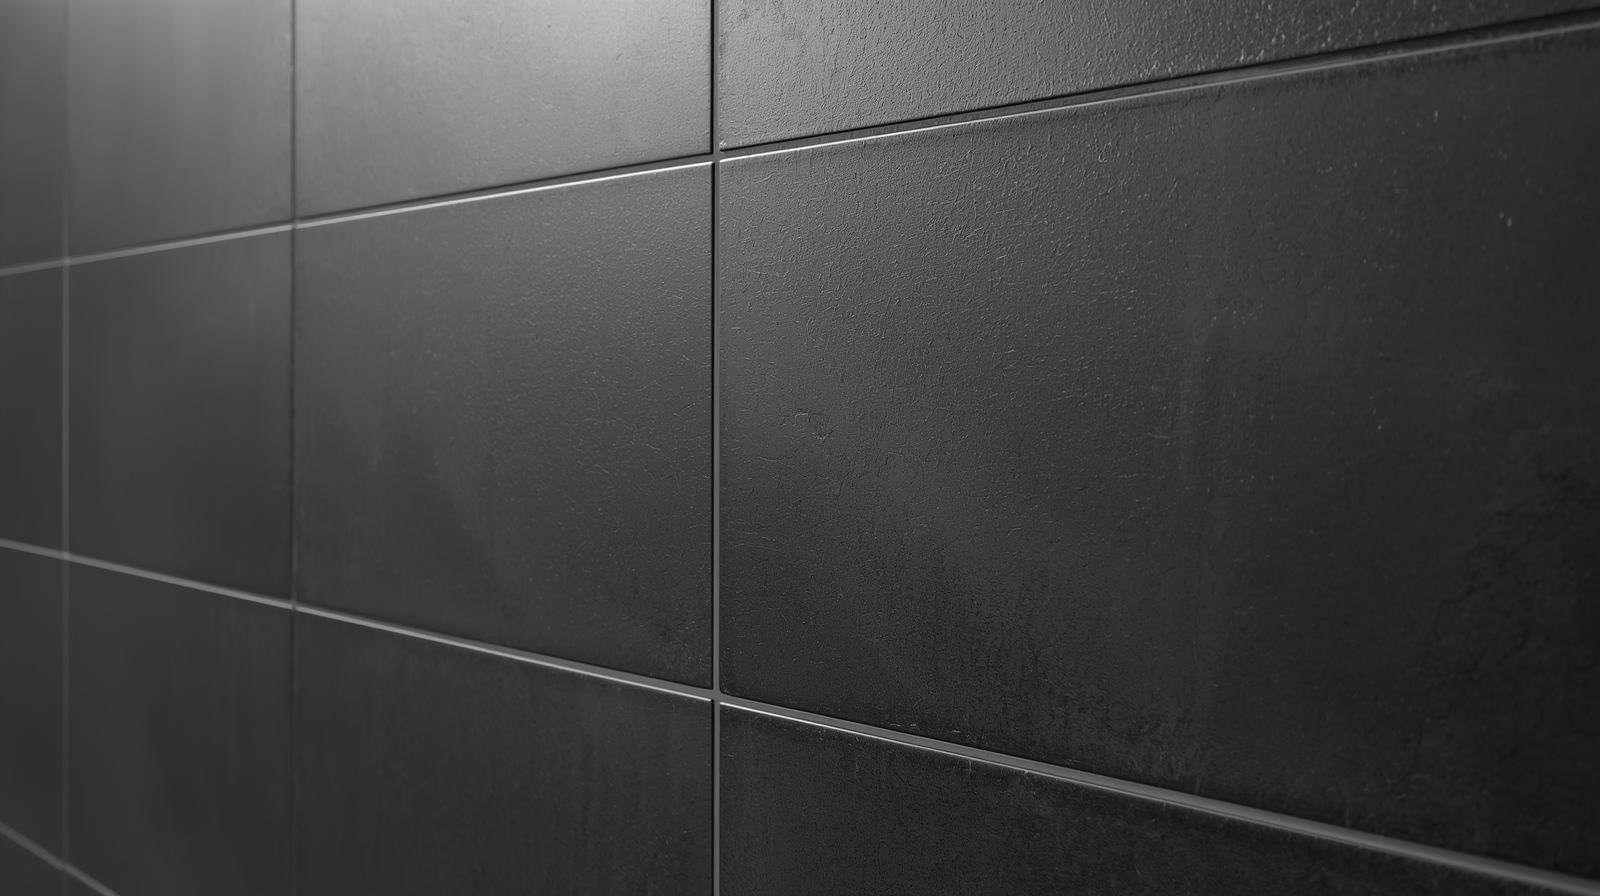
14. Use Large Format Tiles
Fewer grout lines make a surface look less busy and more expansive. Using 12″x24″ or even larger tiles is a pro trick for small spaces. Minimum grout joint of 1/8″ required for proper installation. Use leveling system for perfect alignment.
15. Stack Tiles Vertically
Run subway or rectangular tiles straight up in a stacked pattern. This draws the eye upward and creates the illusion of a taller ceiling. Vertical lines elongate walls by 10-15% visually. Use 3″ x 12″ tiles for maximum effect.
16. Choose a Glossy Finish
Glossy tiles reflect light around the room, making the entire space feel brighter and more open. They’re like small mirrors. Light Reflectance Value (LRV) of 70+ recommended. More slippery when wet – consider textured versions for floors.
17. Keep it Light & Bright
White, light gray, soft beige, or pale pastels are your best friends. They reflect the most light and create an airy, spacious feeling. Lighter colors can make a space feel 10-20% larger. Consider undertones: blue for cool, yellow for warm spaces.
18. Continue Floor Tile Into the Shower
Using the same tile on the bathroom floor and the shower floor makes the room feel like one large, continuous space. Requires tile with slip resistance (COF > 0.60 wet) for shower floor. Use same color grout for seamless appearance.
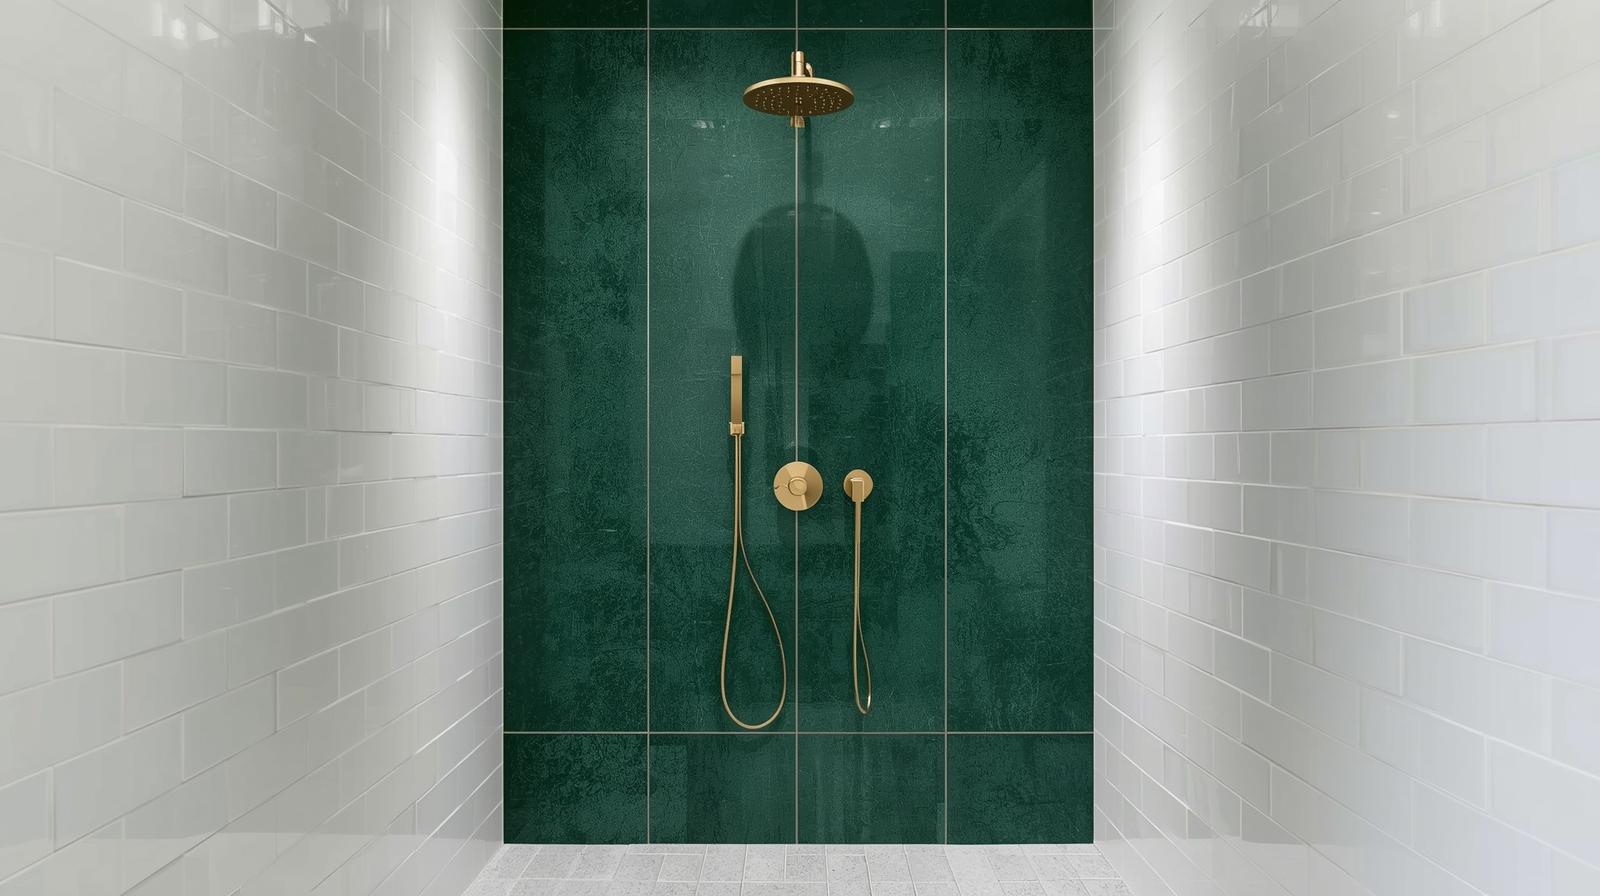
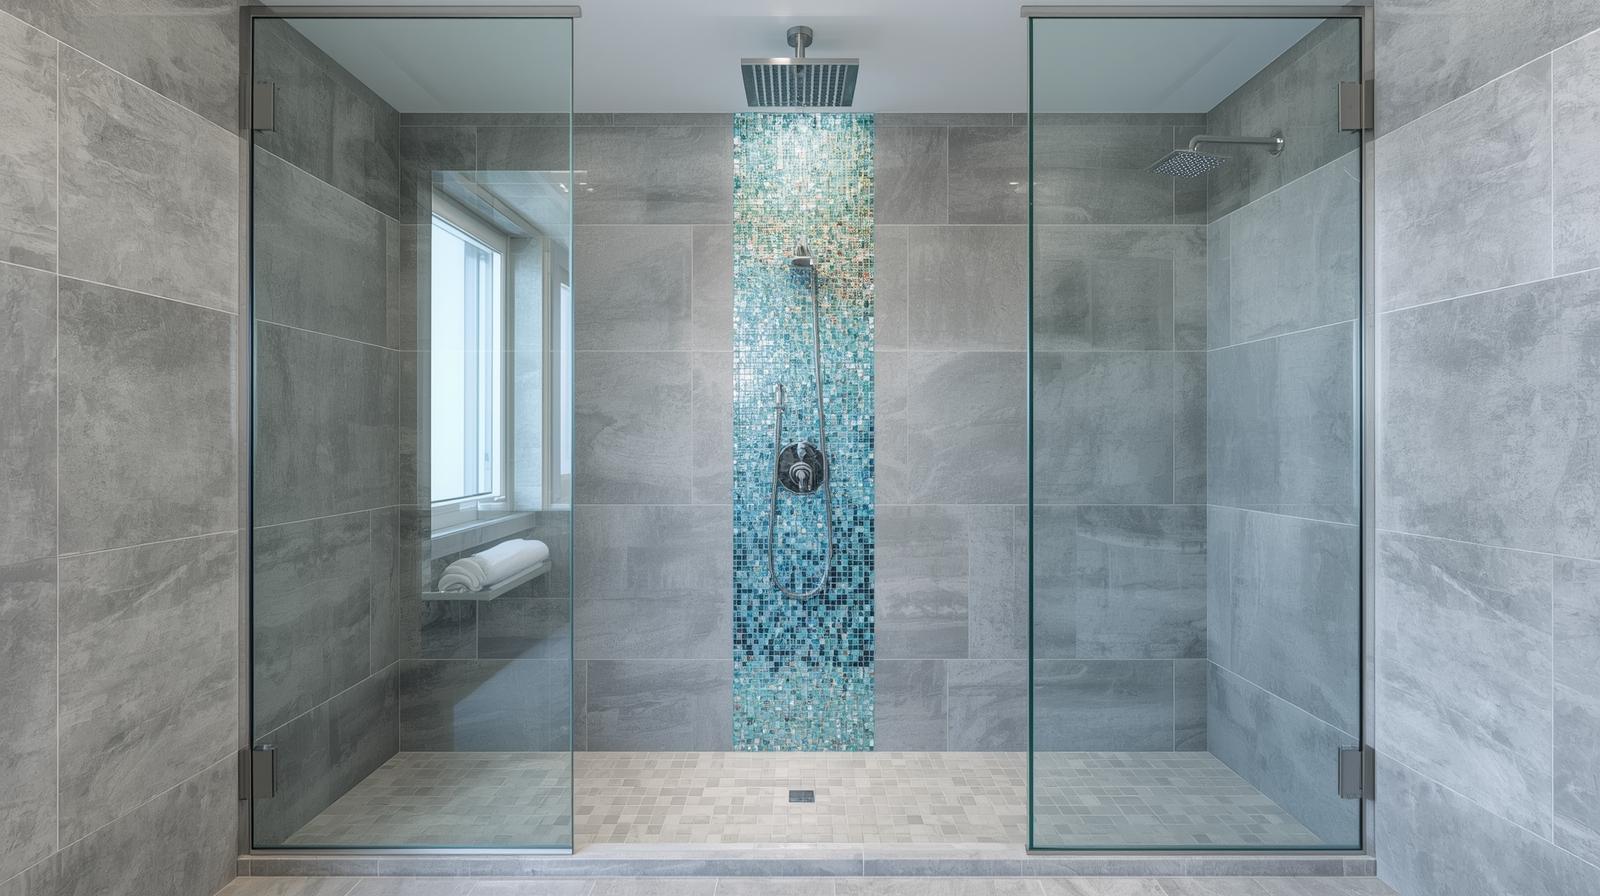
19. A Single Statement Wall
Keep most walls simple and light, but use a bold, beautiful tile on the back wall to create depth and a stunning focal point. The accent wall should be 20-30% of total wall area. Creates visual interest without overwhelming small space.
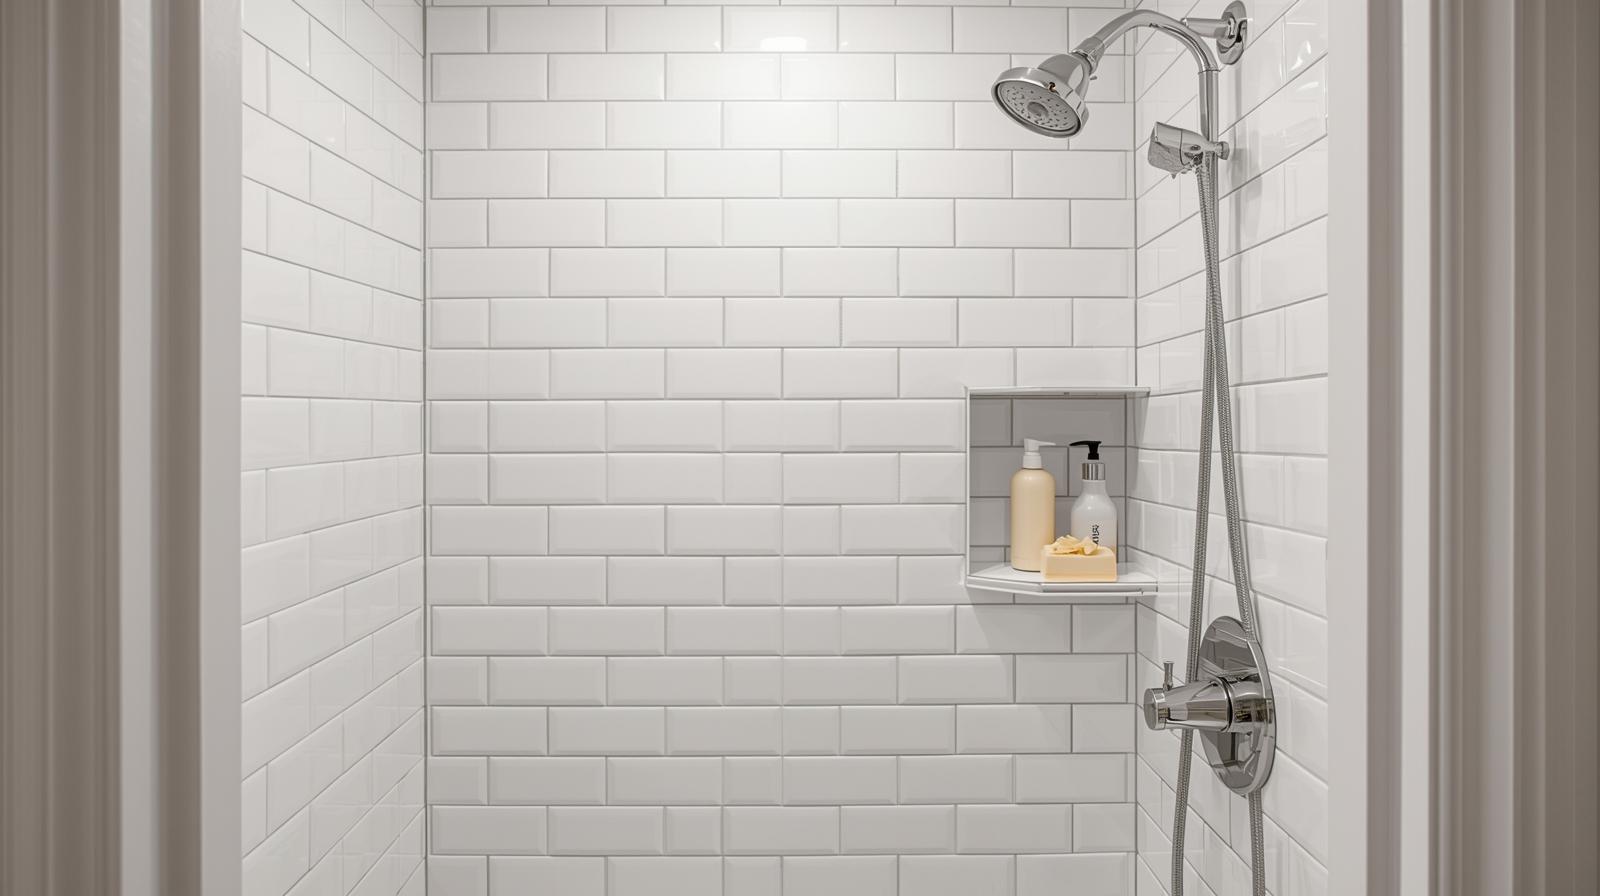
20. Classic Horizontal Subway Tile
A timeless choice. Running subway tiles in a traditional brick pattern can help a narrow shower feel a little wider. Horizontal lines expand width perception by 10-15%. Use 1/16″ grout lines for clean look.
21. The Diagonal Layout
Setting square tiles on a diagonal (like a diamond) can trick the eye and make a small floor area appear larger. Requires 15-20% more tile due to cuts. Creates dynamic visual movement in static spaces.
22. Vertical Racing Stripe
A narrow band of accent tile running from floor to ceiling is another great way to emphasize height and add a pop of personality. Keep stripe width to 3-6″ for subtle effect. Position away from primary view for subtle enhancement.
23. Hexagonal Floor Tiles
The geometric pattern of small hex tiles adds texture and interest without being overwhelming. They also provide great grip! Hex tiles typically 1-2″ across. Multiple grout lines provide excellent slip resistance (COF 0.8+).
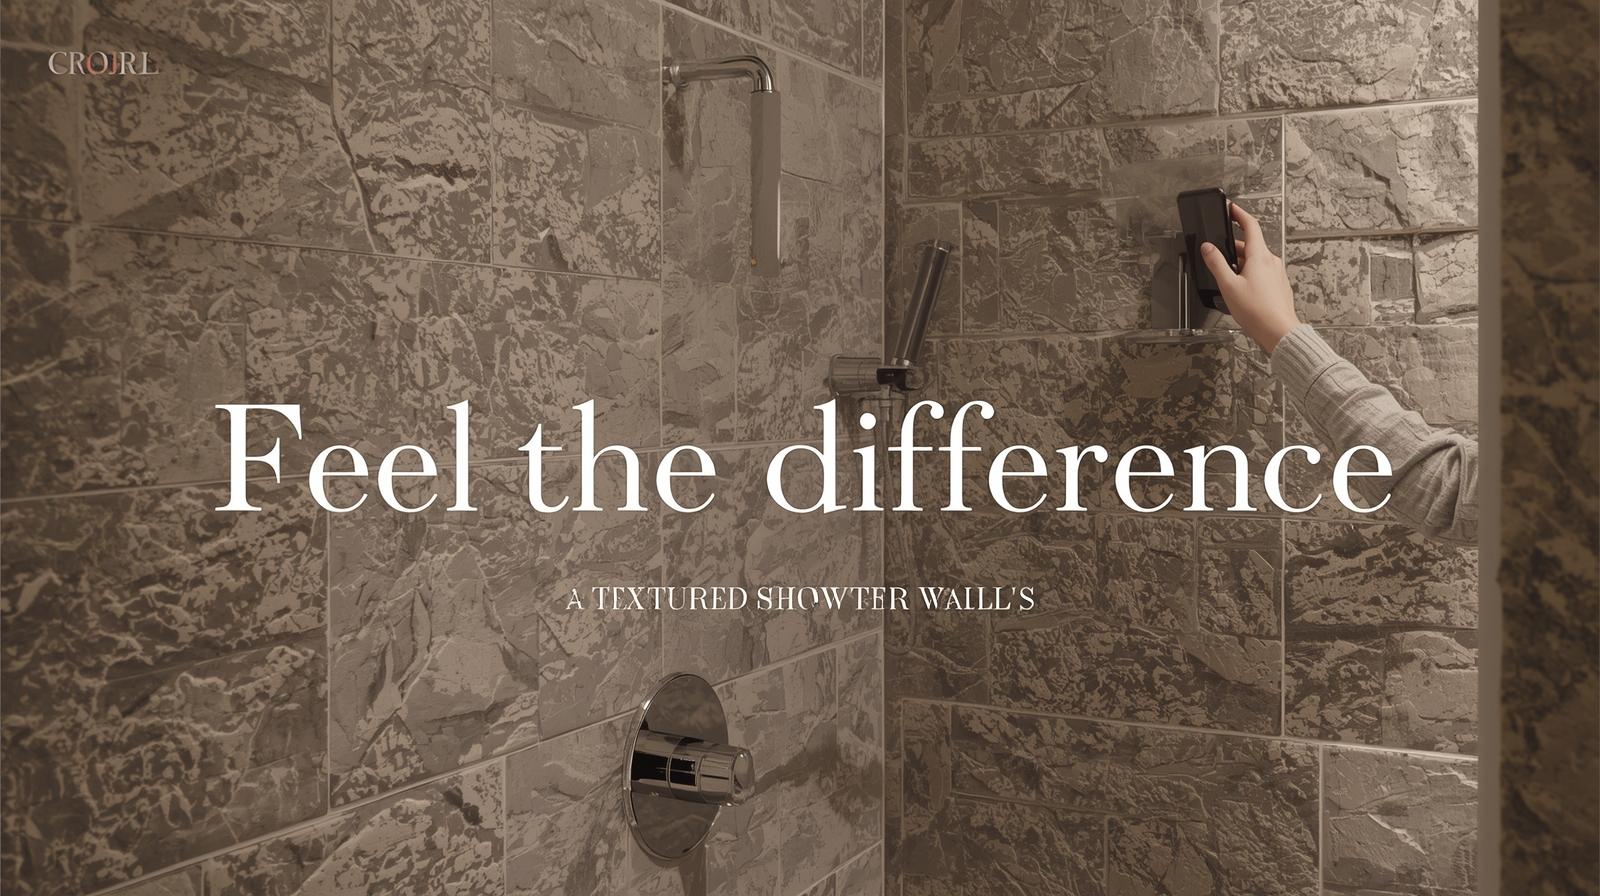
24. Subtle Texture
A tile with a subtle 3D texture or wavy finish can add depth and character to an all-white shower, preventing it from feeling sterile. Textured surfaces help hide water spots and soap scum between cleanings.
25. Match Grout to Tile
Using a grout color that’s very close to your tile color minimizes the grid pattern, creating a more seamless and calming backdrop. Epoxy grout recommended for color consistency and mold resistance in wet areas.

26. High-Contrast Grout
Alternatively, use a dark grout with light tile (or vice-versa) to turn the tile pattern itself into a graphic design element. Contrasting grout shows imperfections more – requires precise tile installation.
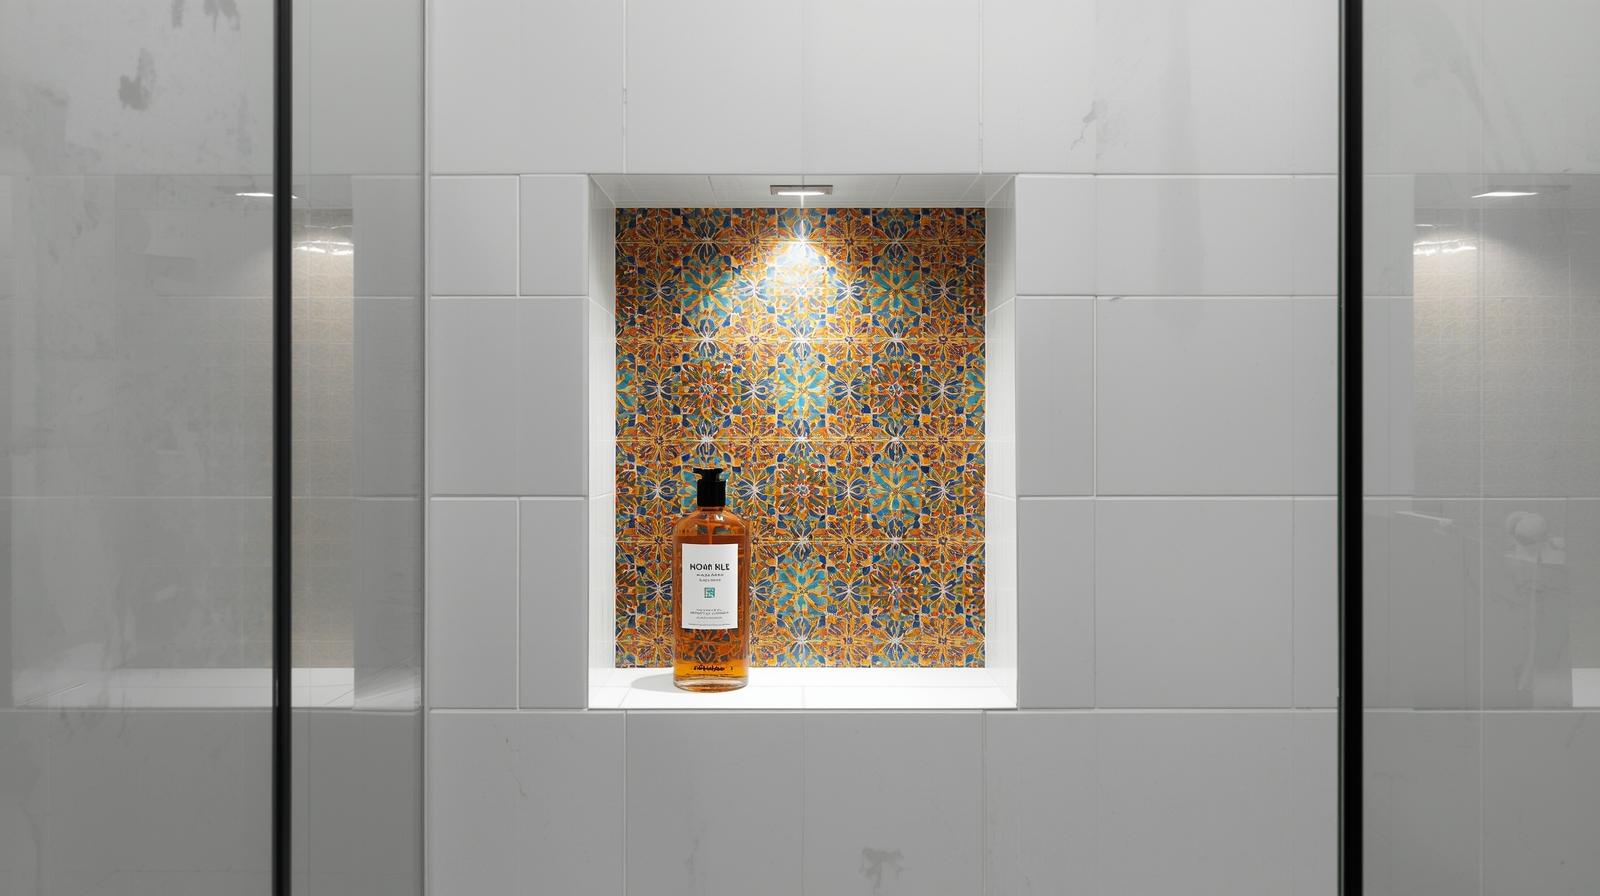
27. Tile the Niche
Use your main tile on the walls but place a fun, patterned tile inside your recessed storage niche for a designer touch. Niche should be minimum 12″ wide x 16″ tall x 3.5″ deep for standard shampoo bottles.

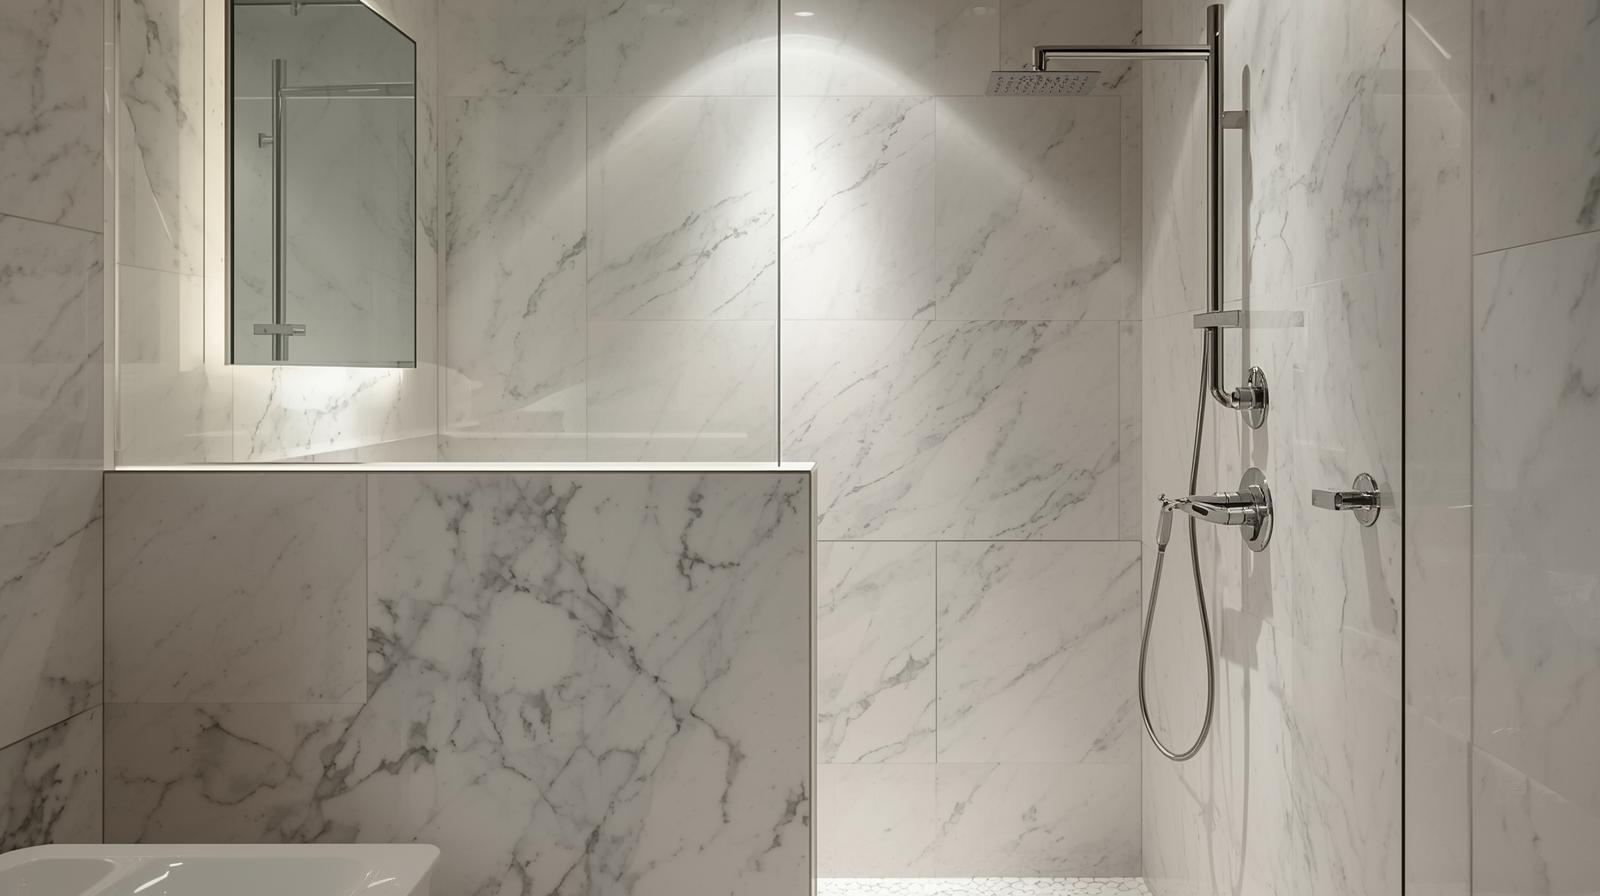
28. Faux Marble
Get the luxurious look of a marble slab with large-format porcelain tiles. They’re more durable, less expensive, and easier to maintain. Porcelain has water absorption < 0.5% vs marble at 0.5-2%. Requires no sealing.
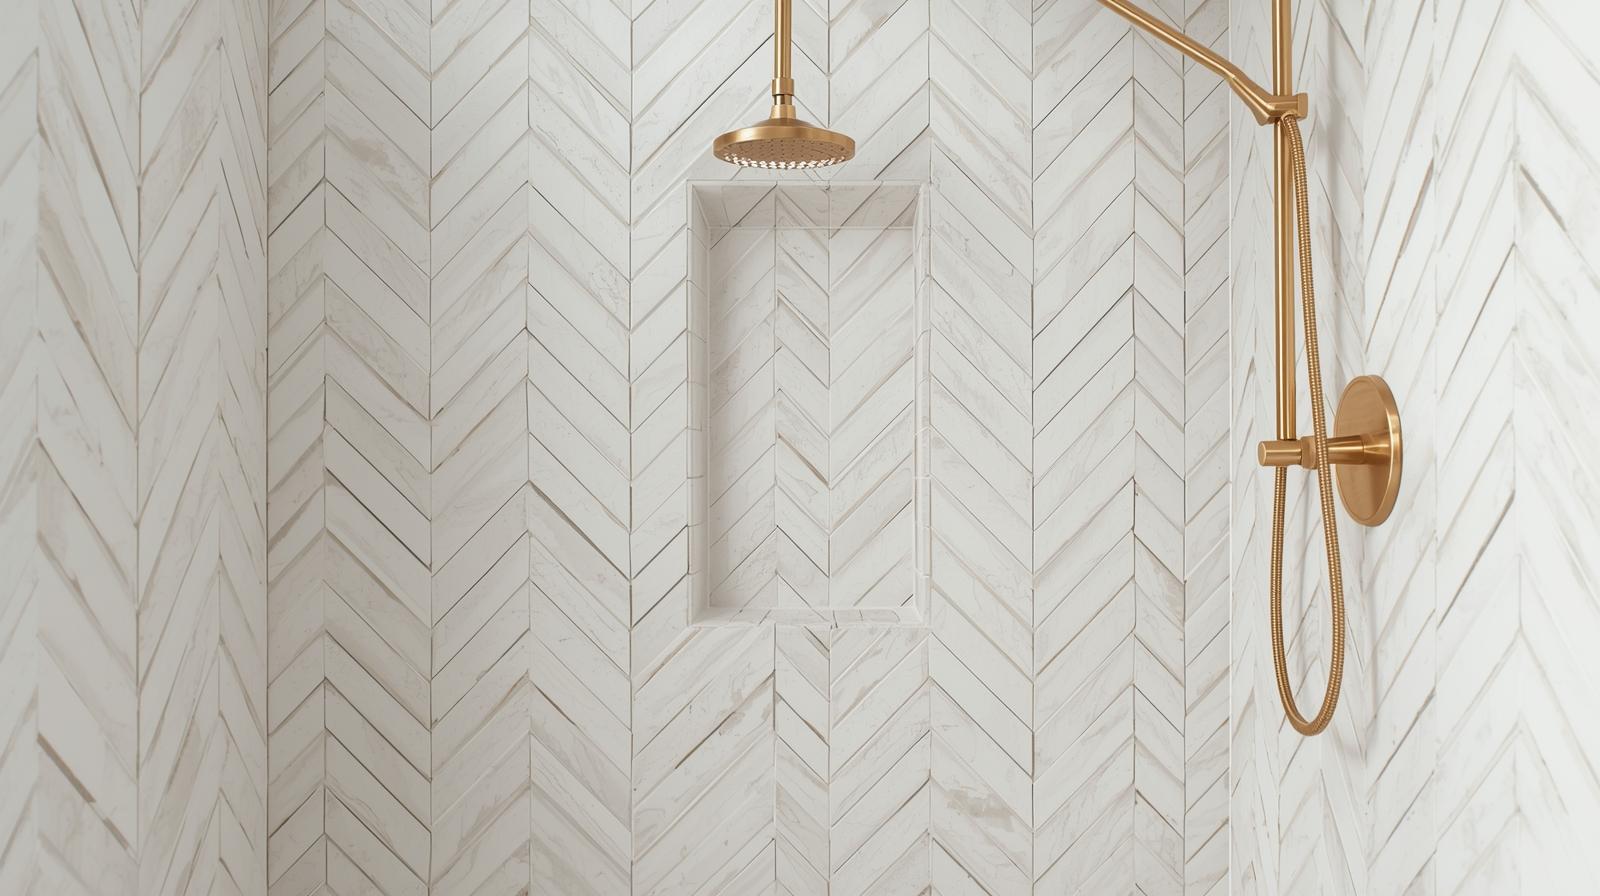
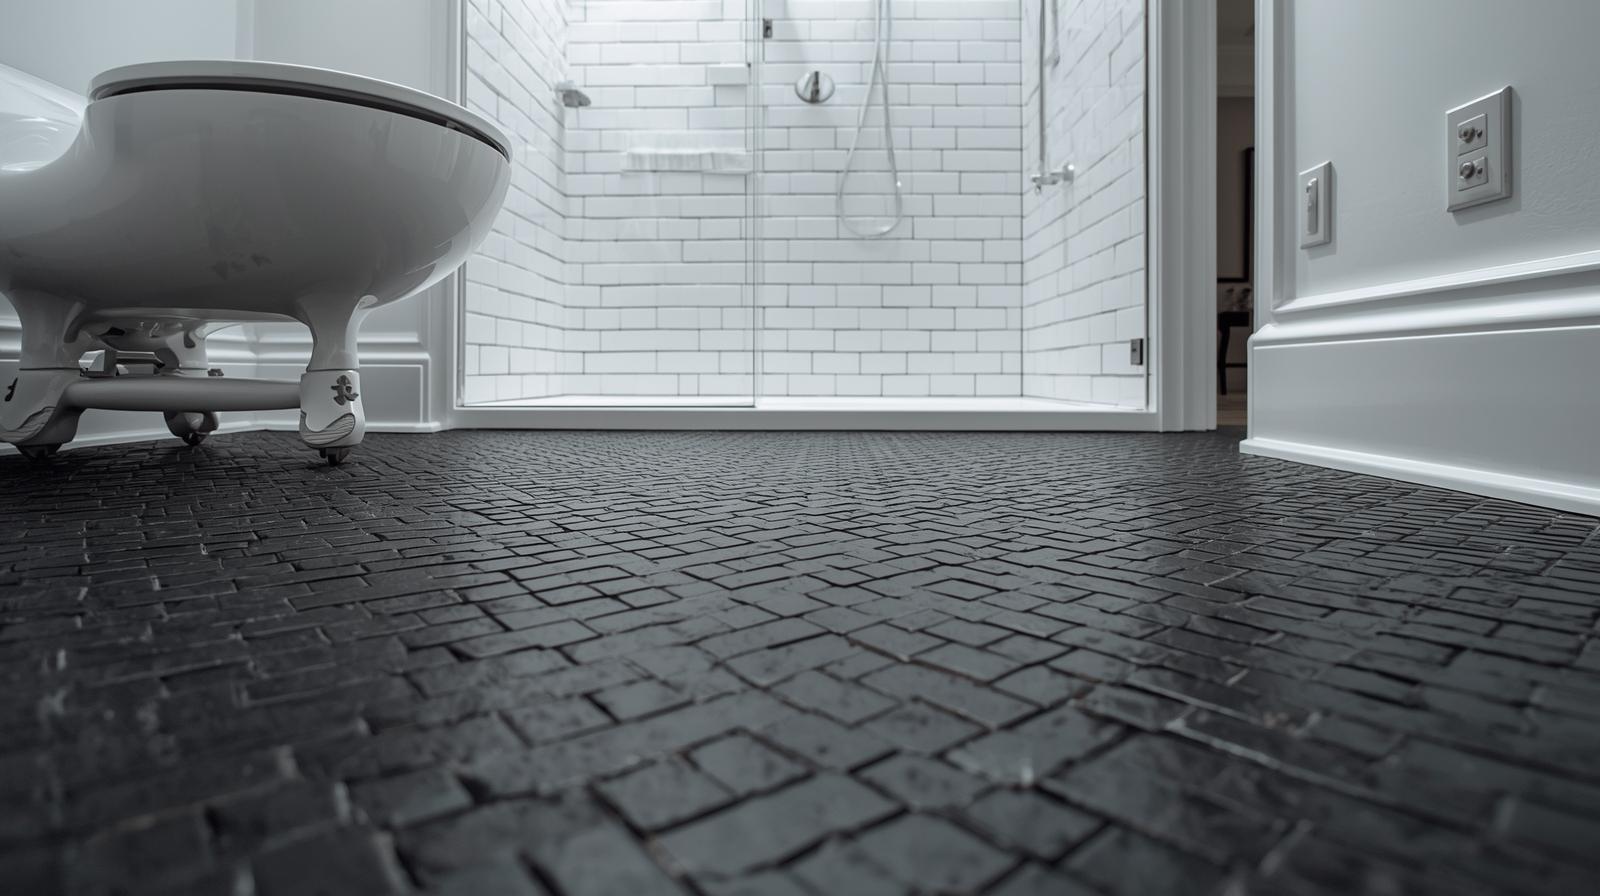
29. Herringbone Pattern
Laying rectangular tiles in a herringbone pattern adds a sense of movement and sophistication, making a simple tile look custom. Requires 20-25% waste factor for cuts. Best with 2″ x 8″ or similar proportion tiles.
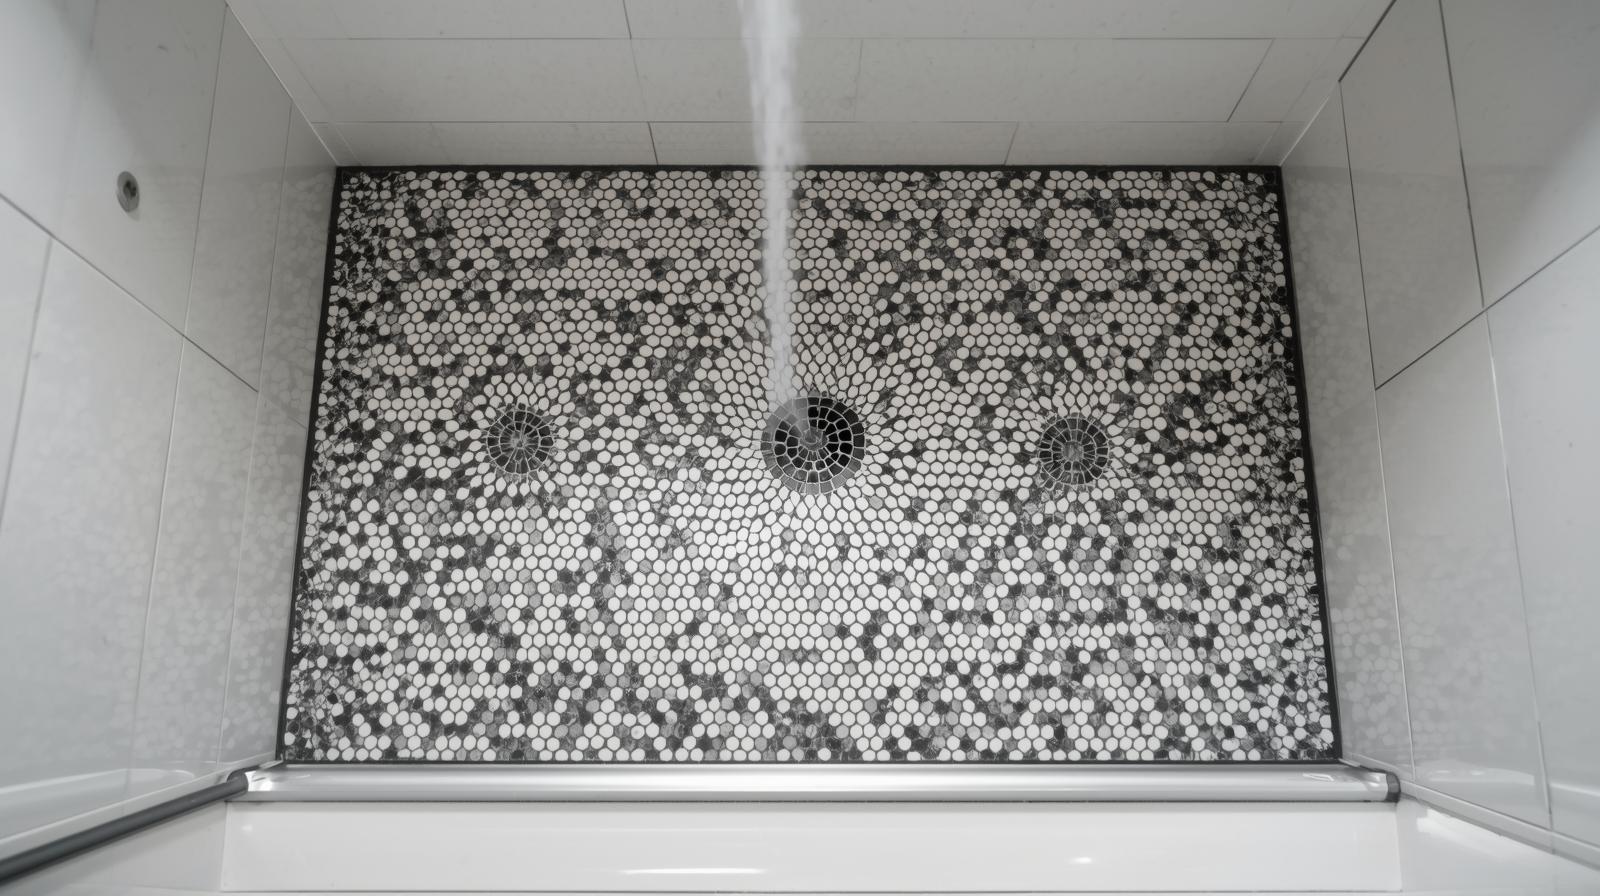
30. Penny Tile Floor
Classic and charming, penny tiles are great for shower floors. The vast number of grout lines provides excellent slip resistance. 2″ diameter most common. Requires careful slope planning for proper drainage between grout lines.
31. The Zellige Look
Handmade Zellige tiles have a beautiful, imperfect finish with high variation that reflects light in unique ways, adding warmth and character. Requires expert installation and special sealing. Not recommended for shower floors.
32. Tile to the Ceiling
Always run your shower tile all the way to the ceiling. Stopping short visually chops the wall in half and makes the room feel shorter. Creates complete waterproof enclosure. Consider same tile on ceiling for luxurious feel.
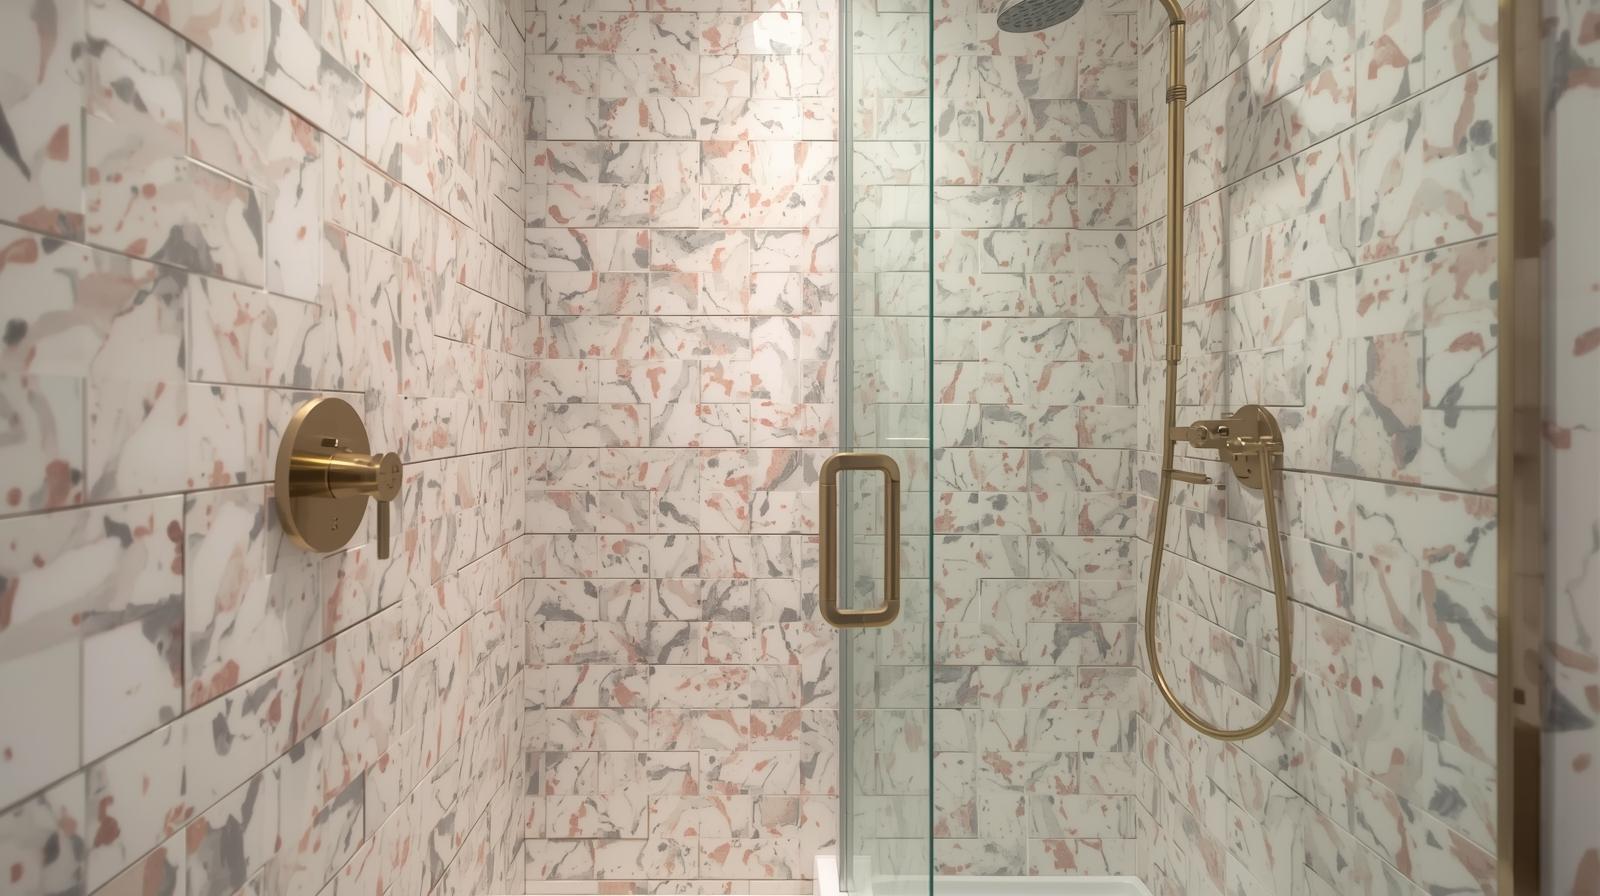
33. Playful Terrazzo
Terrazzo tiles with their colorful chips add a fun, modern vibe and can hide water spots and soap scum better than solid colors. Large format (24″ x 24″) creates seamless look. Epoxy terrazzo most durable for wet areas.
34. Natural Stone Pebbles
Use smooth pebble tiles on the shower floor for a spa-like, massaging feel underfoot. Pair with simple walls to let them shine. Requires sealing every 1-2 years. Best with epoxy grout to prevent discoloration.
35. A Simple Border
A simple pencil liner or border tile can define the shower space and add a polished, finished look without adding bulk. Place at eye level (60-66″) for maximum visual impact. Use same material as field tile for cohesion.
Tile Material Comparison Guide
| Material |
Best For |
Durability |
Maintenance |
Cost/sq ft |
Slip Resistance |
| Porcelain |
All surfaces, wet rooms |
Excellent |
Low (no sealing) |
$3-$15 |
Good (textured versions) |
| Ceramic |
Walls only |
Good |
Low |
$2-$8 |
Poor (smooth) |
| Natural Stone |
Accent walls, floors |
Variable |
High (sealing) |
$8-$25 |
Good (textured) |
| Glass |
Accents, niches |
Good |
Medium |
$10-$30 |
Poor (smooth) |
| Metal |
Accent strips |
Excellent |
Low |
$15-$40 |
Good (textured) |
Part 4: Glass Enclosure Tricks for an Open Feel
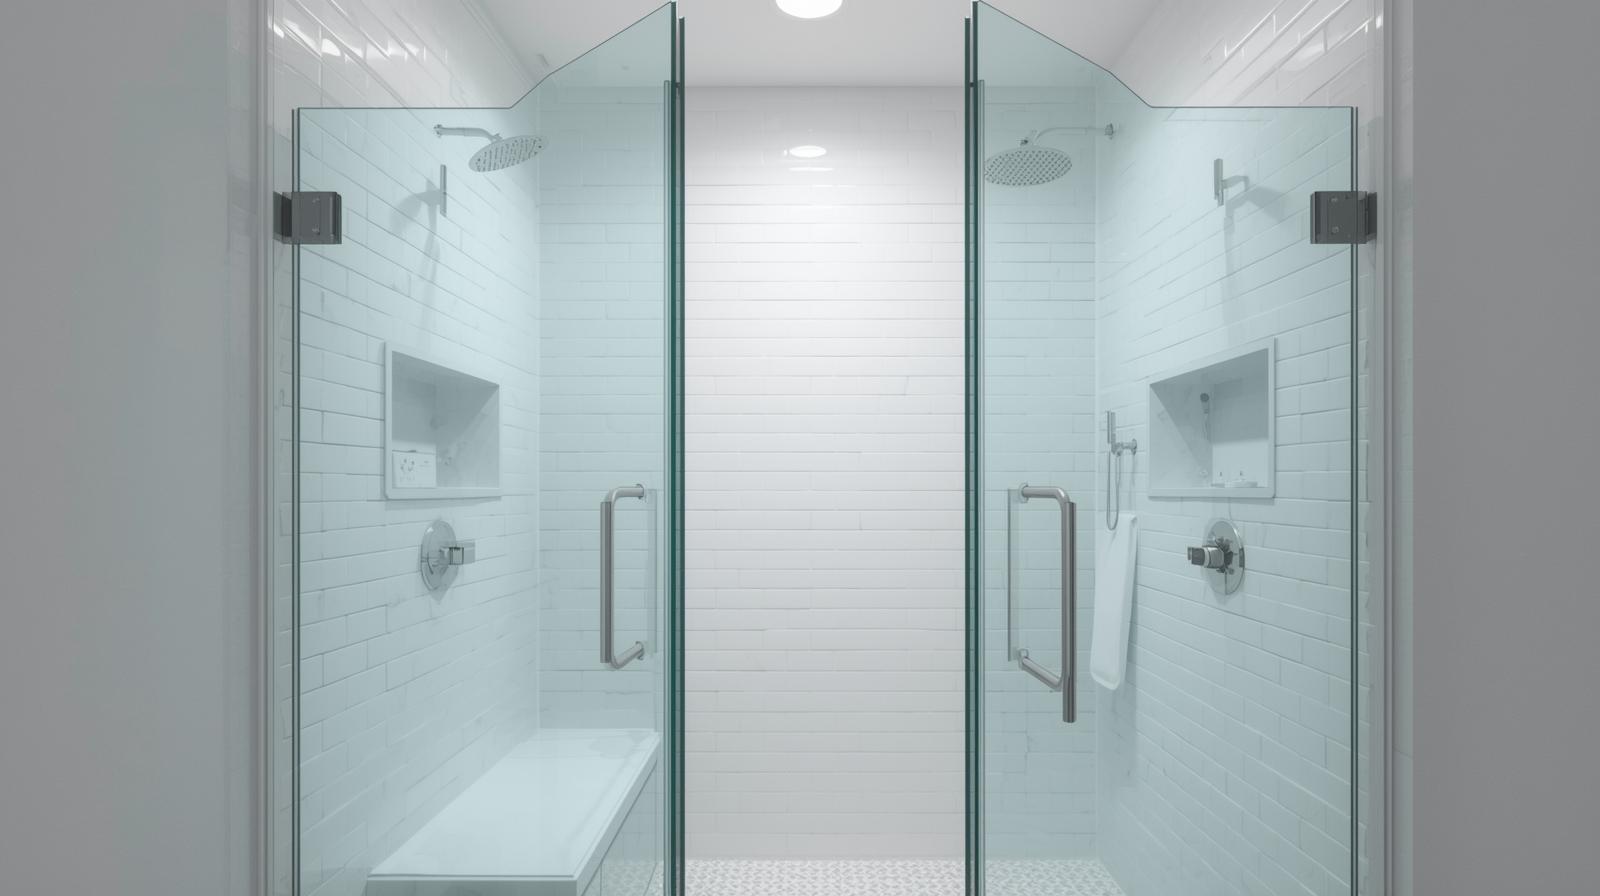
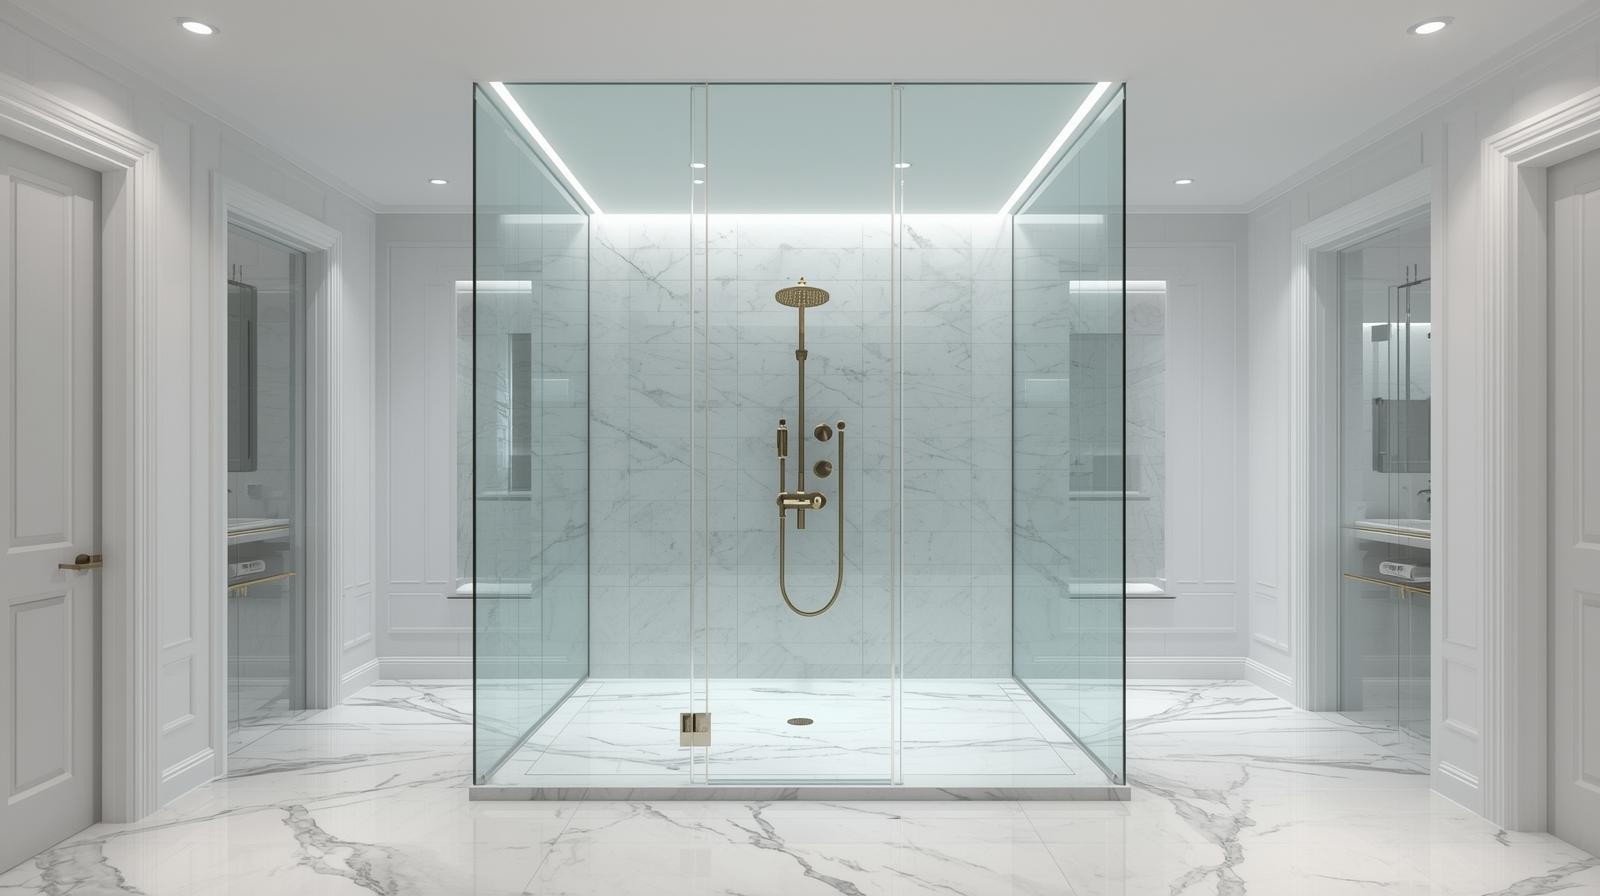
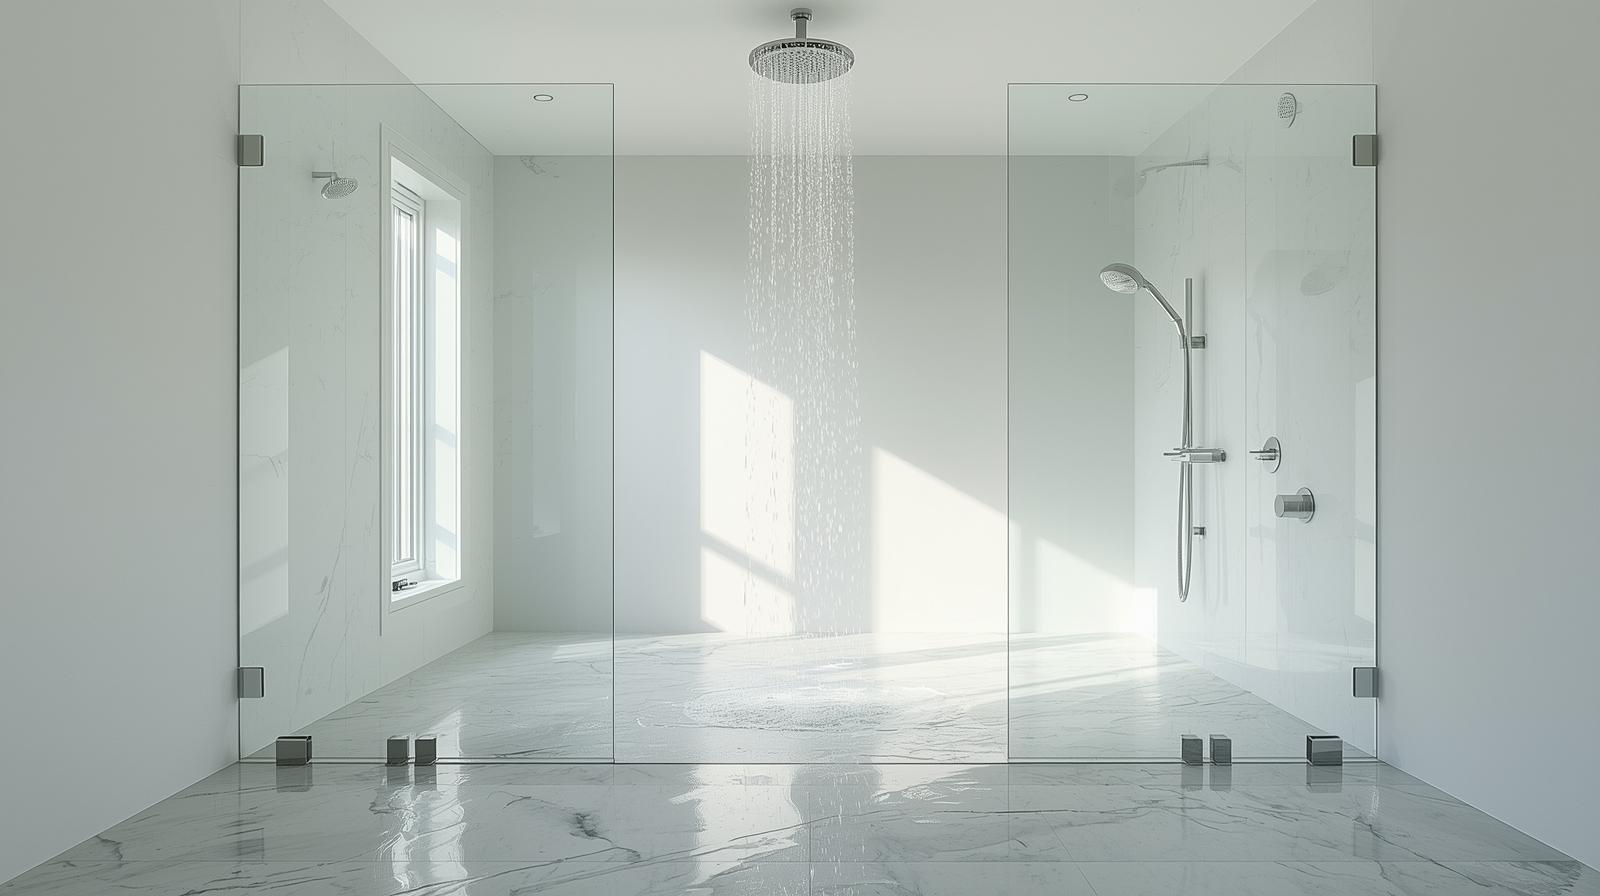
36. Go Fully Frameless
A completely frameless glass enclosure with minimal hardware offers the clearest view and makes the bathroom feel like one large, unified space. Requires 3/8″ or 1/2″ tempered glass. Clips and hinges mounted directly to glass. Most expensive option but maximum openness.
37. The Single Fixed Panel
Often, all you need is one stationary panel of glass to prevent most splashes, creating a doorless, walk-in experience. Panel typically 18-24″ wide. Place opposite shower head. Minimum opening of 22″ for comfortable entry.
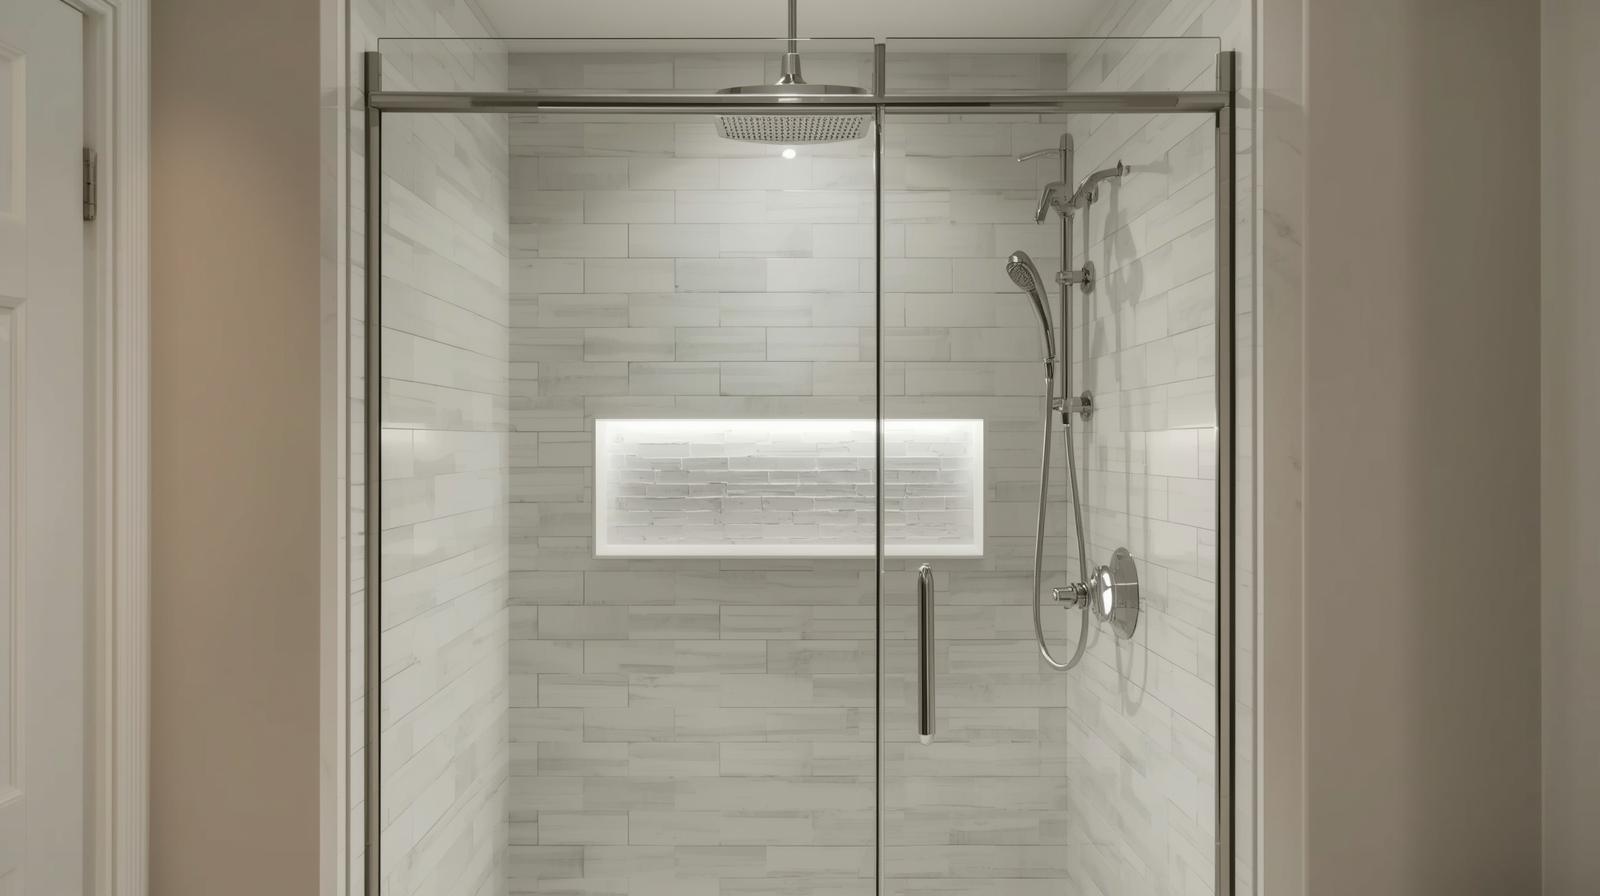
38. Space-Saving Sliding Door
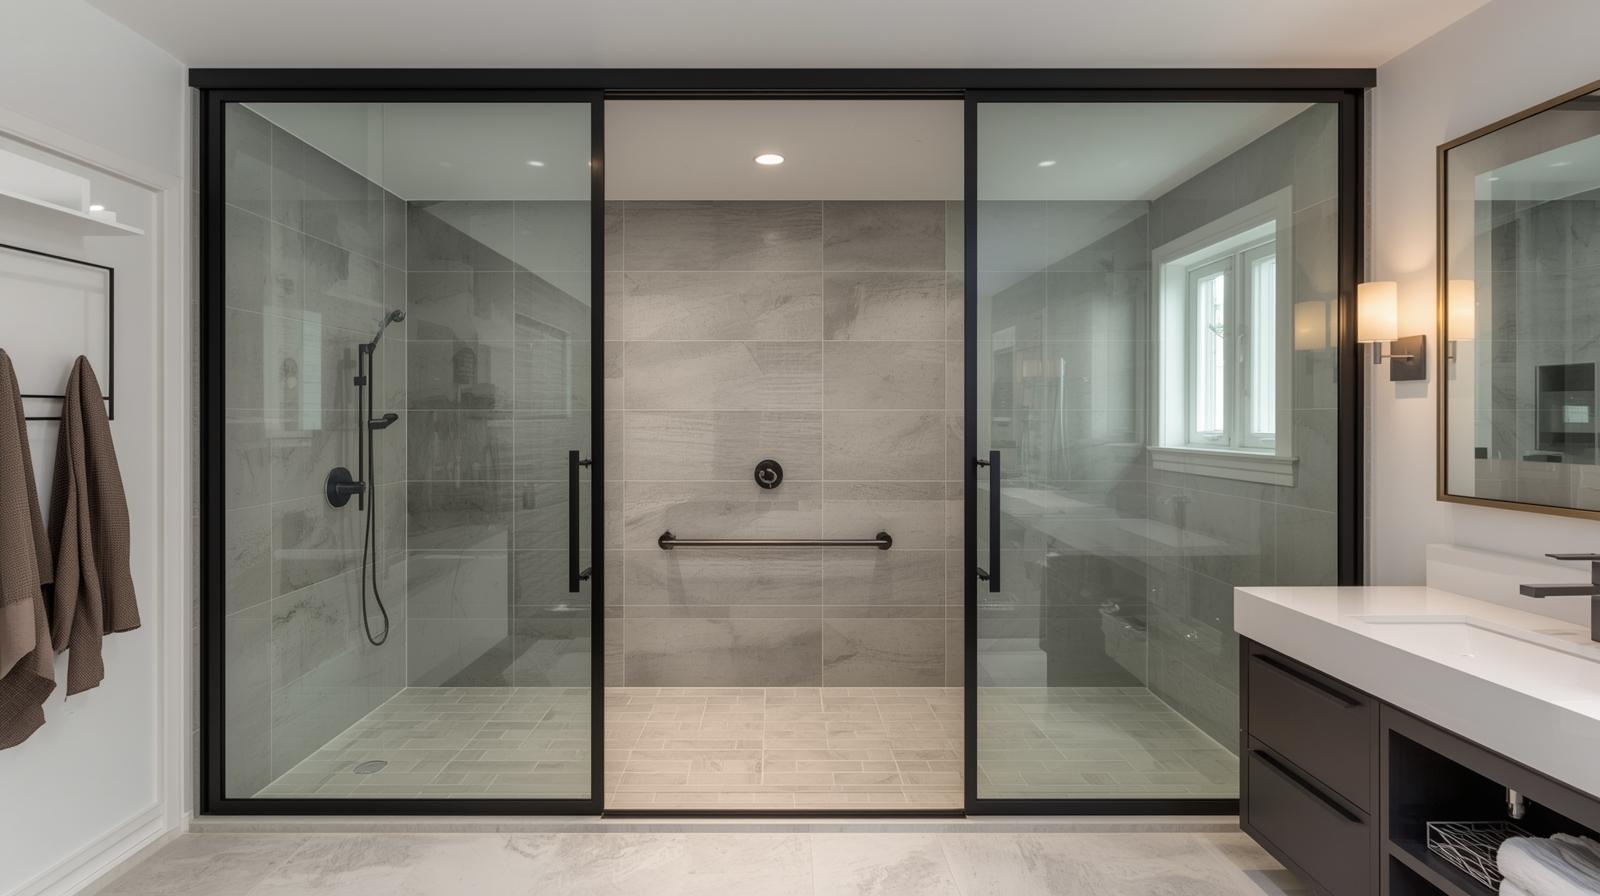
A sliding (or bypass) door doesn’t require any clearance to swing open, making it the most practical choice for tight bathrooms. Requires top and bottom tracks. 3/8″ tempered glass standard. Consider soft-close mechanisms for smooth operation.
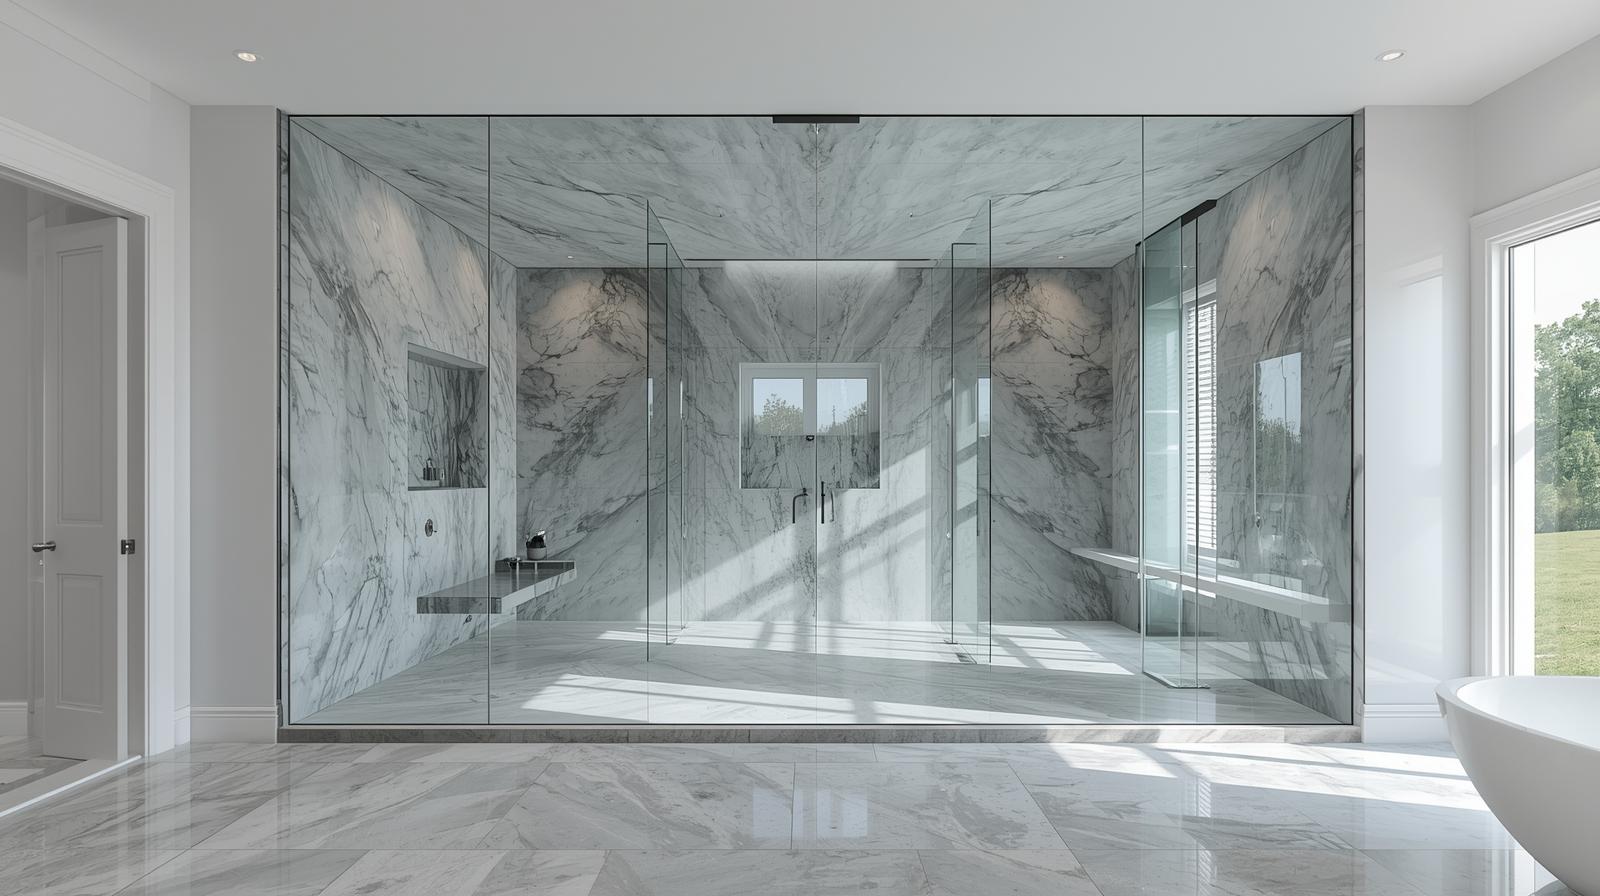
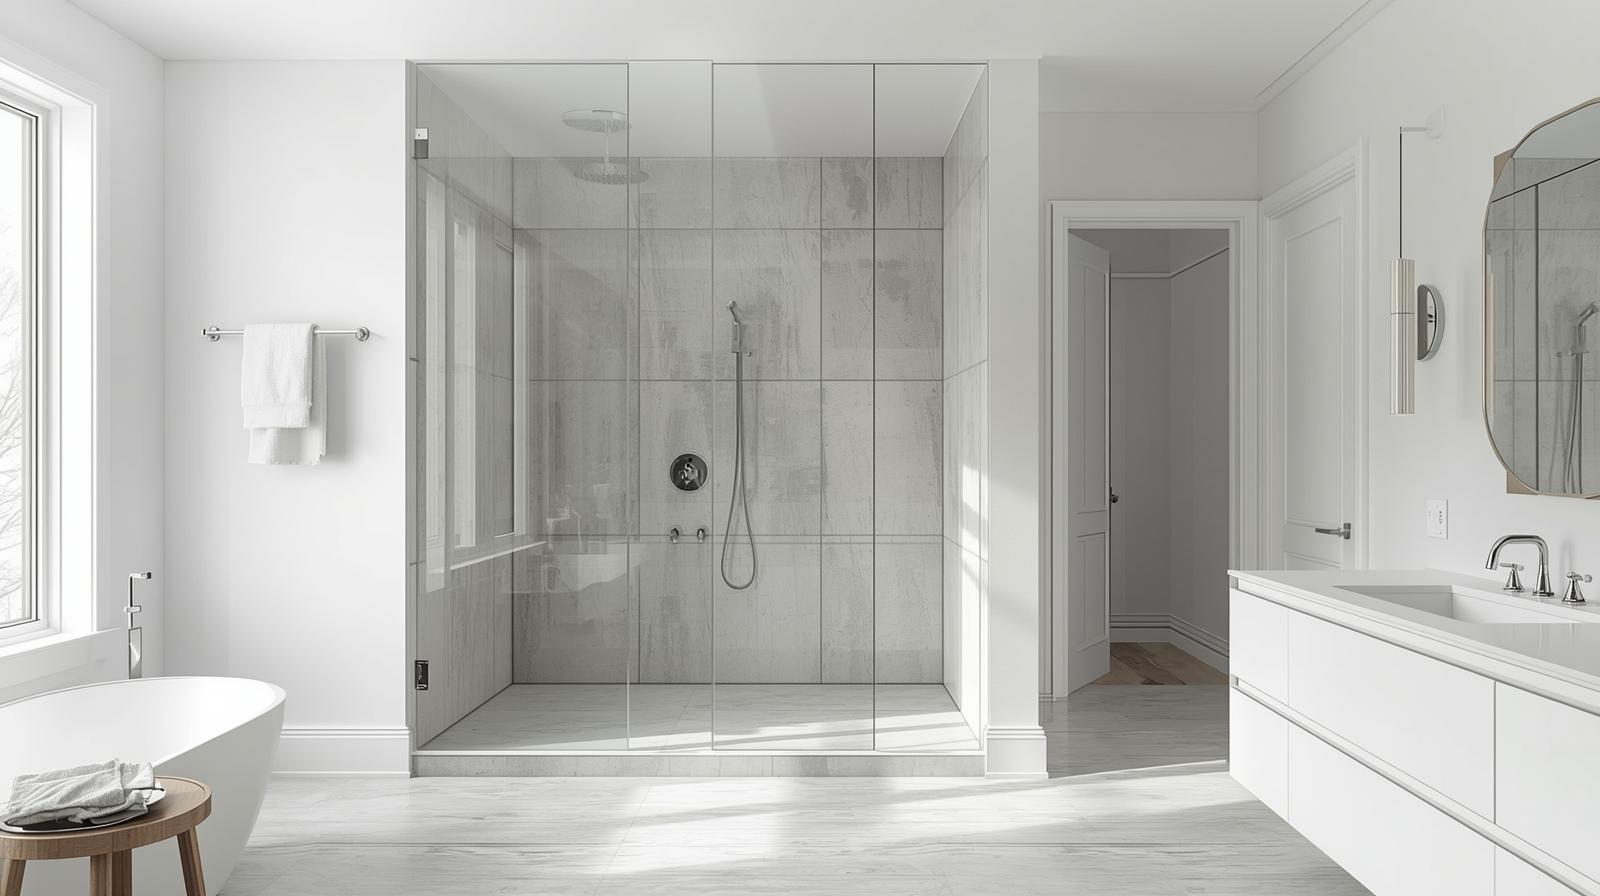
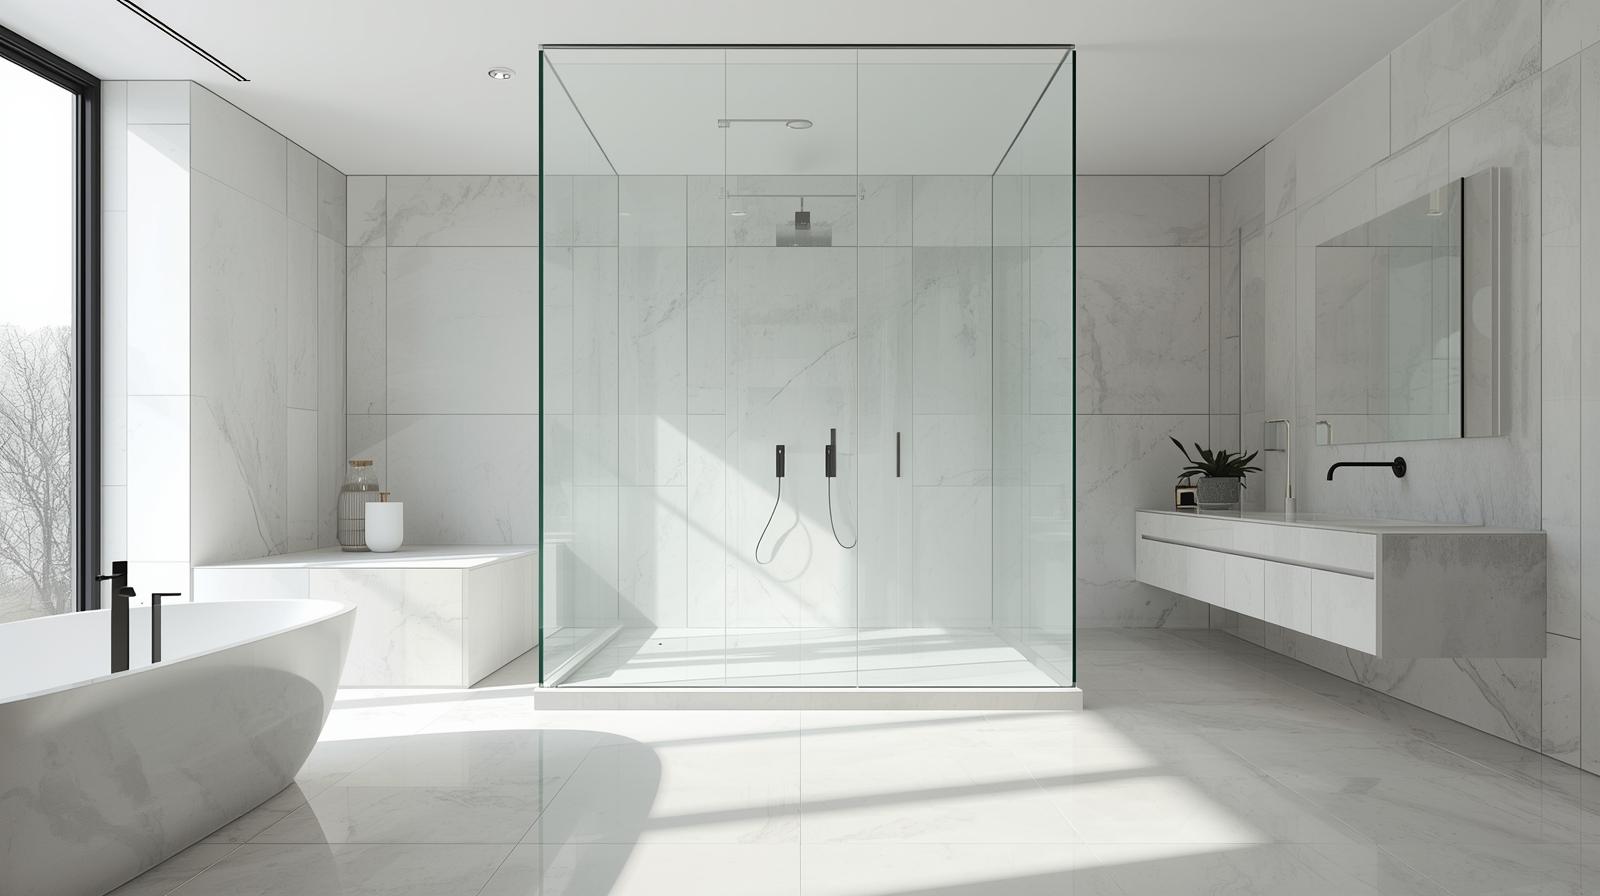
39. Floor-to-Ceiling Glass
Running the glass all the way to the ceiling enhances the sense of height and can turn your shower into a steam shower with the right additions. Requires precise ceiling measurements. Adds 20-30% to glass cost but maximizes vertical space perception.
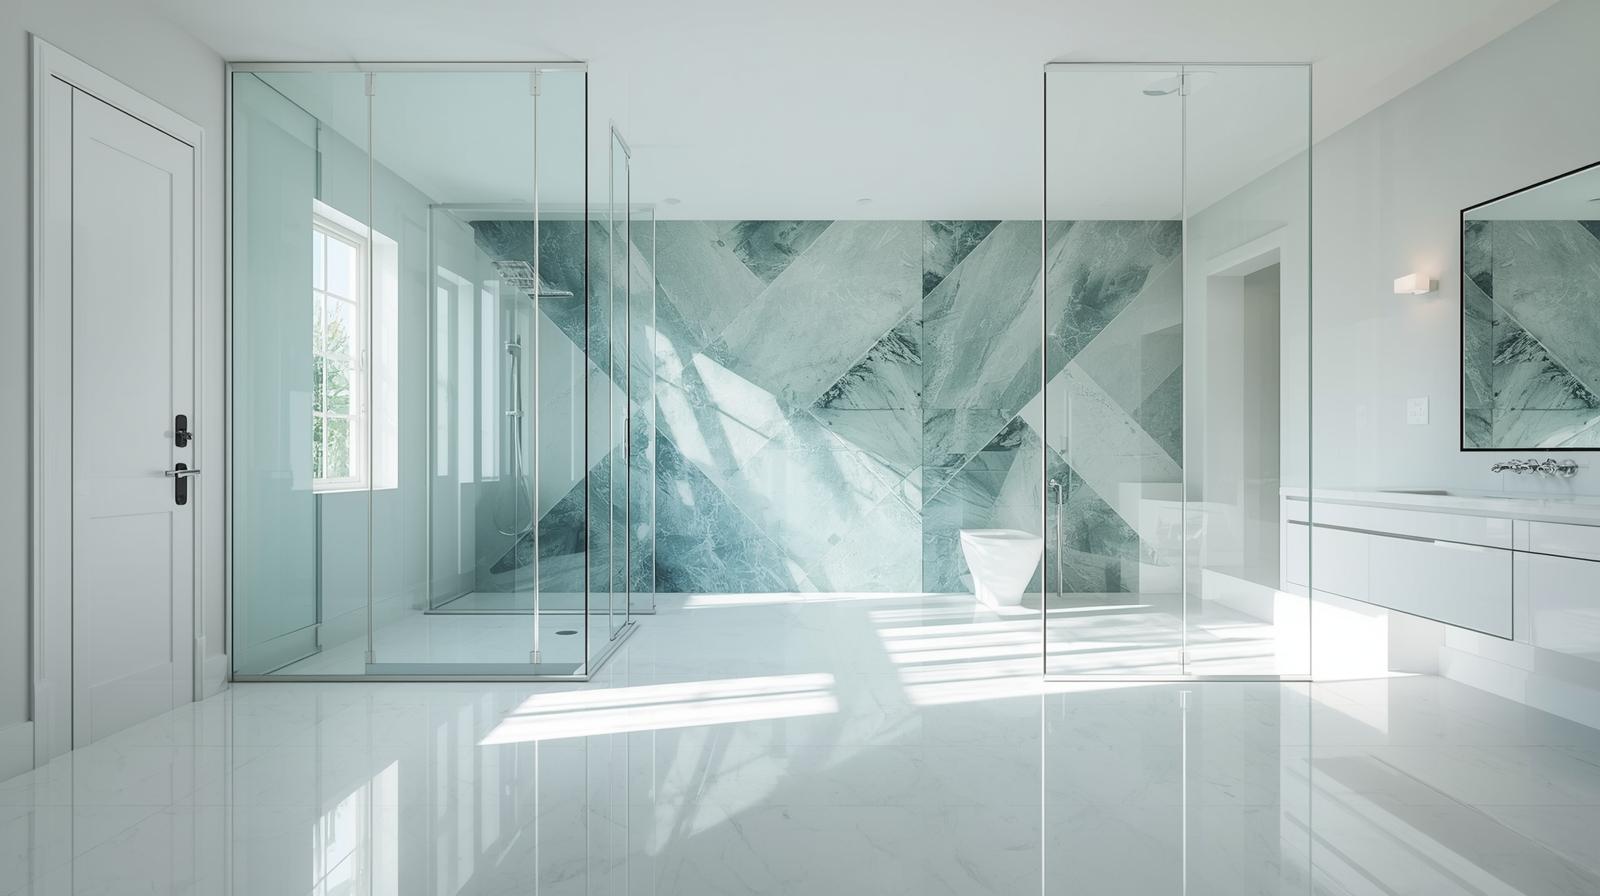
40. Insist on Clear Glass
Frosted or patterned glass, while offering privacy, acts like a solid wall. Clear glass maintains open sightlines and maximizes the sense of space. Low-iron glass eliminates green tint for true clarity. Consider water-repellent coating to reduce cleaning.
41. A Pivoting Door
A pivot door can swing both in and out, which can be a useful feature for maneuvering in a small space. Requires floor pivot hardware. Allows for easier cleaning access. Consider 180° pivot for maximum flexibility.
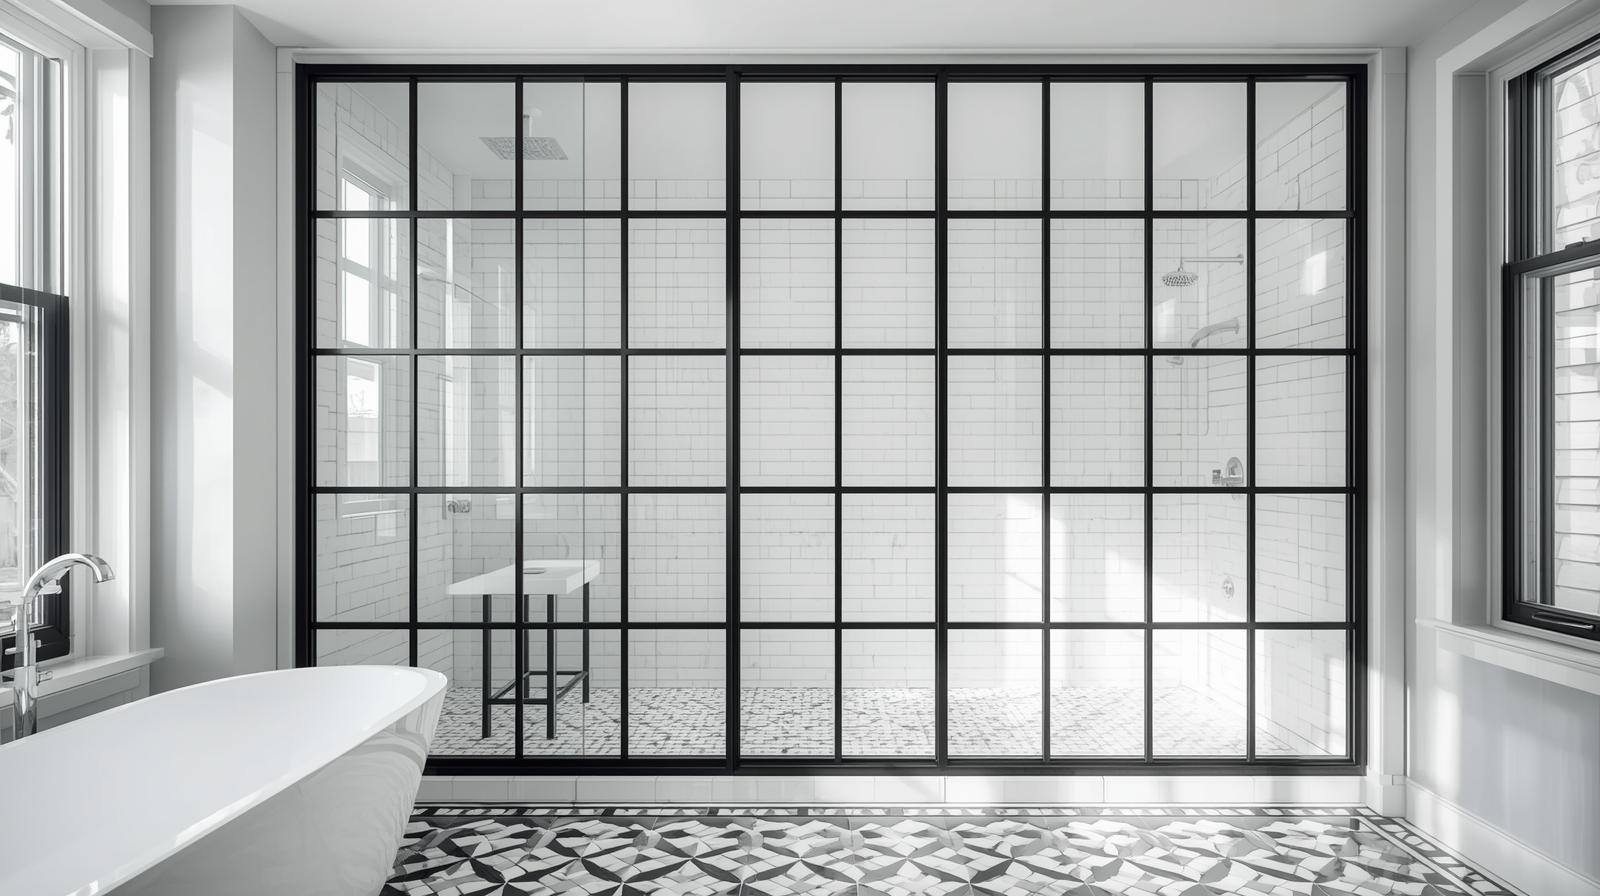
42. The Black Grid Screen
A Crittall-style grid pattern on the glass adds a trendy, industrial-chic focal point without closing off the space. Typically 1″ black metal grids applied to glass surface. Adds texture while maintaining transparency.
43. Minimalist Hardware
Choose clips and hinges over U-channels to mount your glass. The less metal you see, the more open the shower will feel. Brushed nickel, matte black, or champagne bronze finishes available. Consider concealed hinge systems for ultra-clean look.
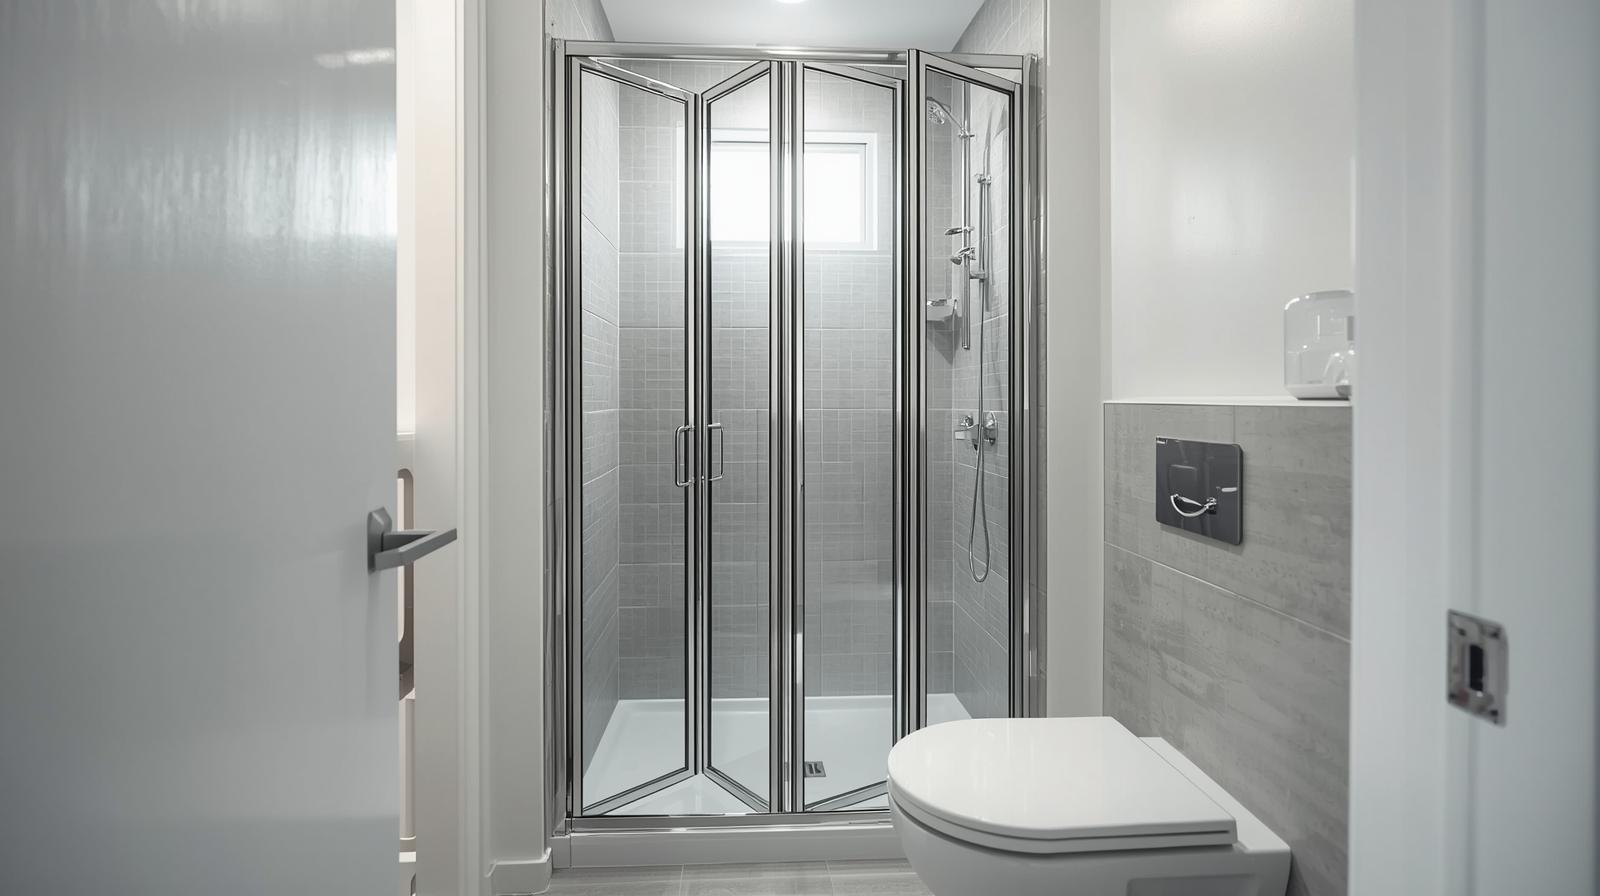
44. The Bi-Fold Door
A bi-fold door folds in on itself, requiring half the swing space of a standard hinged door. A true problem-solver. Ideal for openings 22-26″ wide. Requires top and bottom tracks plus pivot hardware.
45. Opt for Low-Iron Glass
Standard tempered glass has a slight green tint. Low-iron glass is more expensive but is incredibly clear, which is ideal for all-white bathrooms. Adds 15-25% to glass cost. Particularly important for thicker glass (1/2″).
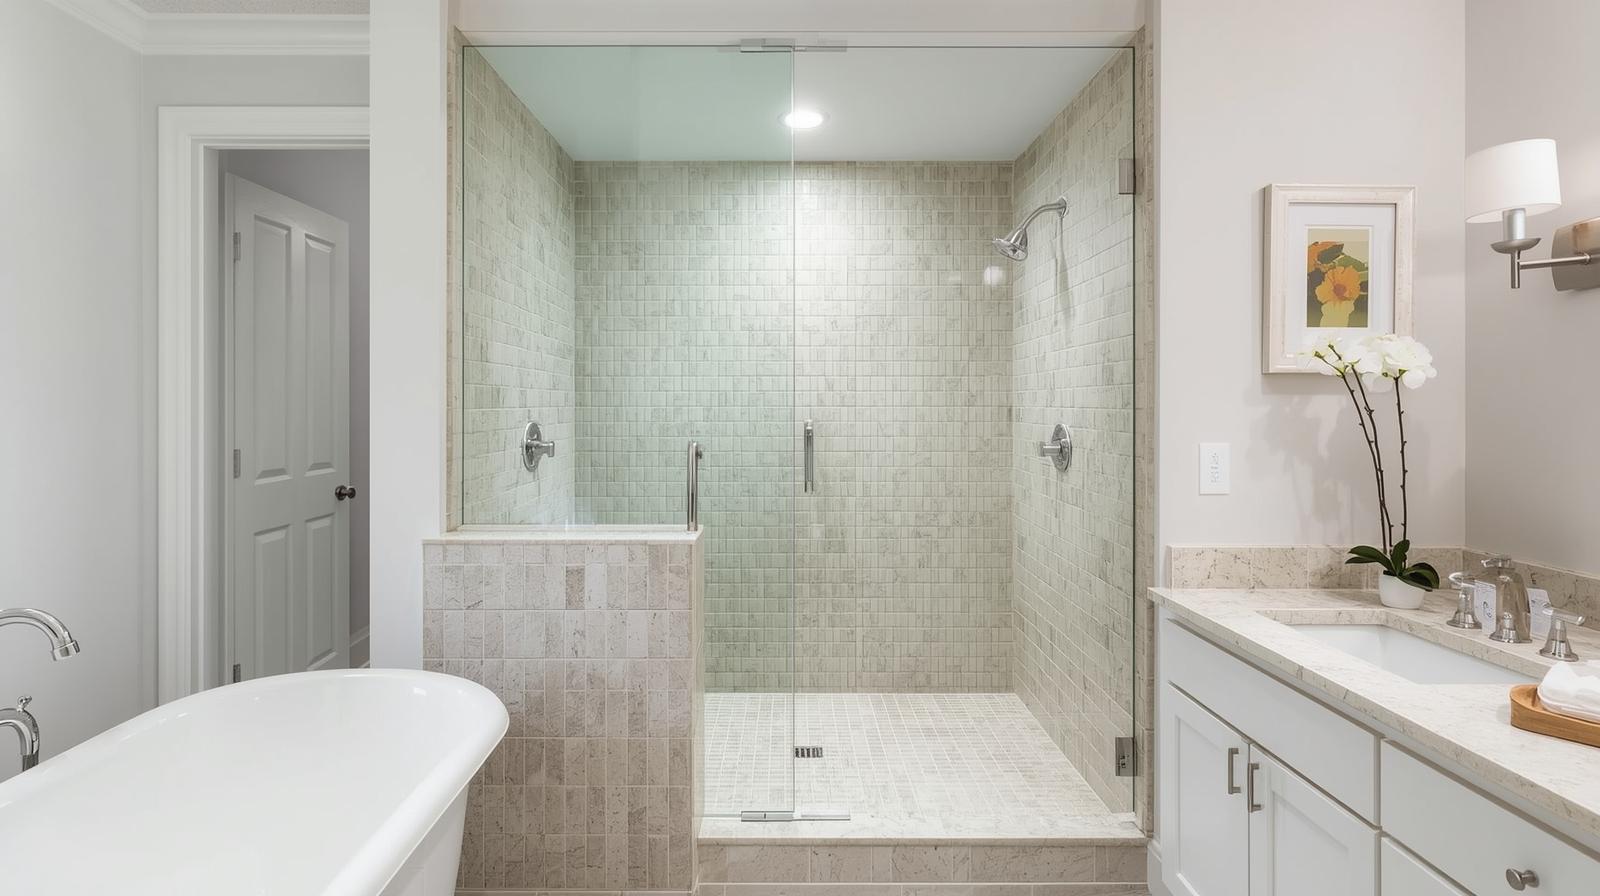
46. Glass Atop the Pony Wall
Combine a pony wall with a glass panel on top to get the best of both worlds: a solid base and an open top. Pony wall typically 42-48″ tall. Glass secured with U-channel or clips. Creates defined space while maintaining openness.
47. A Minimalist Handle
Choose a simple, low-profile handle or knob for your glass door. A huge, ornate handle adds unnecessary visual clutter. Consider integrated finger pull (slot in glass) for completely handle-free look.
48. The Glass Knee Wall
A short, fixed panel of glass can be just enough to stop water from splashing out, keeping the top half of the shower completely open. Typically 36-42″ tall. Mounts directly to floor or curb. Minimalist alternative to full enclosure.
49. Water-Repellent Coating
Invest in glass with a factory-applied coating (like DreamLine’s ClearMax). It makes water bead off, drastically reducing cleaning time. Coating lasts 5-10 years with proper care. Adds $200-$400 to glass cost but saves hours of cleaning.
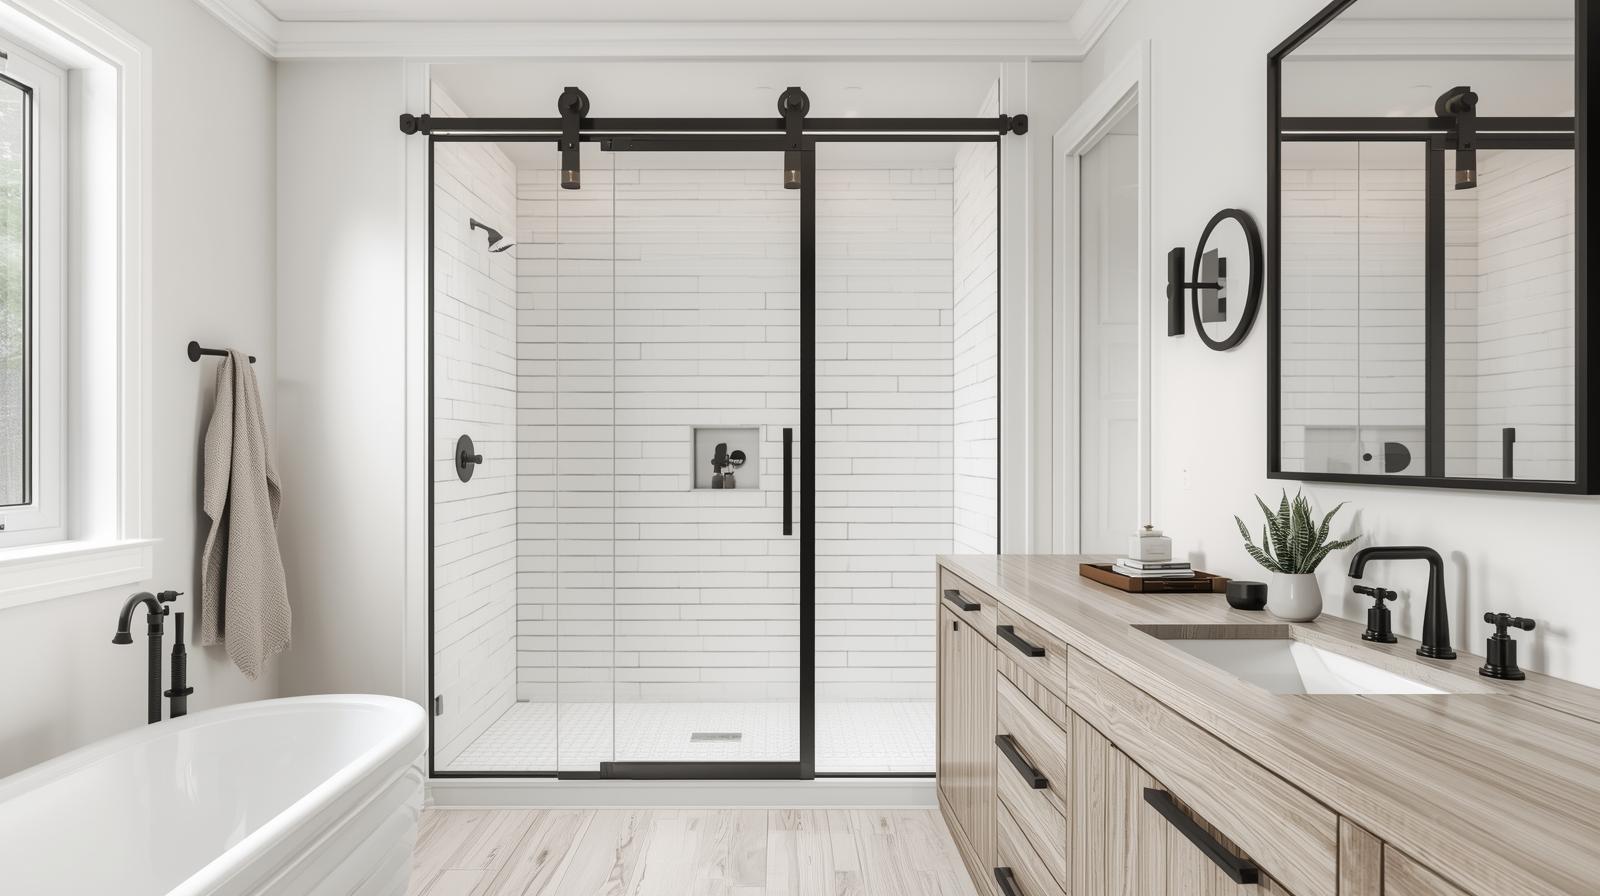
50. Barn Door Hardware
Large, exposed rollers on a top bar create a modern, industrial look and are a beautiful design feature in their own right. Requires sturdy header support. Track typically 6-8″ above door opening. Soft-close mechanisms recommended.
Glass Thickness Guidelines
Glass thickness impacts both safety and aesthetics: 3/8″ (10mm) tempered glass is standard for most shower doors and panels up to 36″ wide. For doors 36-48″ wide, upgrade to 1/2″ (12mm) glass for stability. For frameless designs or doors over 48″, 1/2″ is mandatory. Thicker glass (3/4″) is available for commercial applications but rarely needed in residential. Always specify tempered safety glass (ASTM C1048) and ensure proper installation with appropriate hardware rated for the glass weight (approximately 6.5 lbs/sq ft for 3/8″ glass).
Part 5: Smart Storage, Fixtures & Lighting Magic
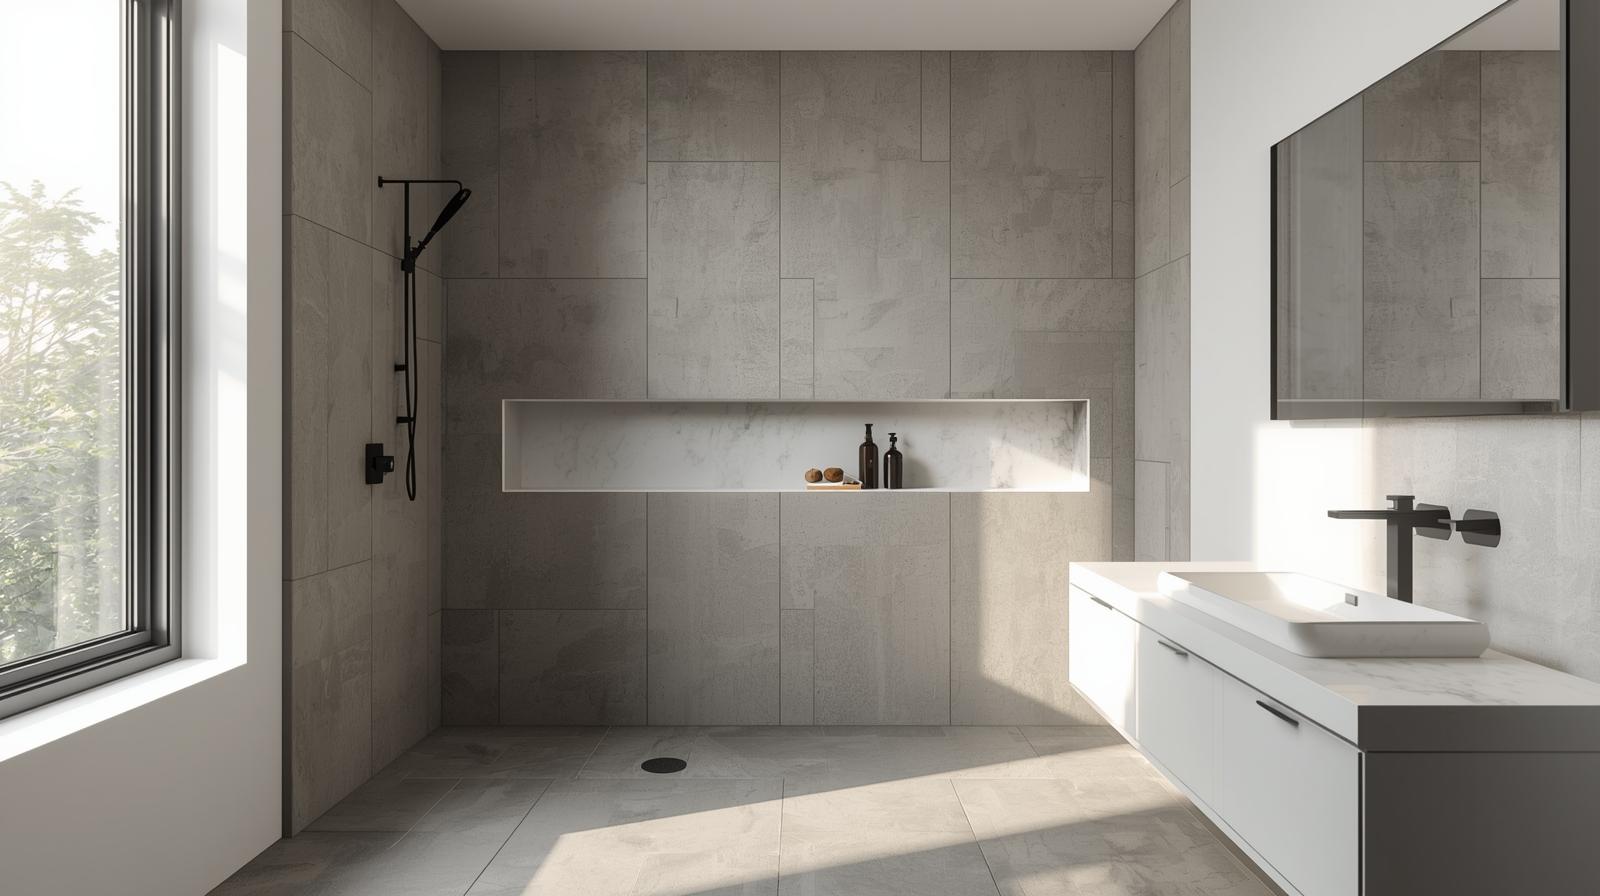
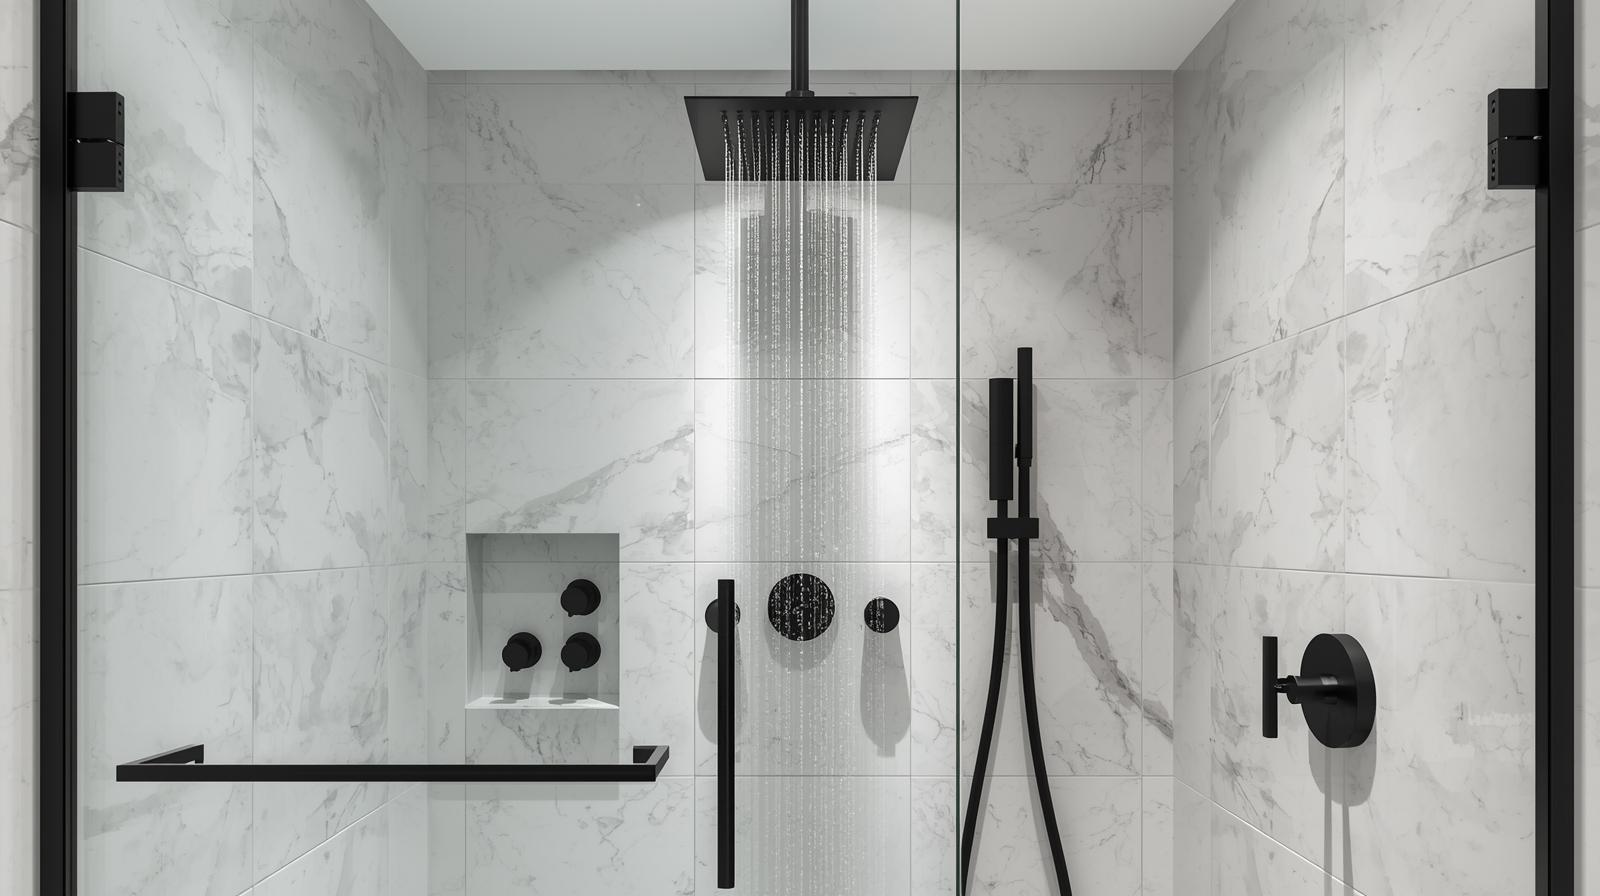
51. The Recessed Niche
The #1 rule of small shower storage: go into the wall, not out. A recessed niche holds all your bottles without taking up any elbow room. Minimum dimensions: 12″ wide x 16″ tall x 3.5″ deep. Place between studs (16″ OC). Slope shelf 1/8″ per foot for drainage.
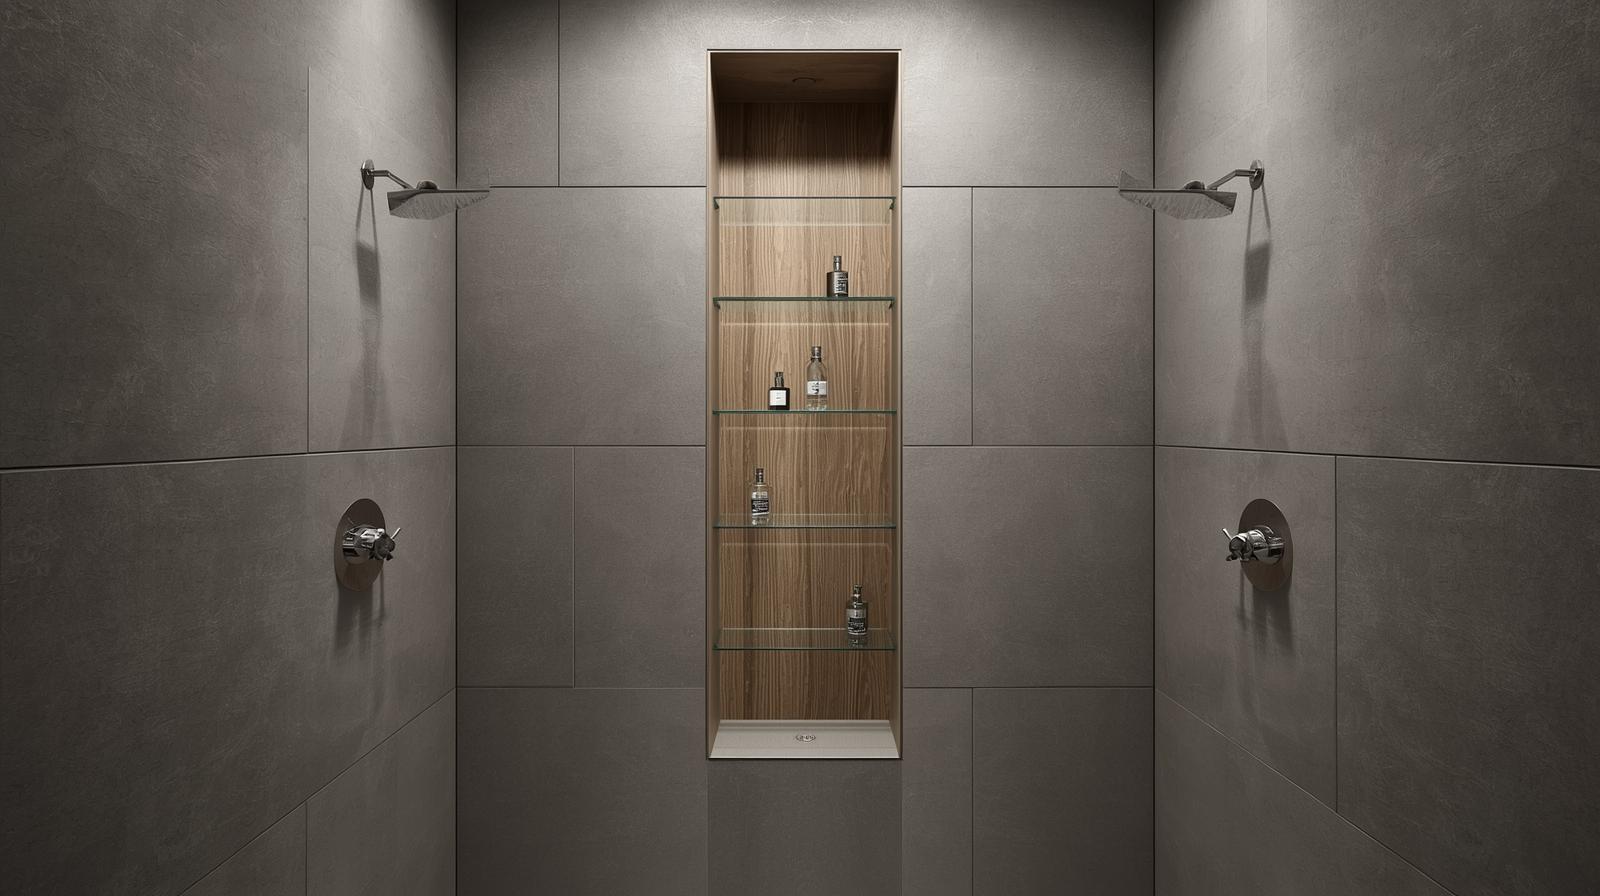
52. Go Vertical with the Niche
A tall, narrow niche emphasizes height and can hold more bottles than a standard square one. Add a glass shelf for even more storage. Dimensions: 6″ wide x 24″ tall x 3.5″ deep. Perfect between narrow stud spacing. Use waterproof LED strip for backlighting.
53. Wall-Mounted Fixtures
Wall-mounted faucets and controls keep the floor and pony walls clear, contributing to a cleaner, more minimalist look. Install valve body during rough-in phase. Consider thermostatic valves for precise temperature control in small showers.
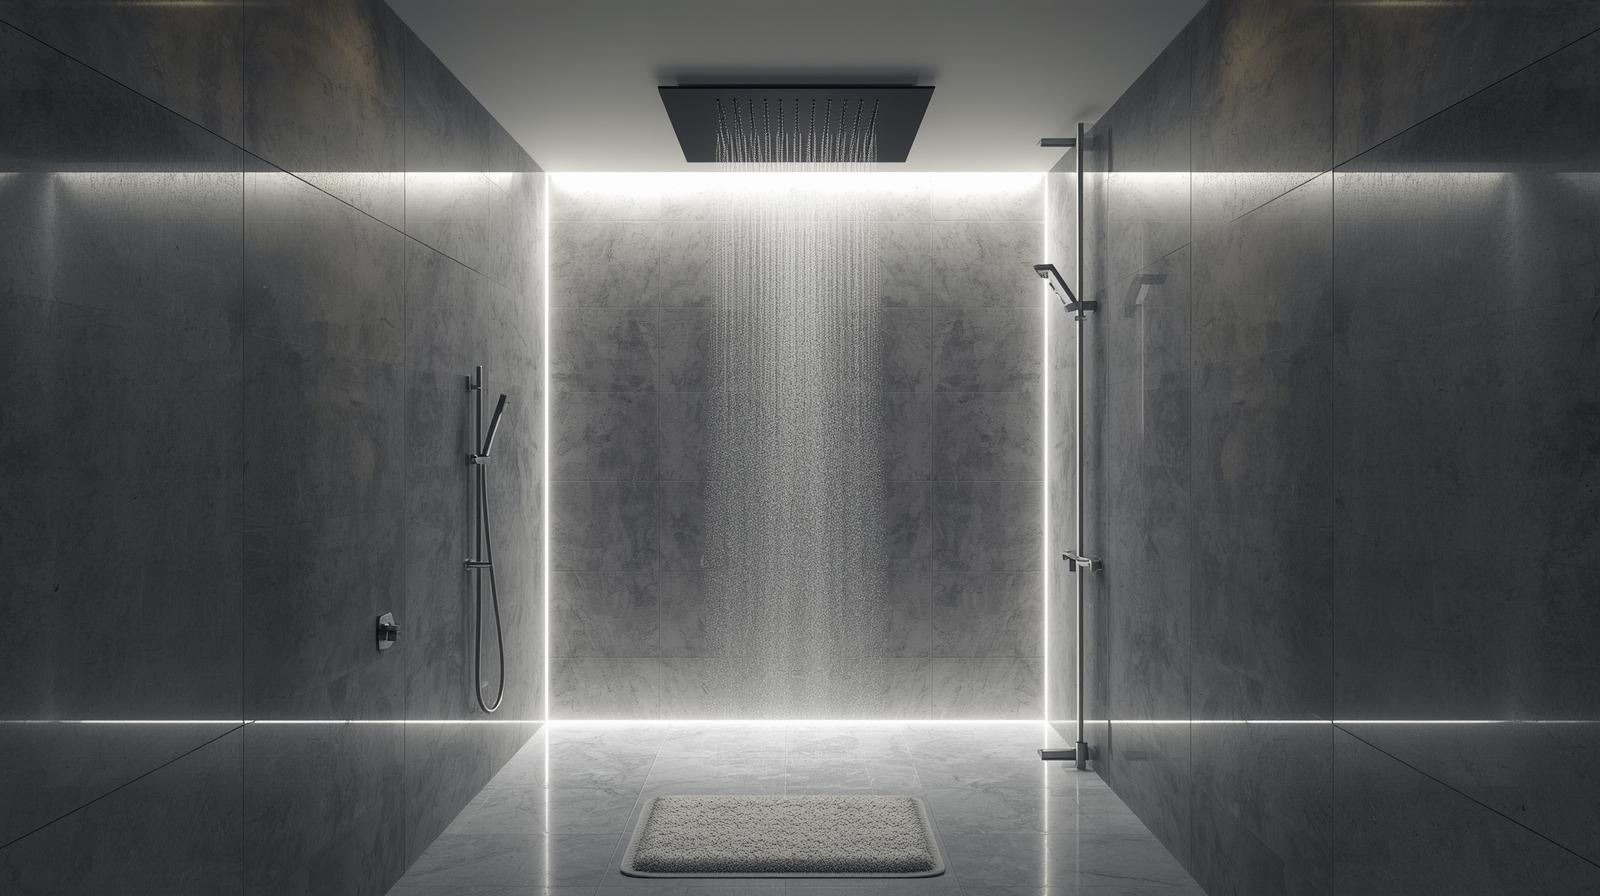
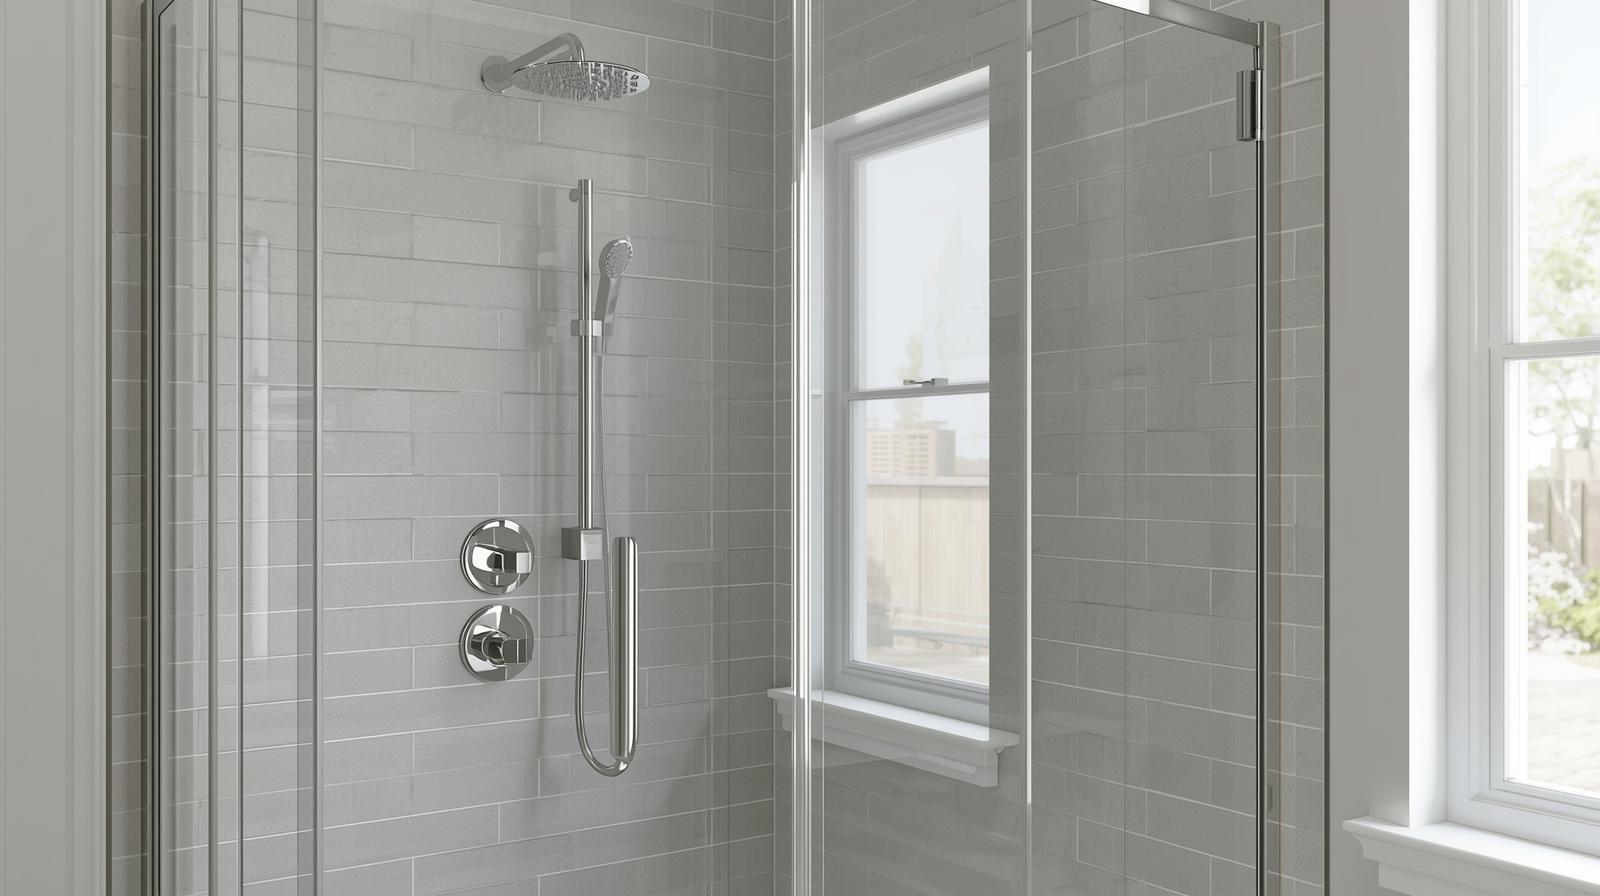
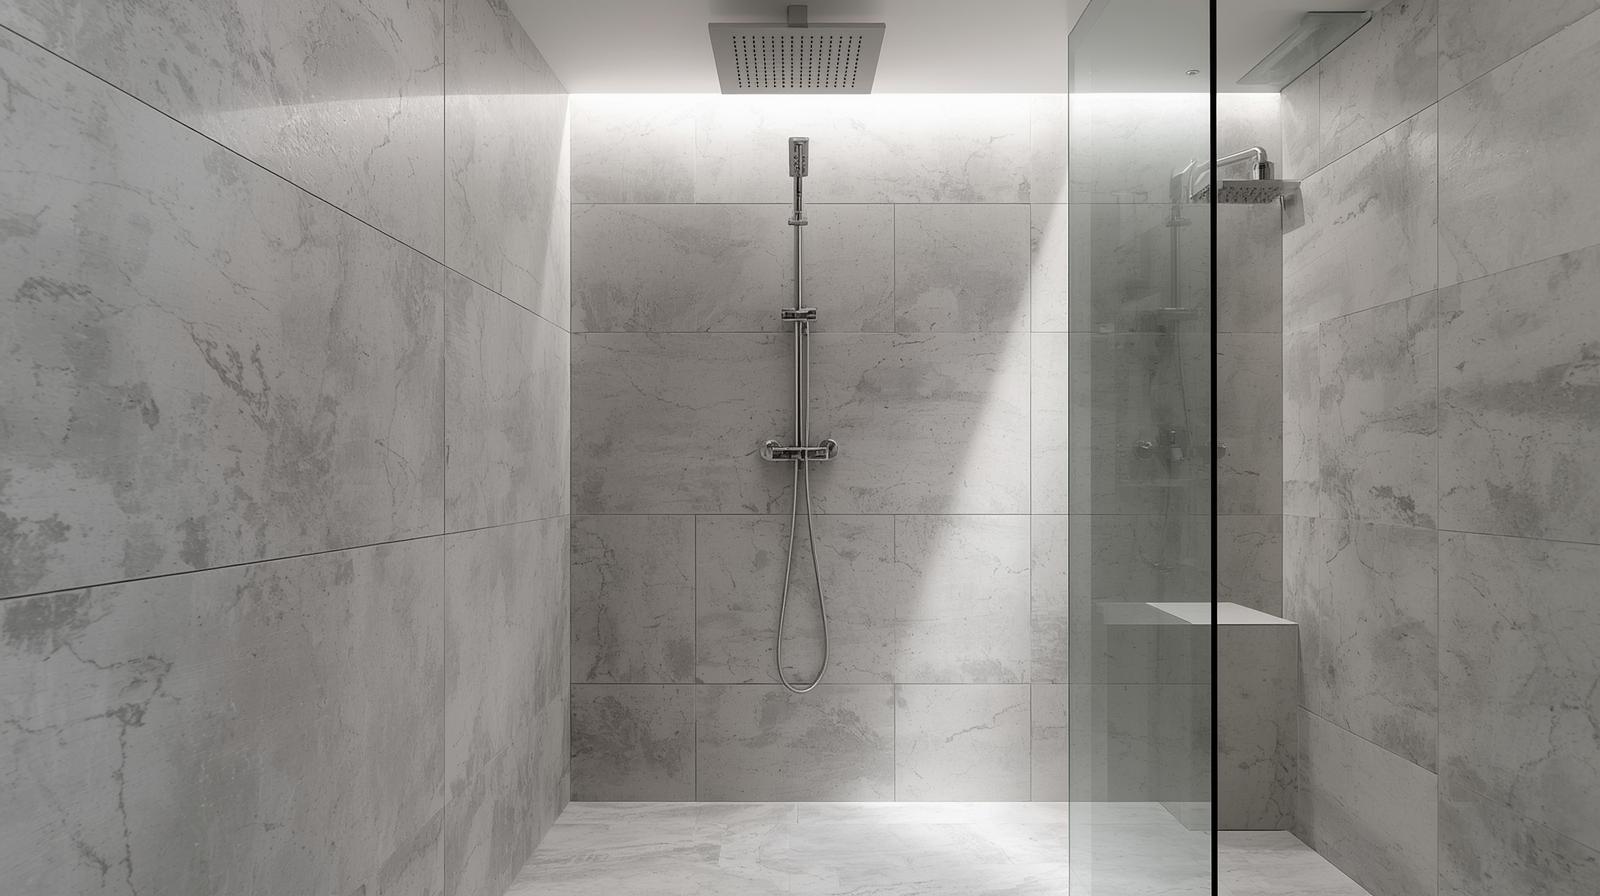
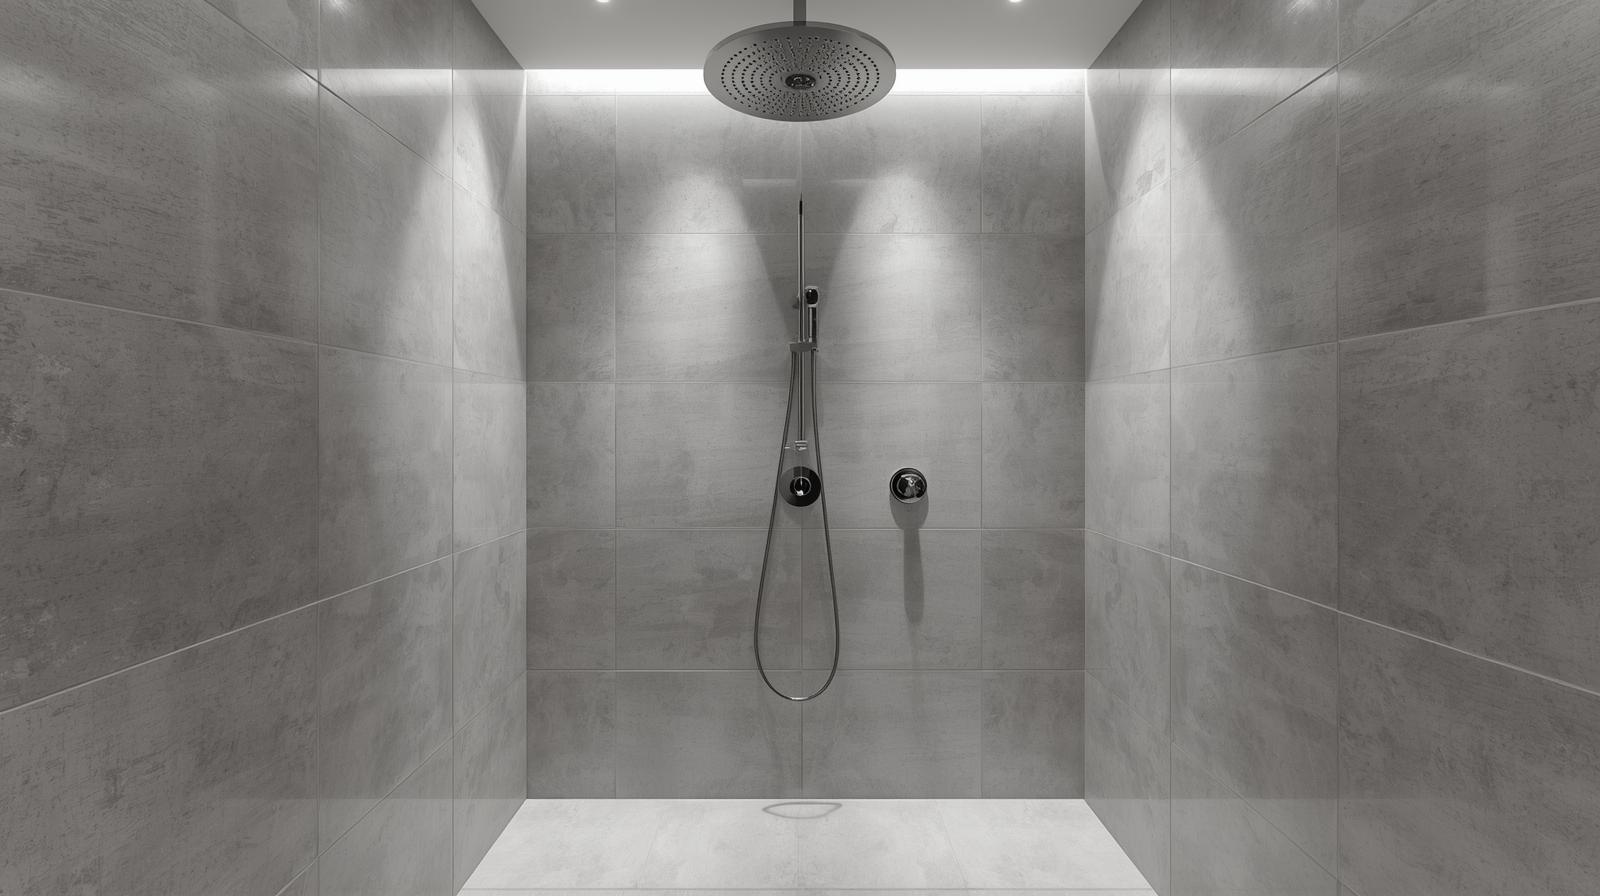
54. A Large Rainfall Head
A large, ceiling-mounted rainfall shower head provides a luxurious experience and draws the eye up, enhancing the sense of space. 8-12″ diameter typical. Requires separate supply line (1/2″) and support structure. Consider water-saving models (1.8 GPM).
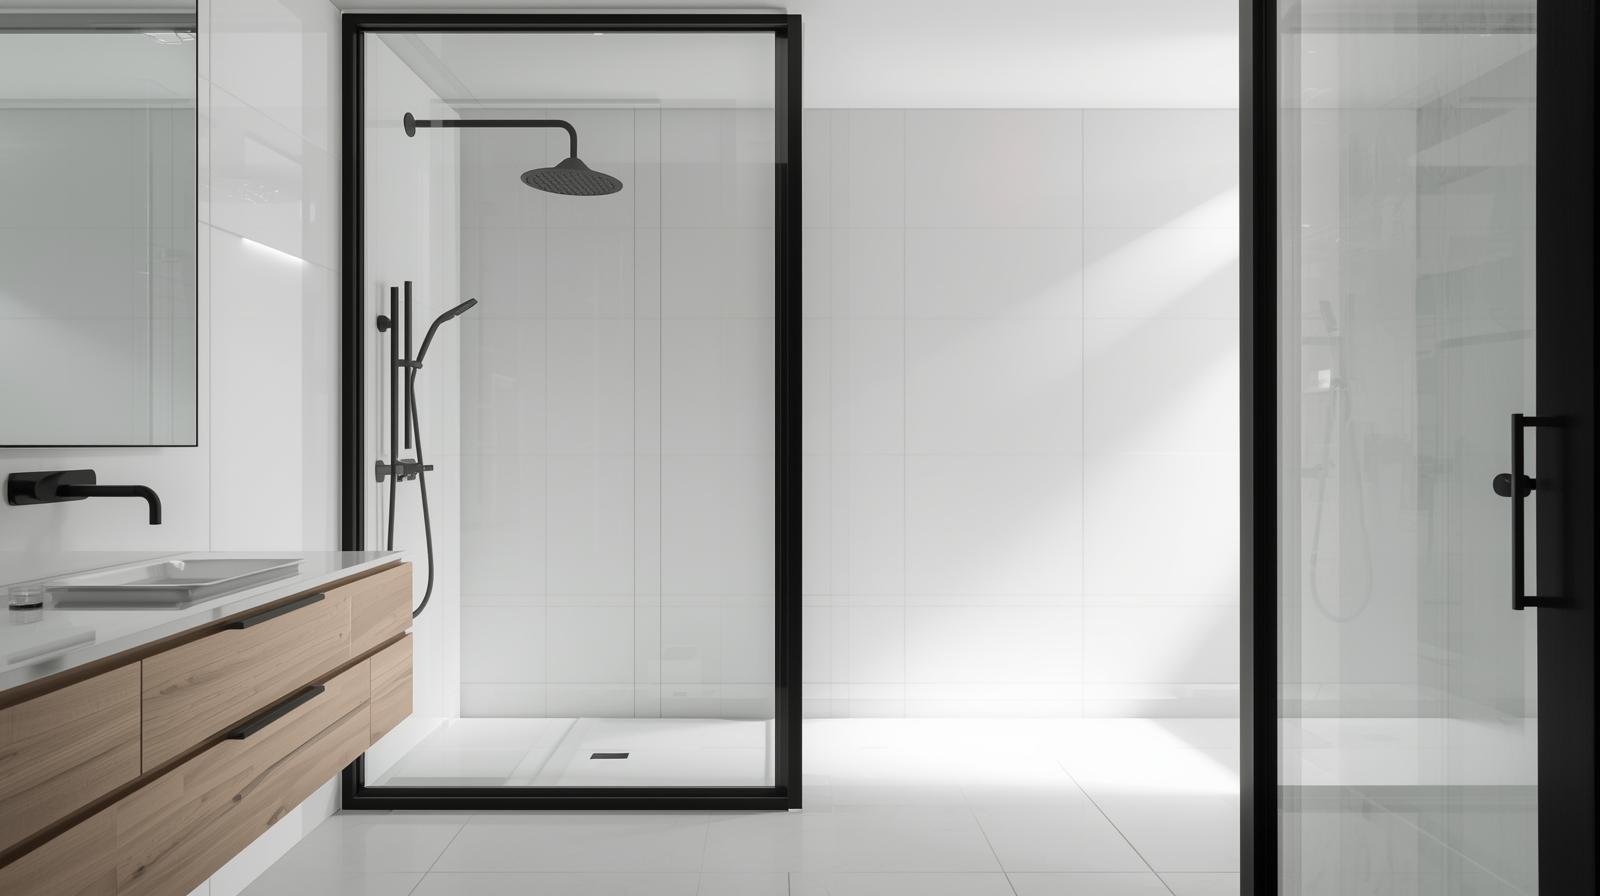
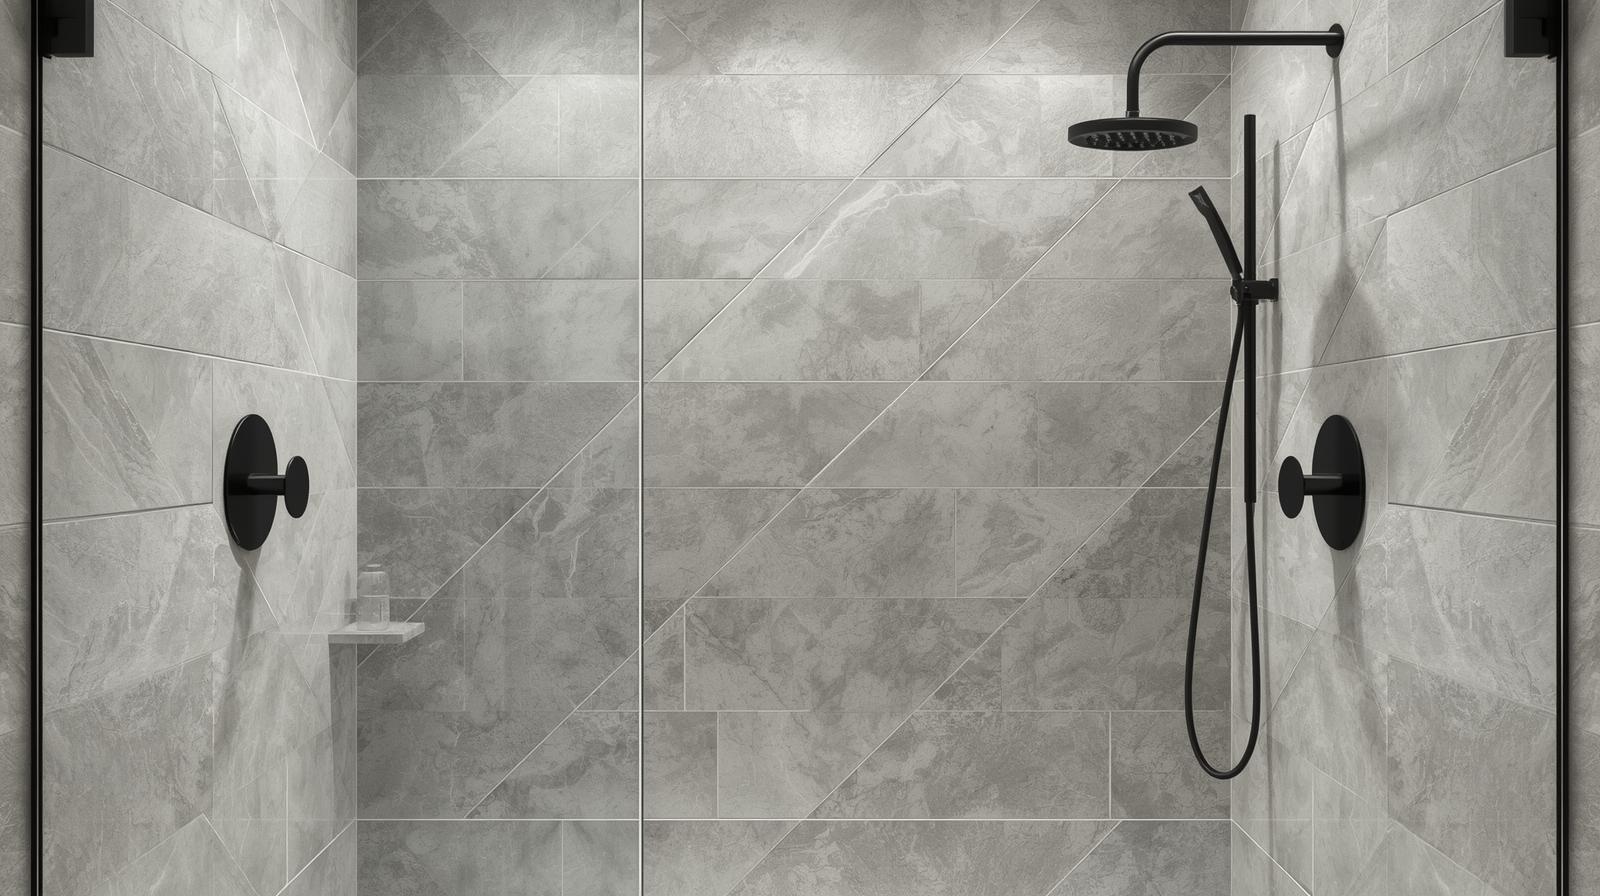
55. Statement Matte Black Fixtures
Matte black hardware creates a striking, modern contrast against light tiles and acts as a graphic focal point. PVD (Physical Vapor Deposition) coating most durable. Coordinate with towel bars and accessories for cohesive look.
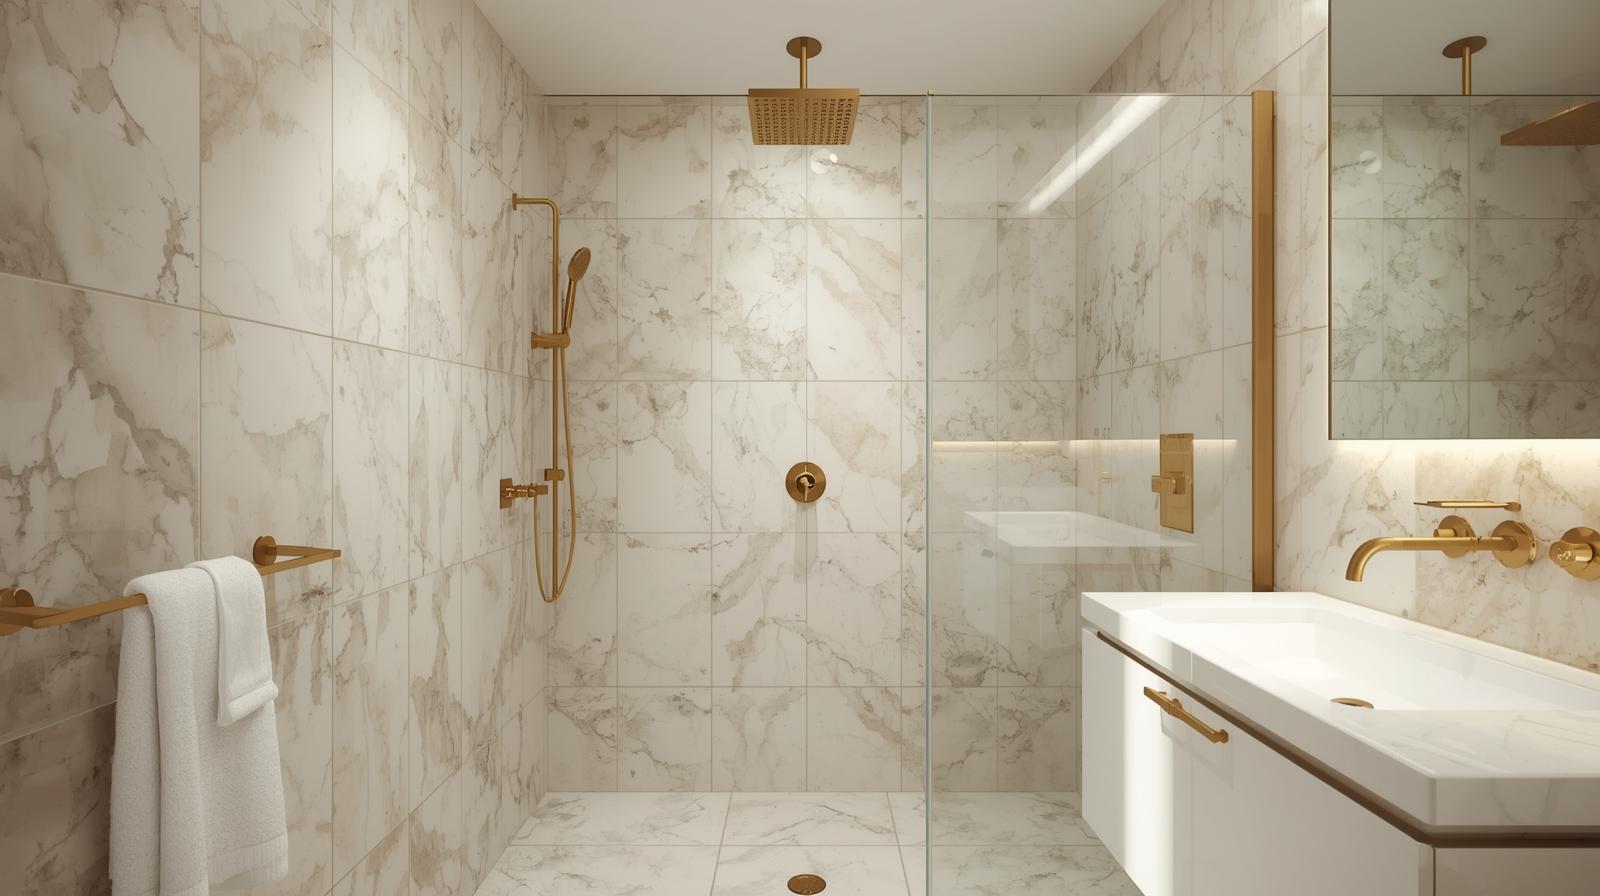
56. Warm Brushed Gold
For a touch of warmth and luxury, brushed gold or brass fixtures can make a small shower feel incredibly high-end and inviting. Living finishes develop patina over time. Consider oil-rubbed bronze for similar warmth with more durability.
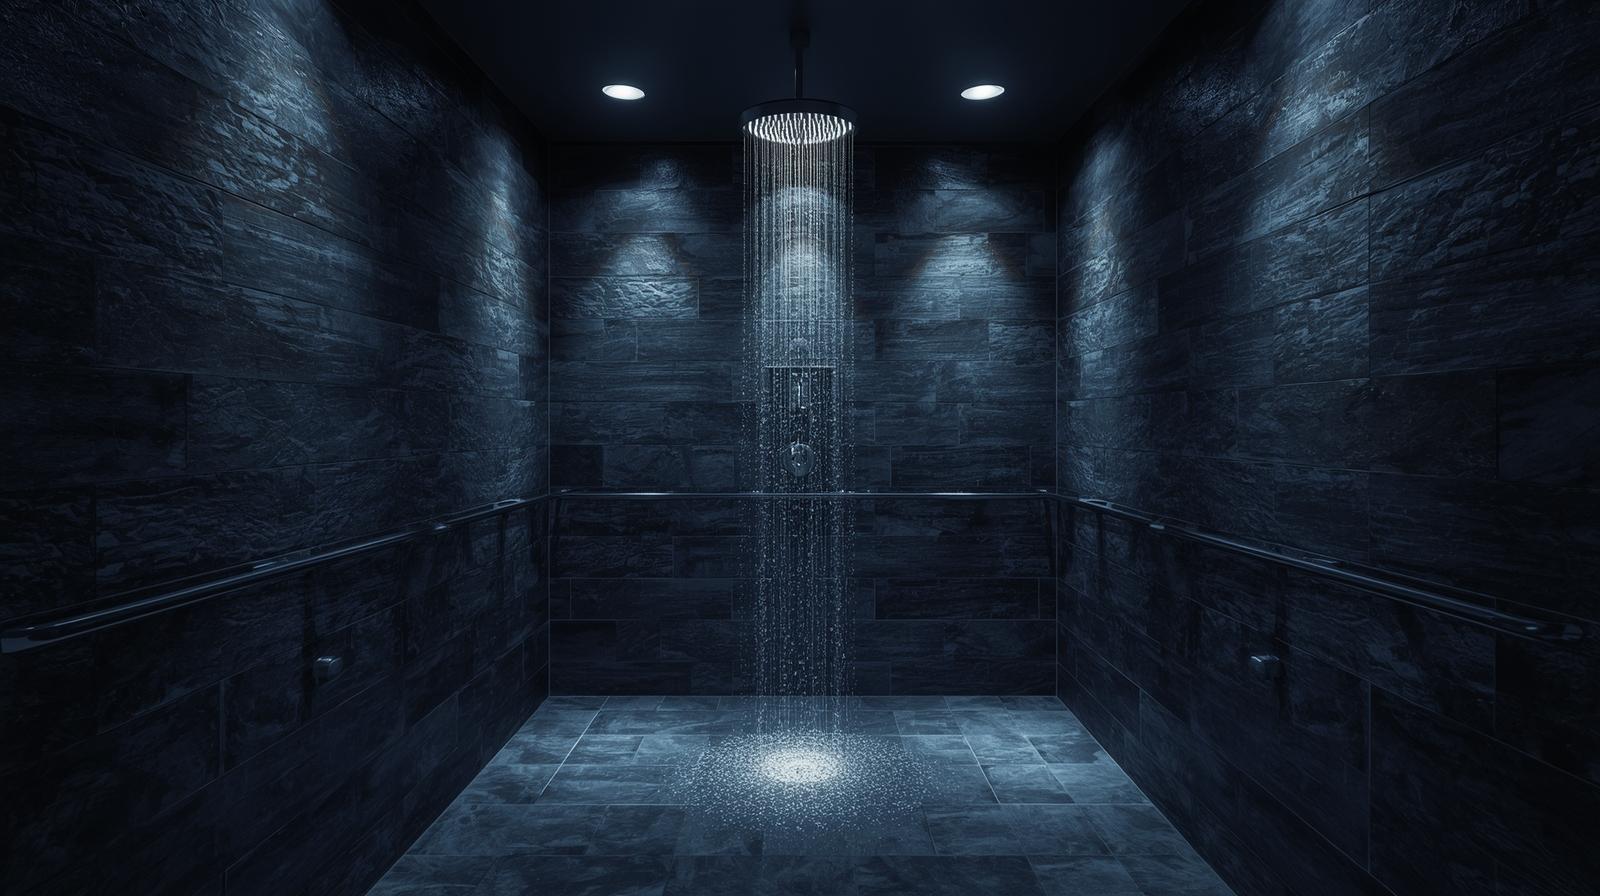
57. Add a Shower Light
Never underestimate the power of dedicated lighting. A waterproof recessed LED light directly over the shower makes it feel brighter and safer. Use wet-rated fixtures (IP65 or higher). 2700K-3000K color temperature for warm, flattering light. Dimmer compatible.
58. Coordinate Your Metals
Match the finish of your shower head and valve trim to your glass door hardware for a cohesive, intentionally designed look. Mixed metals can work but require careful planning. Stick to 2-3 metal finishes maximum in small space.
59. The Backlit Niche
For a truly spa-like vibe, install a waterproof LED strip light at the top of your recessed niche. It creates a beautiful, soft glow. Use IP67 rated strips. Consider color-changing RGB for mood lighting. Install transformer in accessible location.
60. A Handheld Wand
A handheld shower wand on a slide bar is incredibly practical for cleaning the shower and adds functionality without taking up much space. Slide bar allows height adjustment (48-72″ typical). Consider models with pause button for water conservation.
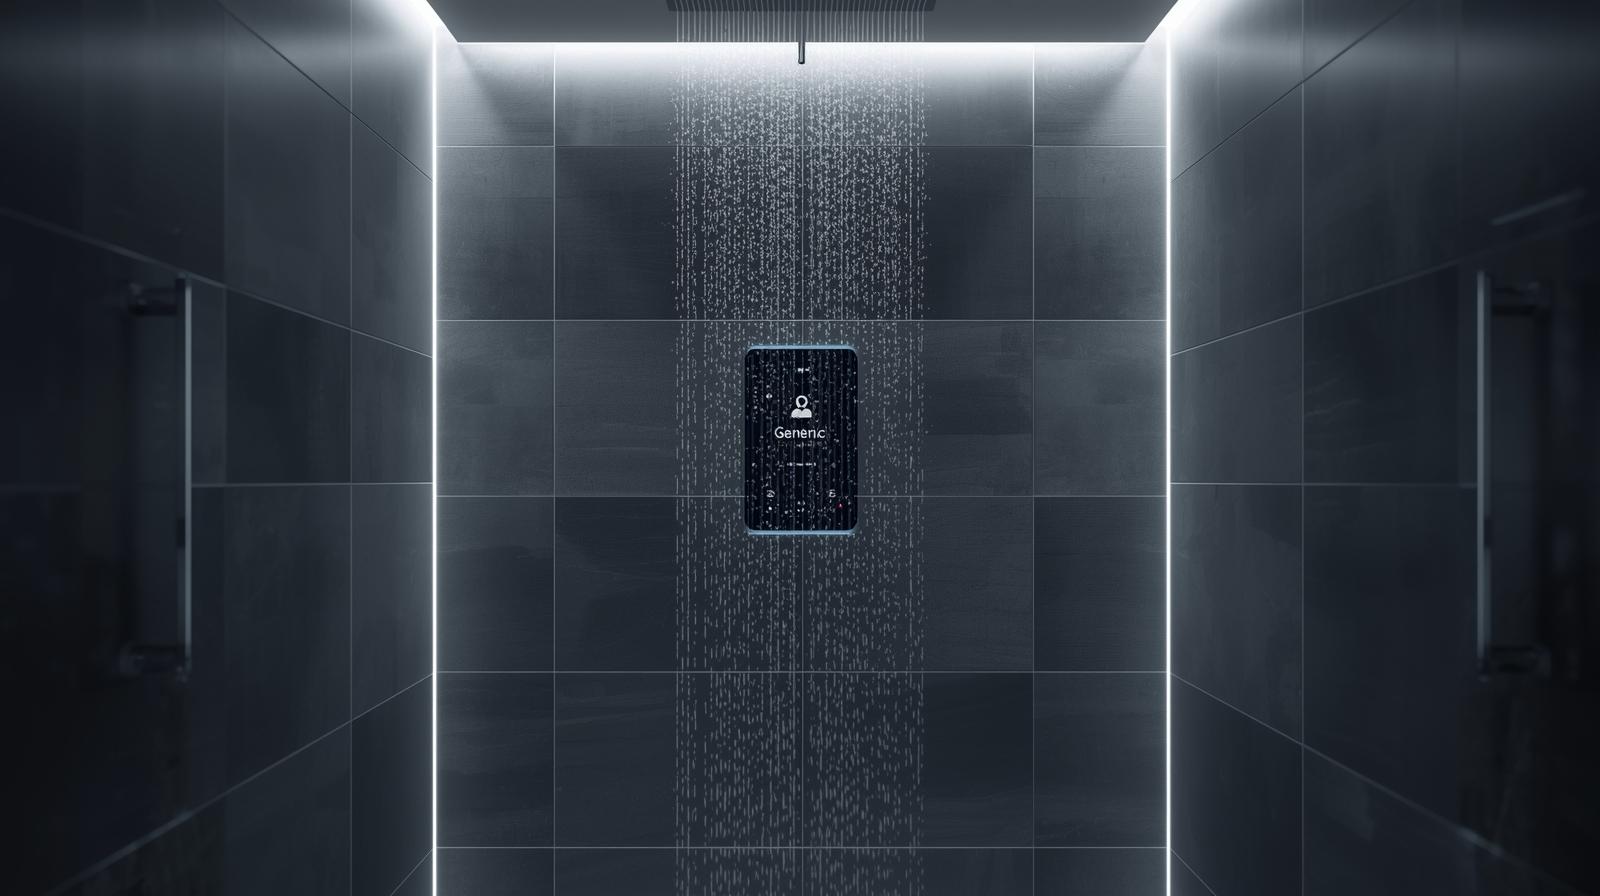
61. Sleek Digital Controls
Digital shower controls offer a super-slim profile and can be placed outside the shower, keeping the interior walls clean and minimalist. Requires electrical connection and thermostatic valve. Memory function saves preferred temperature settings.
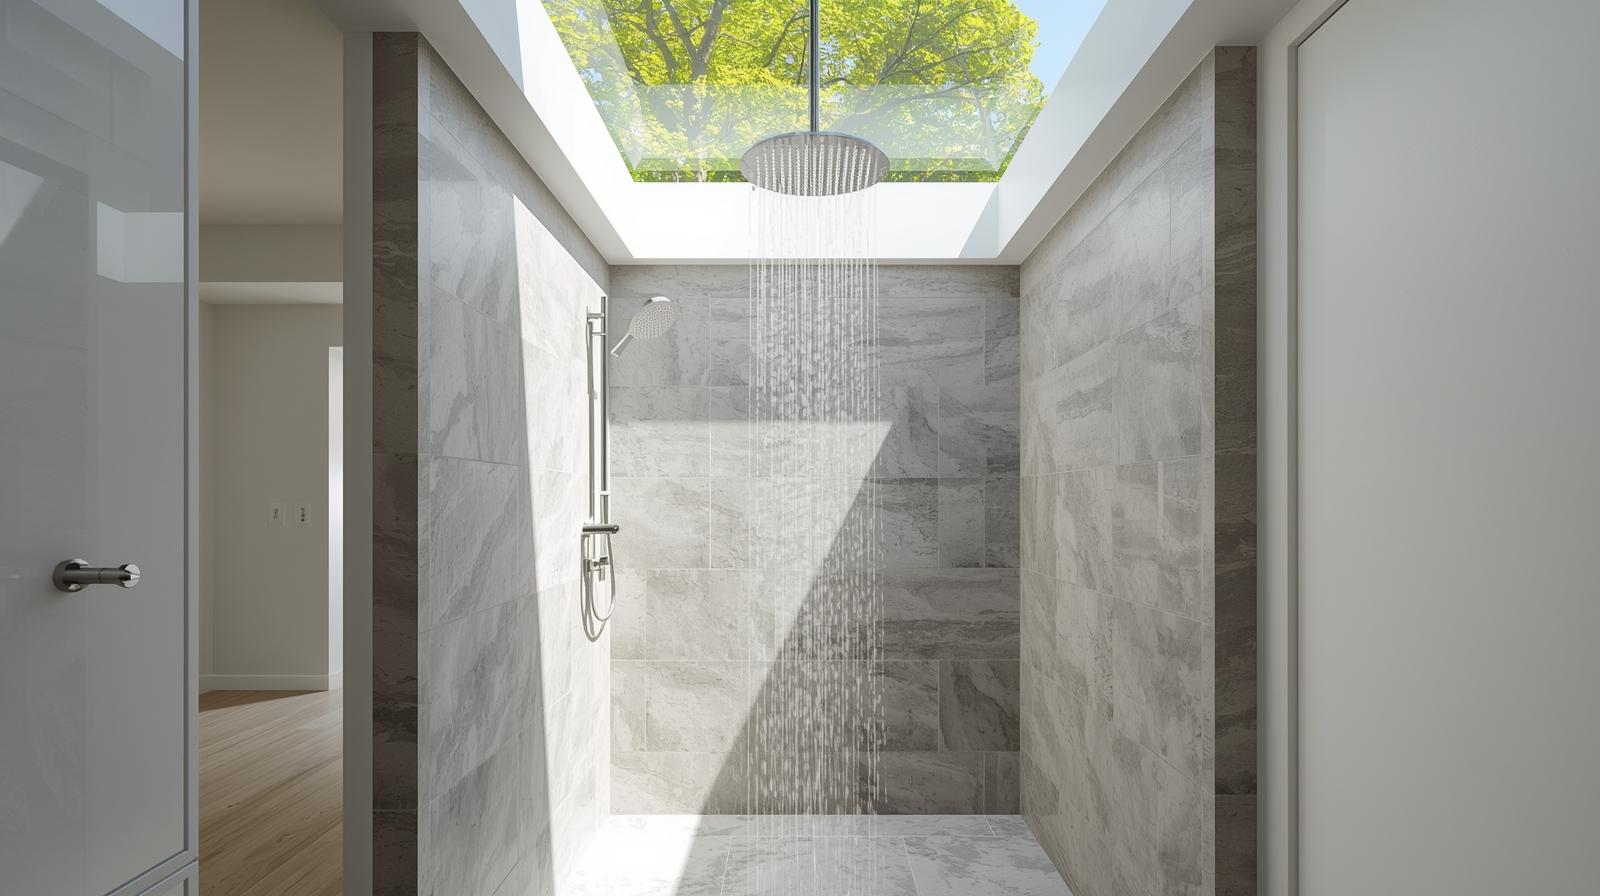
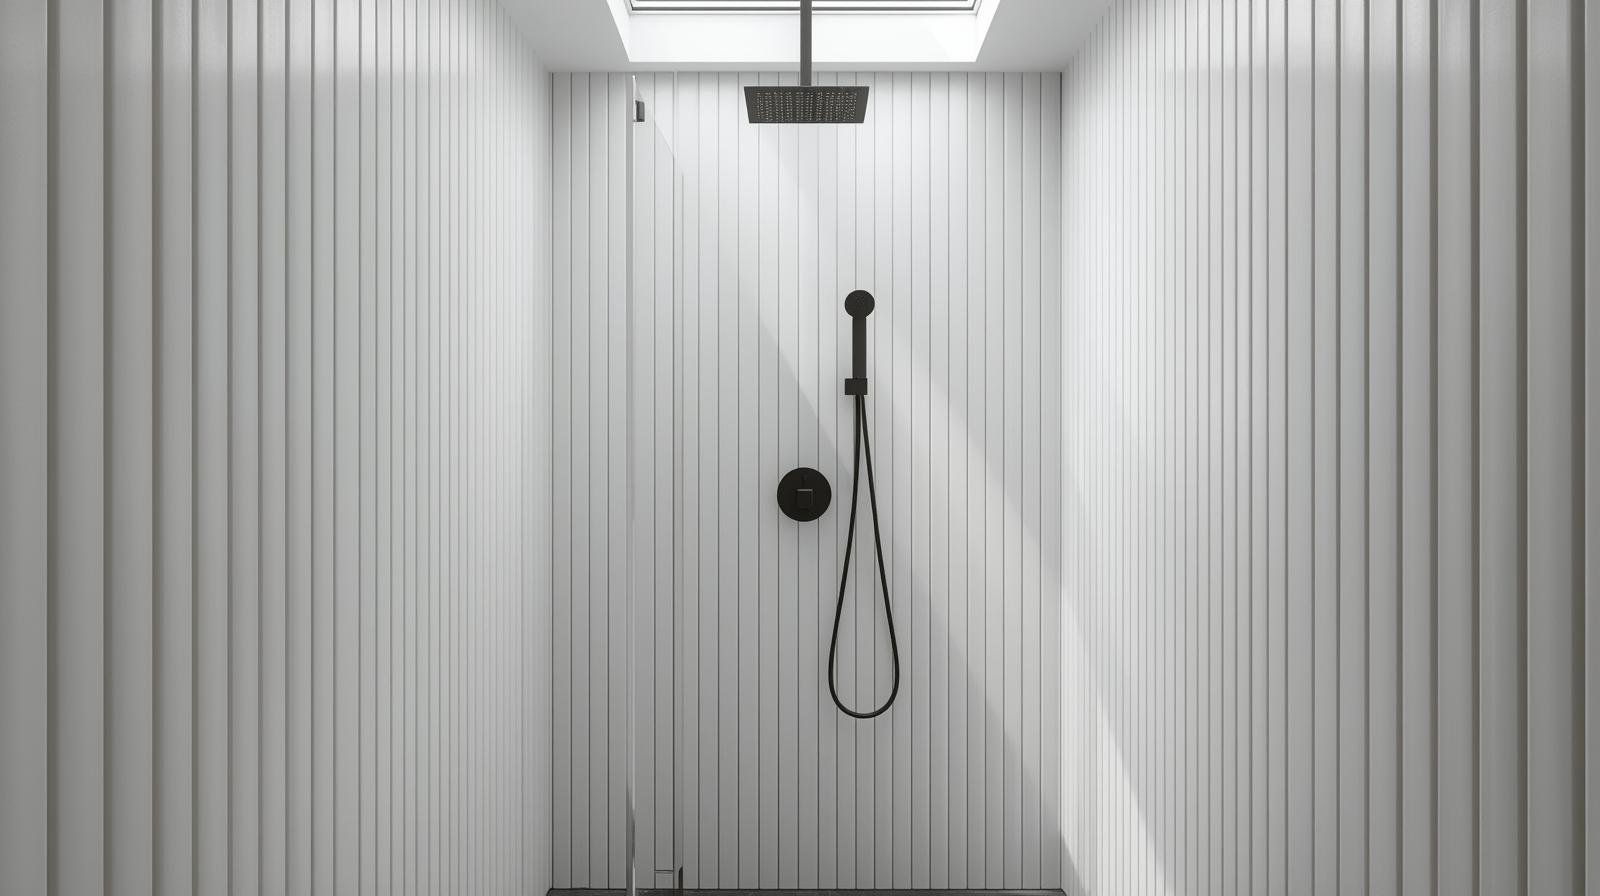
62. A Skylight Above
If structurally possible, a skylight directly over the shower will flood the space with natural light, making it feel heavenly and open. Use tempered, laminated glass. Consider solar-powered ventilation models. Minimum size 2′ x 2′ for meaningful light.
63. Floating Corner Shelves
If a niche isn’t possible, minimalist glass or stone floating corner shelves are the next best option for unobtrusive storage. Install at 48-54″ height. Use silicone adhesive and mechanical fasteners for secure installation. Tempered glass 3/8″ minimum.
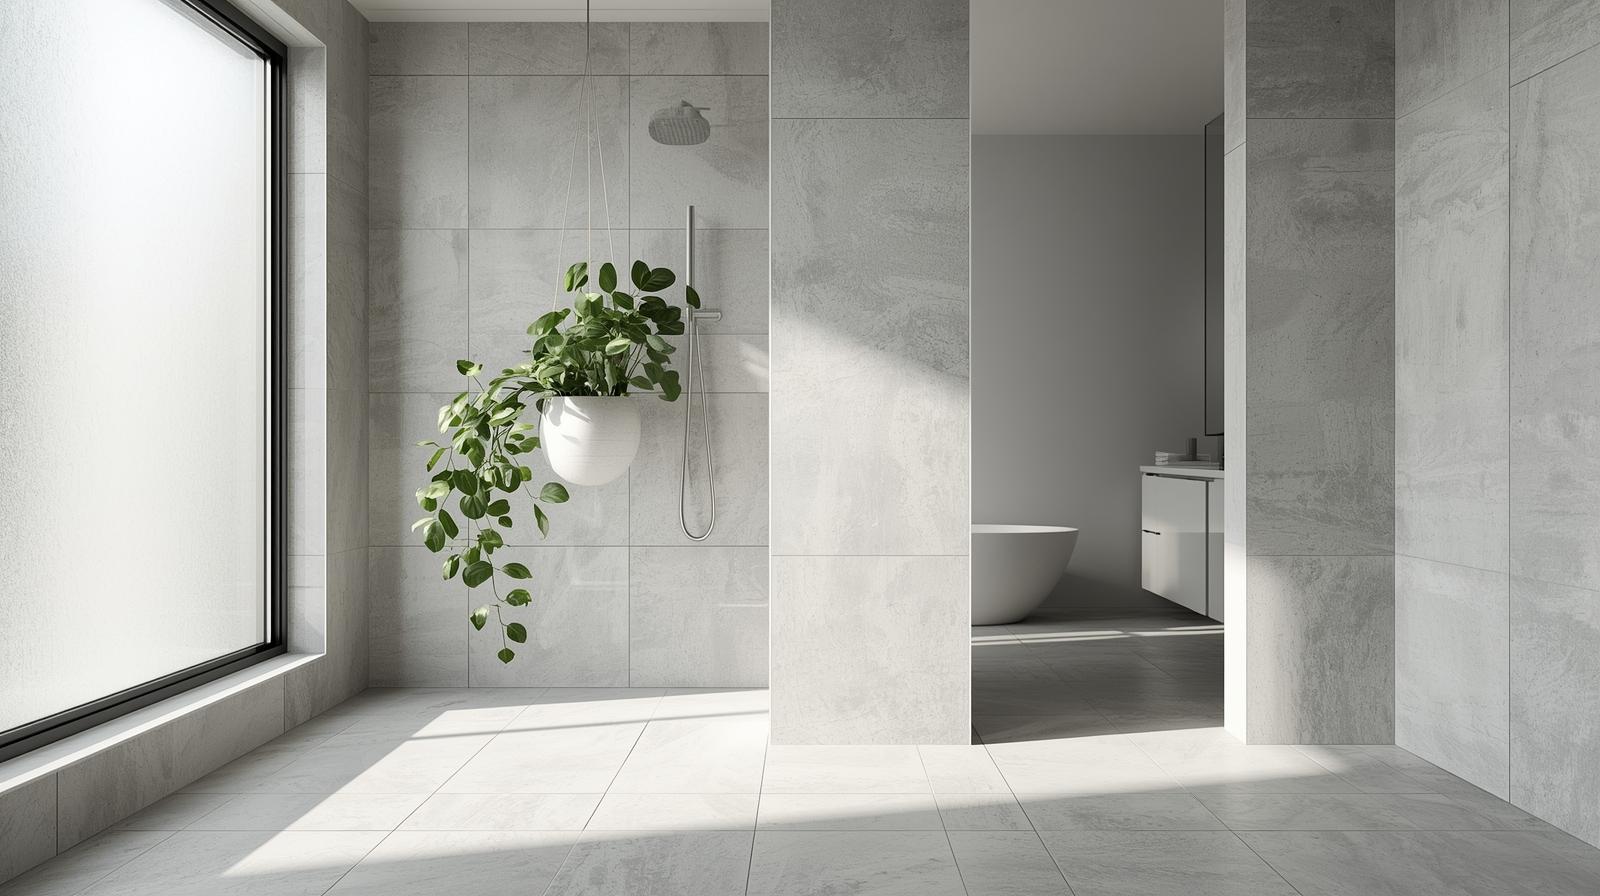
64. Add a Touch of Green
A small, humidity-loving plant like a eucalyptus branch or an air plant can make a shower feel fresh and spa-like. Consider built-in plant niche in corner. Use plants that thrive in 70-90% humidity: ferns, orchids, peace lilies.
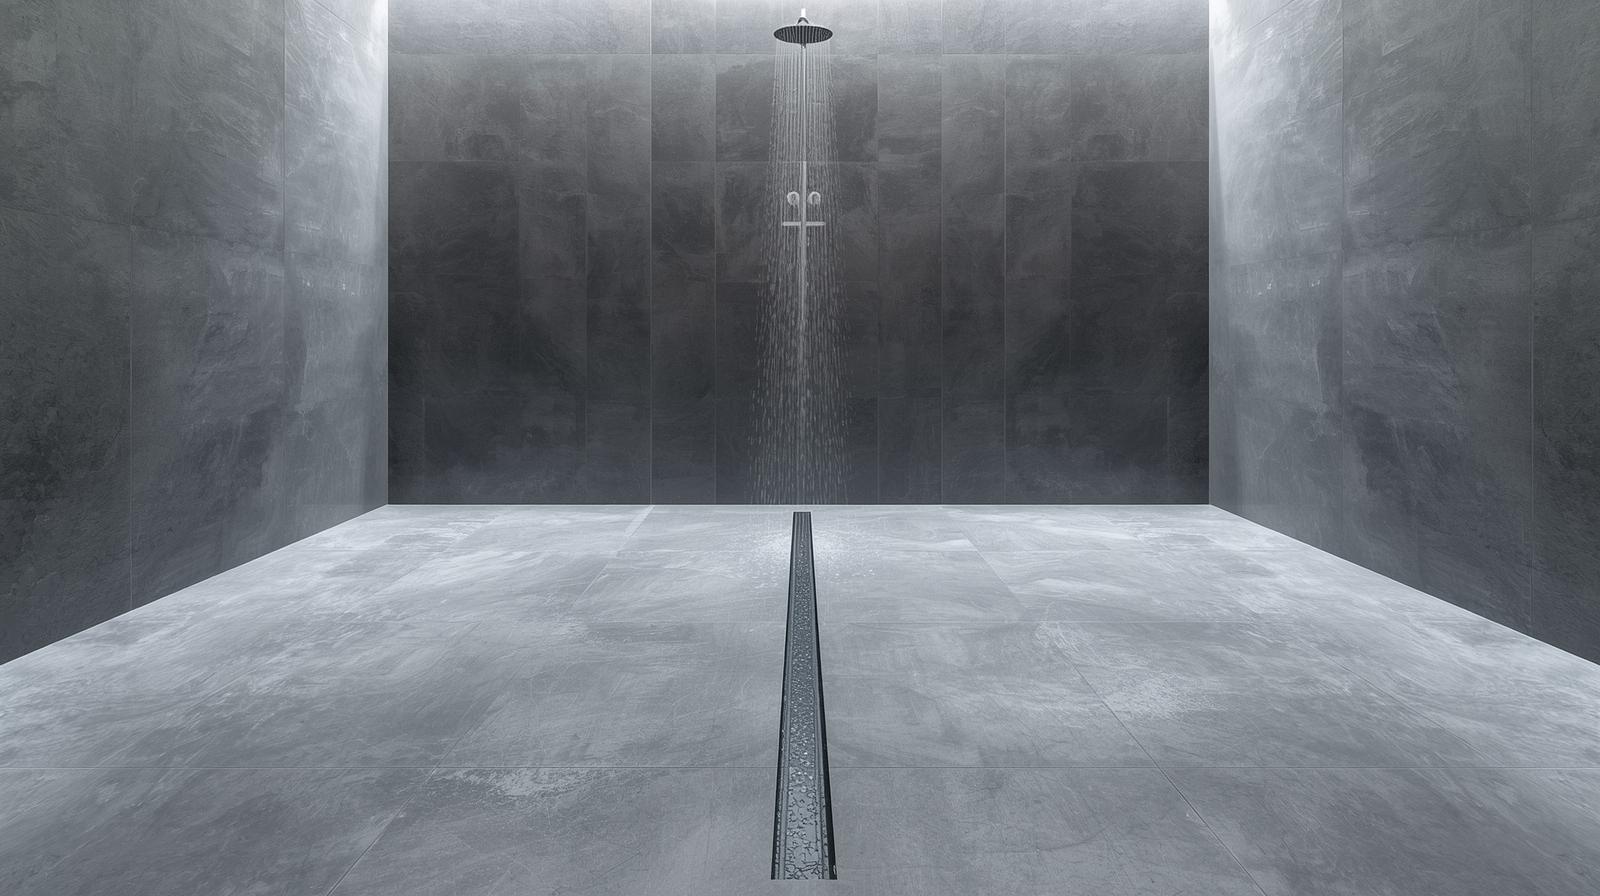
65. The Hidden Drain
For the ultimate seamless look, consider a tile-in linear drain, where the grate is covered with your floor tile, making it nearly invisible. Requires precise tile cutting and slope planning. Stainless steel channel with removable top for cleaning.
Ventilation Requirements for Small Showers
Proper Ventilation is Critical
Small showers generate significant moisture that must be properly managed:
CFM Requirements: Bathrooms under 50 sq ft require 50 CFM fan, 50-100 sq ft require 1 CFM per sq ft
Duct Sizing: 4″ diameter minimum, 6″ preferred for runs over 25 feet
Timer Switches: 20-60 minute automatic shutoff to ensure adequate moisture removal
Placement: As close to shower as possible, but not directly over shower head
Make-up Air: 1/2″ undercut on bathroom door or transfer grille required
Energy Recovery Ventilators (ERV): Consider for tightly sealed homes to maintain air quality
Part 6: Budget Planning and Project Management
Cost Breakdown for Small Walk-In Showers
Average Costs for Small Shower Remodels
| Component |
Budget |
Mid-Range |
Luxury |
Percentage of Total |
| Demolition & Prep |
$500-$800 |
$800-$1,200 |
$1,200-$2,000 |
10-15% |
| Waterproofing System |
$300-$600 |
$600-$1,200 |
$1,200-$2,500 |
8-12% |
| Tile & Materials |
$800-$1,500 |
$1,500-$3,000 |
$3,000-$8,000+ |
20-30% |
| Glass Enclosure |
$800-$1,500 |
$1,500-$3,000 |
$3,000-$6,000 |
15-25% |
| Plumbing Fixtures |
$300-$800 |
$800-$2,000 |
$2,000-$5,000 |
10-15% |
| Labor (Professional) |
$2,000-$4,000 |
$4,000-$8,000 |
$8,000-$15,000+ |
30-50% |
| Total Project |
$4,700-$9,200 |
$9,200-$18,400 |
$18,400-$38,500+ |
100% |
Note: Costs vary significantly by region, material choices, and project complexity. Add 15-20% contingency for unexpected issues.
Project Timeline for Small Shower Remodel
Typical 4-6 Week Project Schedule
- Week 1: Planning & Materials (3-5 days): Design finalization, material selection, permitting, ordering custom glass and tile
- Week 2: Demolition & Rough-in (3-4 days): Remove existing shower, plumbing/electrical rough-in, structural modifications if needed
- Week 3: Waterproofing & Prep (2-3 days): Install shower pan/floor, apply waterproofing membrane, install cement board
- Week 4: Tile Installation (4-6 days): Set tile walls and floor, grout, allow proper curing time (48-72 hours)
- Week 5: Fixtures & Glass (2-3 days): Install shower fixtures, glass enclosure, lighting, accessories
- Week 6: Finishing & Inspection (1-2 days): Caulking, cleaning, final plumbing connections, inspection if required
Total Time: 4-6 weeks from start to completion, assuming no major complications or custom order delays.
Essential Products for Small Shower Construction

Schluter KERDI Waterproofing
Premium waterproofing membrane for showers. 4′ x 33′ roll covers approximately 130 sq ft. Includes sealing fleece for corners and joints. Essential for leak-free showers.
View on Amazon

Linear Shower Drain System
32″ stainless steel linear drain with tile-in grate. Includes pre-sloped foam pan for easy installation. Perfect for curbless showers in small bathrooms.
View on Amazon

Pre-formed Shower Niche
12″ x 16″ x 3.5″ PVC shower niche. Fits between standard stud spacing. Includes adjustable shelves. Easy to tile and waterproof around.
View on Amazon

Matte Black Shower Set
Complete shower system with rainfall head, handheld wand, and thermostatic valve. PVD coating for durability. Modern design perfect for small spaces.
View on Amazon
Part 7: Special Considerations and Advanced Features
Steam Shower Compatibility in Small Spaces
Steam Generator Requirements
• Minimum shower volume: 35 cubic feet (approx. 3′ x 3′ x 4′)
• Generator size: 4-6 kW for small showers (1 kW per 50-75 cubic feet)
• Location: Within 25 feet of shower, accessible for service
• Ventilation: Must have automatic shutoff when door opens
• Cost: $1,500-$3,000 for generator + $2,000-$4,000 installation
Construction Modifications
• Ceiling slope: Minimum 2″ per foot to prevent dripping
• Door seals: Full perimeter compression seals required
• Bench: Required (typically 17-19″ high)
• Controls: Must be outside steam area for safety
• Lighting: Vapor-proof fixtures with proper IP rating
Material Requirements
• All surfaces must be non-porous (porcelain, glass, stone)
• Grout: Epoxy or urethane-based only (no cement grout)
• Ceiling: Must be tiled or sealed glass
• Door: Full-height, well-sealed tempered glass
• Drain: Must handle condensation runoff
Heated Floors for Small Showers
Electric Radiant Floor Heating
Electric floor heating adds comfort and luxury to small showers:
System Types: Mat systems for regular layouts, loose cable for irregular spaces
Power Requirements: 10-15 watts per square foot for showers
Installation Depth: 1/8-1/4″ below tile surface
Thermostat: Waterproof, programmable with floor sensor
Cost: $8-$15 per square foot installed
Energy Use: 0.5-1.5 kWh per hour for typical small shower
Installation Timing: After waterproofing, before tile installation
Accessibility Retrofits for Existing Showers
Converting Existing Showers to Accessible
- Remove existing curb and create zero-threshold entry
- Install linear drain at entrance for proper slope
- Add grab bars on 3 walls at 33-36″ height
- Install fold-down seat rated for 300-500 lbs
- Replace controls with lever handles at 38-48″ height
- Add hand-held shower with 6′ hose on vertical bar
- Improve lighting to minimum 50 foot-candles at floor
- Add non-slip flooring with COF > 0.60 wet
Common Mistakes to Avoid
1. Insufficient waterproofing: This is the #1 cause of shower failures. Don’t cut corners here.
2. Improper slope: Minimum 1/4″ per foot toward drain. Test with level before tiling.
3. Wrong tile for floors: Use tiles with slip resistance (COF > 0.60 wet).
4. Poor ventilation: Inadequate exhaust leads to mold and mildew problems.
5. Ignoring building codes: Permits and inspections exist for safety reasons.
6. Underestimating costs: Always budget 15-20% extra for unexpected issues.
7. DIY beyond skill level: Water damage from improper installation can cost thousands.
Conclusion: Creating Your Perfect Small Walk-In Shower
Designing a walk-in shower for a small bathroom requires careful planning, smart material choices, and attention to detail, but the results are transformative. By implementing the ideas presented in this guide, you can create a shower that not only fits your space but enhances it, making your bathroom feel larger, brighter, and more luxurious.
Final Design Checklist
Before starting your project, verify:
✓ Minimum 36″ x 36″ clear shower area
✓ Proper waterproofing system selected and planned
✓ Adequate ventilation (50+ CFM exhaust fan)
✓ All necessary permits obtained
✓ Materials selected (tile, glass, fixtures)
✓ Budget includes 15-20% contingency
✓ Timeline accounts for material lead times (glass: 2-4 weeks, tile: 1-3 weeks)
✓ Professional help arranged for complex tasks (plumbing, electrical, glass installation)
Remember that the most successful small shower designs prioritize function alongside form. Every element should serve a purpose while contributing to the overall aesthetic. With proper planning and execution, your small walk-in shower will provide years of enjoyment and add significant value to your home.
Whether you choose a simple 36″ square shower with a single glass panel or a fully customized wet room with heated floors and steam capabilities, the key is thoughtful design tailored to your specific space and needs. Use this guide as your roadmap, consult with professionals when needed, and create the small bathroom shower of your dreams.