How to Install a Rainfall Shower Head: The Complete DIY Guide (Wall & Ceiling)
Transforming your daily wash into a spa-like retreat is easier than you think. While upgrading to a full rainfall shower system might require a plumber, simply installing a rainfall shower head is a beginner-friendly DIY project that takes less than 30 minutes. It is the single most impactful upgrade you can make to your bathroom without tearing down tiles.
However, getting that perfect vertical “rain” flow usually requires more than just screwing on a new head. You need to consider arm height, water pressure, and clearance. If you have ever stood under a weak drizzle wondering why your shower head pressure is low, this guide will not only show you how to install the fixture but also how to optimize it for maximum flow.
⚠️
Safety Check: While replacing a shower head is generally safe, always ensure your footing is secure. If you are standing in a wet tub, use a non-slip mat. We often answer questions like
is it dangerous to shower during a thunderstorm (yes!), but slipping during installation is a far more common DIY injury.
Phase 1: Preparation and Tools
Before we start twisting pipes, let’s gather what you need. The beauty of this project is that it requires minimal tooling.
Choosing the Right Arm
Standard shower arms stick out of the wall at a 45-degree angle. Rainfall heads work best when they are horizontal (parallel to the floor). To achieve this without plumbing, you have two options:
- S-Curve Arm: Raises the height and positions the head vertically.
- Adjustable Extension Arm: Attaches to existing plumbing and allows you to adjust angle and height.
If you are planning a major renovation, you might be looking at walk-in shower ideas where a ceiling mount is possible, but for this guide, we will focus on wall-mounted retrofits.
Phase 2: Step-by-Step Installation
Remove the Old Shower Head
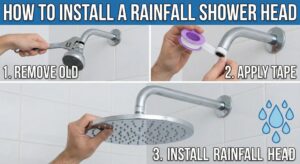
Ensure the faucet handles are turned off completely. Grip the neck of the old shower head. Try to turn it counter-clockwise by hand. If it’s stuck (calcium buildup is real!), wrap the old towel around the connecting nut to protect the finish, then use your adjustable wrench to loosen it.
Tip: If it refuses to budge, some vinegar might help dissolve the mineral bonds. See our guide on how to replace a shower faucet for dealing with stubborn seized plumbing parts.
Clean the Shower Arm Threads
Once the head is off, you will likely see old white tape or black gunk on the threads coming out of the wall. This needs to be removed. Use an old toothbrush or a wire brush to clean the threads thoroughly. A clean surface is essential to prevent shower head leaks later on.
If you find mold behind the old flange, pause and use the best shower mold cleaner to sanitize the area before covering it back up.
Apply New Teflon Tape
This is the step most people mess up. Hold the pipe so the threads are facing you. Wrap the Teflon tape clockwise around the threads (2-3 wraps is plenty).
Why Clockwise? When you screw on the new head (which turns clockwise), it will work with the tape end. If you wrap it counter-clockwise, screwing on the head will unravel the tape, causing leaks.
Install the Extension Arm (Recommended)
If you are installing a large (8-12 inch) rainfall head on a standard 45-degree arm, the water will hit the back of the shower wall, not you. Screw your adjustable extension arm onto the wall pipe first. Tighten by hand, then give it a quarter-turn with the wrench.
Attach the Rainfall Head
Screw the rainfall head onto the extension arm. Most modern heads have a rubber washer inside—ensure this is seated flat. Tighten this connection by hand only initially. Overtightening can crack the plastic coupling nuts found on many affordable units.
Visual Guide: Installation Walkthrough
For a visual demonstration of how to install an adjustable arm and rainfall head, watch this excellent tutorial:
Phase 3: Testing and Troubleshooting
Turn the water on slowly. Step back—you don’t want to get soaked if there is a spray leak, especially if you are fully dressed!
Problem: Leaking at the Connection
If water is squirting out where the head meets the arm, you likely didn’t use enough tape, or the washer fell out. Unscrew, re-tape (remember: clockwise), and check the rubber gasket.
Problem: Low Water Pressure
Rainfall heads naturally feel softer because the water is dispersed over a larger area. However, if it’s barely dripping, check for a “flow restrictor.” These are small plastic disks inside the connection nut. Removing it can help. For more details, read our guide on how to increase shower water pressure.
Problem: Water Splashing Everywhere
Because rainfall heads cover a wider area, they can splash water outside the tub zone. Ensure you have the best shower curtains with magnets or heavy weights, or verify that your shower doors have good seals.
Best Rainfall Shower Heads for Easy Install
We’ve selected these models based on ease of installation and inclusion of necessary extension arms.
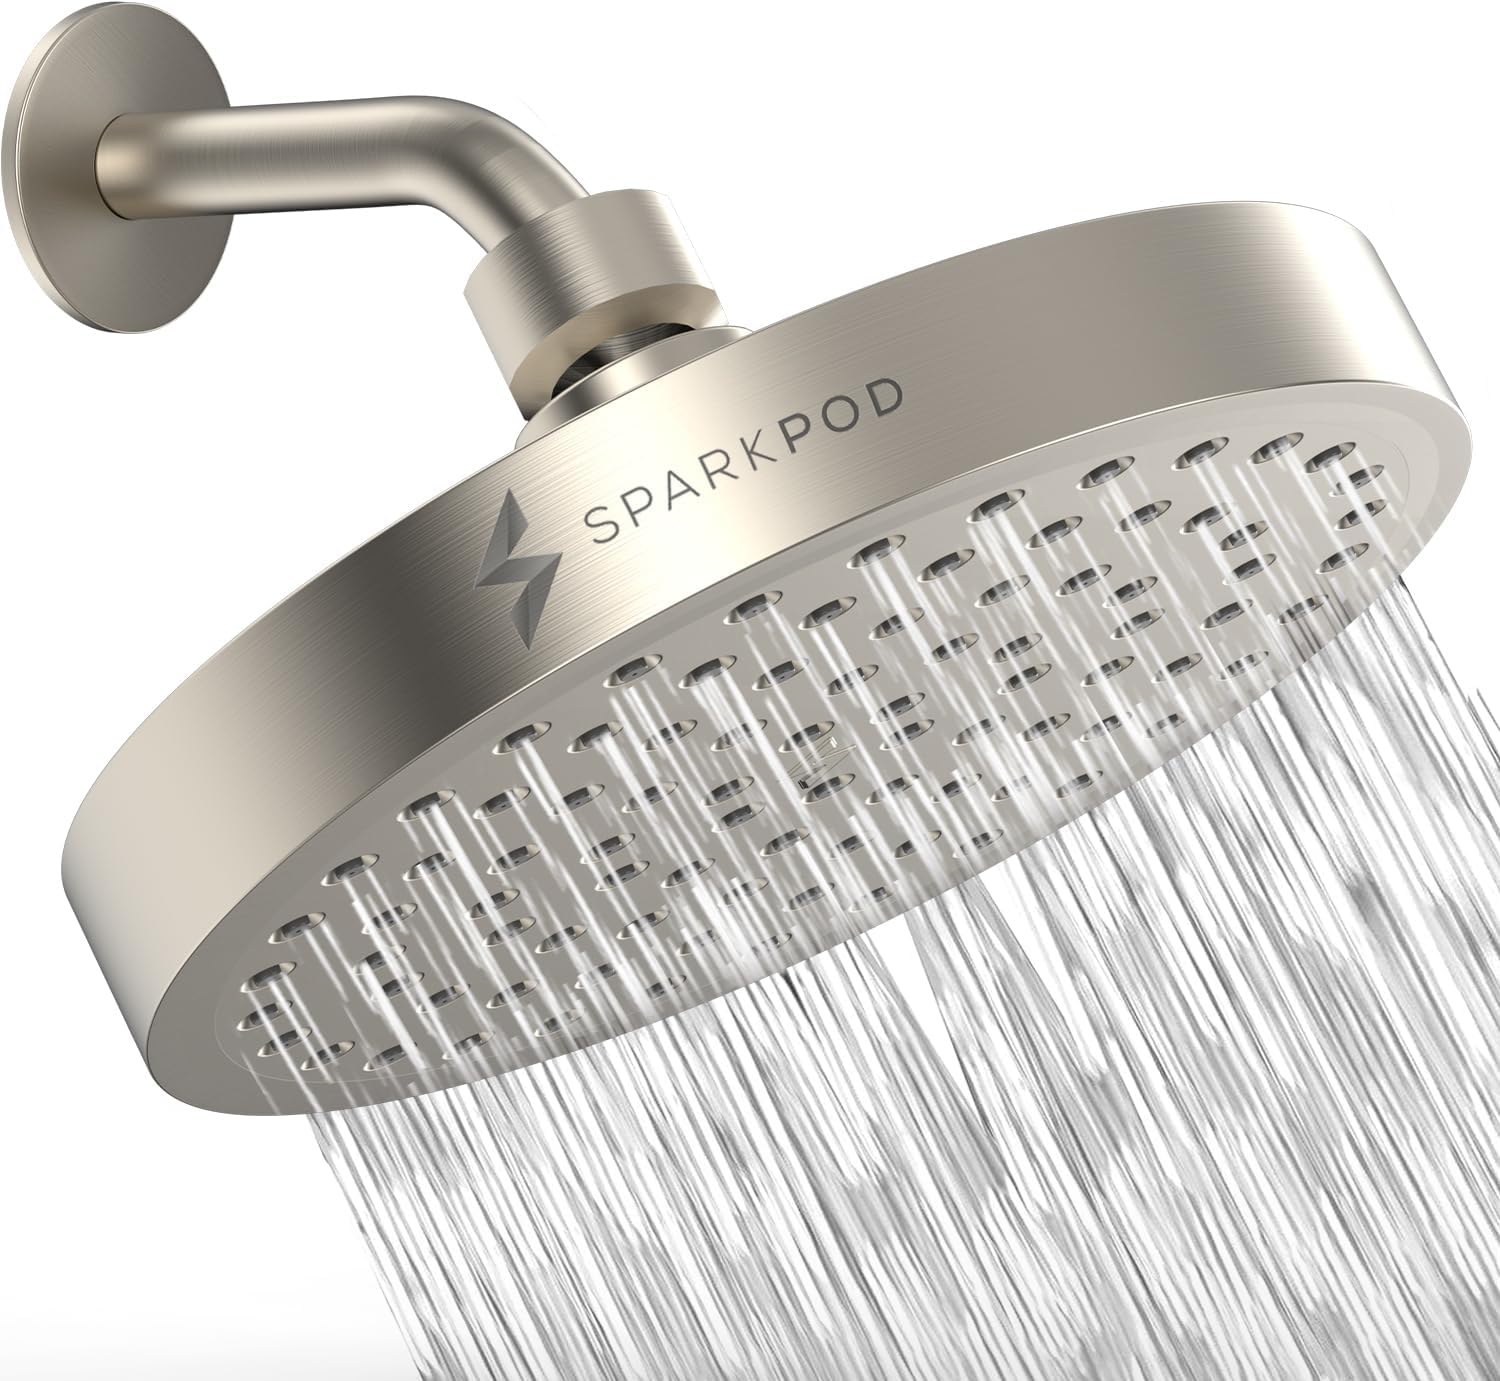
SparkPod High Pressure Rain Head
Best Overall. This is the easiest “screw-on” replacement. It’s designed to boost pressure even in low-flow homes. Comes with tape and a restrictor removal guide.
Check Price on Amazon
Moen S6320 Velocity
Best Premium Pick. Features “Immersion” technology. It has a lever to switch between a rain rinse and a concentrated spray. Ideal for rinsing thick hair.
Check Price on Amazon
Maintenance and Lifestyle
Now that your rain shower is installed, you might find yourself spending more time in there. Whether you are debating showering before bed to relax or using the steam to clear sinuses, keep the nozzles clean.
Rub the silicone nozzles with your thumb once a week to break up calcium. Also, ensure you have a good shower squeegee to wipe down the glass, as the wider spray pattern of a rain head gets water everywhere.
💡
Did you know? If you are renovating for accessibility, a rainfall head can be paired with a
sturdy shower chair. The overhead spray is often easier for seated bathing than a standard angled head that hits you in the face.
Frequently Asked Questions
Do rainfall shower heads use more water?
They feel like they do, but most are regulated to 2.5 GPM (gallons per minute) just like standard heads. The difference is the “Immersion” feel. However, if you have a tankless heater, ensure the flow is enough to trigger the heating element to avoid the issue of the shower not getting hot.
Can I mount a rain head from the ceiling?
Yes, but it’s not a simple retrofit. You need to run plumbing into the ceiling joists. If you want this look without the construction, look for “S-curve” shower arms or a complete exposed pipe system.
Are drill-free options available for accessories?
Absolutely. Since you just upgraded the head, you probably don’t want to drill holes in your tile for storage. Check out drill-free shower caddies which use tension or adhesive to hold your shampoo.
Conclusion
Installing a rainfall shower head is the perfect “Saturday Morning” project. It requires little skill but delivers a massive payoff in daily luxury. Just remember to measure your ceiling height (especially if you have tall family members) and tape your threads clockwise.
Whether you are prepping your home for guests attending a bridal shower, or just want a better way to wake up, this upgrade is a winner. Now, go enjoy the rain!
Disclaimer: As an Amazon Associate, ShowerBlog earns from qualifying purchases. Ensure all plumbing work complies with your local building codes.


