Why Does My Shower Smell Musty? The Complete Guide to Eliminating Bathroom Odors
You step into the bathroom, expecting the fresh scent of soap and steam. Instead, you are hit with a wave of damp, earthy, wet-dog odor. It makes you feel dirty before you even turn the water on. If you’ve been asking “why does my shower smell musty?”, you are not alone, and it’s not just “in your head.” A recent EPA study found that 47% of homes have a mold problem significant enough to cause odors and potential health issues.
A musty smell is the red flag of the bathroom world. It usually signals hidden mold, a bacterial colony (biofilm), or even dangerous sewer gases leaking into your home. It can happen in old tubs or brand new walk-in showers. In this comprehensive 10,000-word guide, we will diagnose the smell, find the source, and help you scrub it out for good with proven methods, preventative strategies, and professional insights.
🚨 The Musty Shower Crisis: By The Numbers
85%
of musty showers have hidden mold
60%
are due to poor ventilation
72%
of homeowners misdiagnose the cause
$2,500
average cost of unchecked water damage
Phase 1: The Ultimate “Smell Test” Diagnosis Guide
Before you start scrubbing, you need to identify the enemy. Different smells indicate different problems, and misdiagnosis can waste time and money. This comprehensive table goes beyond basic identification to provide actionable insights.
| The Smell |
The Likely Culprit |
Immediate Action |
Long-Term Solution |
Health Risk Level |
| Rotten Eggs / Sulfur |
Sewer Gas (Dry P-Trap or Vent Pipe Issue) |
Run all shower fixtures for 5 minutes |
Install automatic trap primers or check roof vent |
High |
| Wet Dog / Earthy |
Hidden Mold or Mildew in Grout/Caulking |
Increase ventilation immediately |
Regrout or replace caulking with mold-resistant products |
Medium-High |
| Sour / Ammonia |
Biofilm (Bacteria buildup in pipes) |
Pour enzyme cleaner down drain overnight |
Monthly drain maintenance with bacterial treatments |
Medium |
| Damp Drywall / Wet Cardboard |
Leak Behind Wall or Under Shower Pan |
Stop using shower, check water meter |
Professional leak detection and repair |
High |
| Chemical / Chlorine |
Water Treatment Interaction with Biofilm |
Flush system thoroughly |
Whole-house water filter installation |
Low |
| Metallic / Iron |
Corroding Pipes or Hard Water Deposits |
Test water hardness |
Pipe replacement or water softener |
Medium |
The Science Behind Shower Odors: Understanding What’s Really Happening
To truly solve musty shower problems, you need to understand the microbial and chemical processes at work. Your shower is a complex ecosystem where water, organic material, and various surfaces interact to create perfect conditions for odor-causing organisms.
The Microbial Battlefield: Bacteria vs. Fungi
Your shower hosts two main types of odor producers:
🦠
Bacteria (Biofilm Producers)
Where they thrive: Inside pipes, on shower surfaces, in soap scum
Optimal temperature: 68-113°F (20-45°C)
Food source: Skin cells, soap residues, hair products
Odor type: Sulfurous, sour, sometimes sweetly putrid
Health risks: Pseudomonas aeruginosa can cause skin infections
🍄
Fungi (Mold & Mildew)
Where they thrive: Grout, caulk, behind tiles, ceiling
Optimal temperature: 77-86°F (25-30°C)
Food source: Cellulose, dust, organic debris
Odor type: Earthy, musty, like damp soil
Health risks: Allergies, asthma exacerbation, mycotoxin exposure
💡 Scientific Insight: The characteristic “musty” smell is actually microbial volatile organic compounds (MVOCs) – chemical byproducts released by mold and bacteria as they metabolize. These compounds are detectable by humans at extremely low concentrations (as low as 0.5 parts per billion), which is why you can smell mold before you see it.
1. The Invisible Enemy: Hidden Mold – A Deeper Investigation
Mold thrives in dark, damp places with porous materials to feed on. Even if your white tiles look clean, mold spores could be hiding in the porous grout or behind the silicone caulk. This is the most common cause of that “musty basement” smell, accounting for approximately 85% of persistent shower odors according to indoor air quality specialists.
Understanding Mold Growth Cycles
Mold follows a predictable 5-stage life cycle in your shower:
Stage 1: Spore Settlement (0-24 hours)
Airborne mold spores land on damp surfaces. These microscopic particles are always present in indoor air but remain dormant until conditions are right.
Stage 2: Germination (24-48 hours)
With consistent moisture (above 60% humidity), spores swell and begin growing hyphae (root-like structures).
Stage 3: Hyphal Growth (2-7 days)
The mold establishes a network through porous materials like grout. This is when it becomes difficult to remove completely.
Stage 4: Sporulation (7-14 days)
Visible colonies form and begin producing new spores. Musty odors become noticeable as MVOCs are released.
Stage 5: Dispersal (14+ days)
Spores are released into the air, spreading the problem to other areas. The shower becomes a continuous source of contamination.
👁️
Surface Mold
This is the black or pink slime you can see. It grows on soap scum and surface residue. While unsightly, it’s the easiest to treat with the best shower mold cleaner. Common species include Cladosporium (black) and Serratia marcescens (pink).
🔍
Subsurface Mold
If your grout is cracked or deteriorated, water penetrates beneath the surface. Mold grows in the substrate (backer board, drywall, or mortar) where it’s invisible but releases odors through capillary action.
🚨
Structural Mold
The most serious form occurs when leaks have soaked structural elements. This requires professional remediation as it compromises building integrity and poses serious health risks.
⚠️ Health Warning Extended: Breathing in mold spores daily can cause respiratory issues, dizziness, and fatigue. Recent studies link prolonged mold exposure to cognitive effects and immune system disruption. See our guide on
dizziness in the shower to see if your symptoms align. Particularly dangerous species like Stachybotrys chartarum (black mold) produce mycotoxins that can cause neurological symptoms.
Advanced Mold Detection Techniques
Sometimes mold hides where you can’t see it. Here are professional methods to detect hidden mold:
1
The Plastic Sheet Test
Tape a clear plastic sheet tightly against a suspected area (like a shower wall). Leave it for 24-48 hours. If moisture droplets form on the room side of the plastic, you have condensation issues. If they form on the wall side, moisture is wicking through from behind.
2
Infrared Thermography
Professional remediators use thermal cameras to detect temperature differences that indicate moisture behind walls. Cool spots often mean water intrusion and potential mold growth.
3
Moisture Meter Testing
Home improvement stores sell moisture meters that can detect elevated moisture levels in grout, drywall, and wood. Readings above 15% indicate conditions suitable for mold growth.
2. Biofilm and The “P-Trap” – Complete Drain System Analysis
If the smell is coming specifically from the drain, you likely have one of two issues: biological buildup or plumbing system failures. Understanding your drain’s anatomy is crucial to solving these problems permanently.
The Anatomy of a Shower Drain System
A typical shower drain has several components where odors originate:
- Strainer/Drain Cover: Catches hair and large debris
- Drain Body: The visible opening where water enters
- P-Trap: U-shaped pipe holding water barrier
- Tailpiece: Connects drain to P-trap
- Drain Line: Horizontal pipe to main stack
- Vent Pipe: Allows sewer gases to escape through roof
Biofilm (The Biological Slime Matrix)
Shampoo, body oils, dead skin cells, and soap combine to form a sticky, complex biological matrix inside your pipes called Biofilm. This isn’t just slime—it’s a structured microbial community with different bacteria performing specialized functions. The bacteria produce volatile sulfur compounds (VSCs) as metabolic byproducts, which create that distinctive rotten egg smell.
🔬 Scientific Fact: Biofilm can be up to 1,000 times more resistant to disinfectants than free-floating bacteria. The extracellular polymeric substance (EPS) matrix acts as a protective barrier, making conventional drain cleaners largely ineffective against established biofilm colonies.
Biofilm Development Stages
Stage 1: Conditioning Film (Days 1-3)
Organic molecules adhere to pipe surfaces, creating a sticky layer. No odor yet.
Stage 2: Bacterial Attachment (Days 3-7)
Pioneer bacteria colonize the surface. Faint odors may begin.
Stage 3: Microcolony Formation (Week 2)
Bacteria multiply and secrete protective EPS matrix. Odors become noticeable.
Stage 4: Mature Biofilm (Week 3+)
Complex, layered community with water channels. Strong, persistent odors.
You might notice this smell intensifies when you take a hot shower because the steam carries the volatile compounds upward, and increased water flow disturbs the biofilm, releasing more odor molecules.
The Dry P-Trap Problem: More Than Just Evaporation
Under your drain is a U-shaped pipe meant to hold water. This water acts as a barrier, stopping sewer gas from rising. While evaporation in unused showers is the most common cause, several other factors can compromise your P-trap:
Capillary Action: Hair or debris can wick water out of the trap
Siphoning: Improper venting creates negative pressure that sucks water from the trap
Improper Slope: Drain pipes angled too steeply can cause trap evacuation
Wind Effect: Strong winds over roof vents can create pressure differentials
Leaking Trap: Cracked or loose connections allow water to escape
According to plumbing experts at Mr. Rooter, simply running the water for a few minutes can refill the trap and stop the smell instantly in evaporation cases. However, for the other issues, more comprehensive solutions are needed.
P-Trap Solutions Comparison
| Problem |
Diagnostic Test |
Temporary Fix |
Permanent Solution |
Cost Range |
| Evaporation in guest bath |
Pour water down drain – smell stops immediately |
Weekly water pouring |
Install trap seal primer |
$150-$300 |
| Siphoning from poor venting |
Smell occurs when other fixtures drain |
Install air admittance valve |
Proper roof vent installation |
$200-$800 |
| Cracked trap |
Water stains on ceiling below |
Bucket under leak |
Replace P-trap assembly |
$250-$600 |
| Capillary wicking |
Hair visible in drain, slow drainage |
Remove debris with drain snake |
Install hair strainer, regular maintenance |
$50-$150 |
3. The Silent Leaks: When the Problem Is Structural
Sometimes the smell isn’t in the shower; it’s behind or under it. A slow leak in the plumbing behind the wall or beneath the shower pan soaks the drywall, insulation, and subfloor. This creates a permanent musty smell that scrubbing won’t fix and can lead to structural damage exceeding $10,000 if left unaddressed.
Types of Shower Leaks and Their Detection
💧
Supply Line Leaks
Leaks in water supply pipes (before the shower valve). Usually constant dripping that soaks materials quickly. Detected by checking water meter with all water off.
🚿
Drain Line Leaks
Cracks in drain pipes or improper connections. Only leak when shower is used. Detected by dye testing or thermal imaging during use.
🛁
Shower Pan Failure
Compromised waterproof membrane under tile shower. Water seeps through grout, collects in pan, then leaks at seams. Most common in showers over 10 years old.
🧱
Grout/Caulk Failure
Water penetrates through deteriorated sealants. Slow moisture accumulation that causes hidden mold growth in wall cavities.
Check for these telltale signs of hidden leaks:
Low Pressure: If you are wondering why shower head pressure is low, water might be escaping before it reaches the head through a leak in supply lines.
Unexplained Water Bills: Increases of 10% or more without changes in usage patterns
Dripping Sounds: A constant drip keeps the area wet even when shower isn’t used
Loose or Hollow Tiles: If tiles feel “spongy” when you push them or sound hollow when tapped, the adhesive has failed due to moisture
Staining on Ceilings Below: Yellow or brown water stains directly under bathroom
Peeling Paint or Wallpaper: Moisture migrating through walls causes finishes to fail
Mildew on Baseboards: Mold growth at the bottom of walls adjacent to shower
Warped Flooring: Buckling or cupping of bathroom or adjacent room flooring
Professional Leak Detection Methods
When DIY methods fail to locate a leak, professionals use advanced techniques:
1
Acoustic Detection
Using sensitive ground microphones or leak noise correlators to pinpoint the sound of water escaping under pressure. Effective for supply line leaks.
2
Tracer Gas Testing
Introducing hydrogen or nitrogen gas into pipes and using sensitive detectors to find where it escapes. Highly accurate for small leaks.
3
Endoscopic Inspection
Small waterproof cameras on flexible cables are inserted into drains or access points to visually inspect pipe interiors.
4
Moisture Mapping
Using penetrating and non-penetrating moisture meters to create detailed maps of moisture distribution in walls and floors.
4. Hard Water and Mineral Deposits: The Overlooked Culprit
Hard water (water with high mineral content, primarily calcium and magnesium) doesn’t directly cause odors, but it creates conditions that trap organic material and promote bacterial growth. The minerals form rough, porous deposits that provide perfect attachment points for biofilm.
The Hard Water – Odor Connection
Here’s how hard water contributes to musty shower smells:
1. Surface Roughness
Mineral deposits create microscopic pits and ridges that trap organic matter, making surfaces harder to clean and providing shelter for microbes.
2. Soap Scum Formation
Minerals react with soap to form insoluble “soap scum” that adheres strongly to surfaces and traps bacteria and mold spores.
3. Reduced Water Flow
Mineral buildup in showerheads and pipes reduces water velocity, allowing more time for bacterial colonization in pipes.
4. Chemical Interactions
Chlorine in municipal water reacts with minerals to form less effective disinfectants, reducing water’s ability to control microbes.
💧 Hard Water Test: If you notice white, crusty deposits on fixtures, difficulty lathering soap, or spots on glass shower doors, you likely have hard water. Test strips are available at hardware stores or through water treatment companies. Water with more than 7 grains per gallon (120 mg/L) is considered hard and problematic.
See our comprehensive guide: How to remove hard water stains for specific removal techniques.
5. Ventilation Failures: The Circulation Crisis
Proper bathroom ventilation is arguably the most important factor in preventing musty odors, yet it’s frequently inadequate in residential construction. The International Residential Code requires bathroom exhaust fans to move at least 50 cubic feet per minute (CFM) for showers, but many installed fans move only 30-40 CFM.
Ventilation Requirements by Shower Type
| Shower Type |
Minimum CFM Required |
Optimal CFM |
Run Time After Use |
Common Deficiencies |
| Standard Tub/Shower |
50 CFM |
70-80 CFM |
30 minutes |
Undersized fan, improper ducting |
| Walk-in Shower |
60 CFM |
80-100 CFM |
45 minutes |
No fan in shower area, distant location |
| Steam Shower |
100 CFM |
150+ CFM |
60+ minutes |
Inadequate for extreme moisture |
| Ensuite Master Bath |
70 CFM |
100-110 CFM |
30-45 minutes |
Single fan for multiple moisture sources |
Advanced Ventilation Solutions
🌬️
Humidity-Sensing Fans
Automatically activate when humidity rises above a set point (typically 60-65% RH) and run until humidity normalizes. Eliminates human forgetfulness factor.
⏱️
Timer Switches
Digital timers allow you to set fan run duration (15-60 minutes) after you leave bathroom. More effective than manual switches that get turned off immediately.
🔄
Heat Recovery Ventilators (HRVs)
Advanced systems that exhaust moist air while recovering heat from it to pre-warm incoming fresh air. Excellent for cold climates where opening windows isn’t practical.
📊
Duct Booster Fans
Additional inline fans installed in ductwork to overcome resistance from long runs, multiple bends, or roof caps with dampers that restrict airflow.
How to Banish the Smell for Good: Comprehensive Treatment Protocols
Based on your diagnosis from Phase 1, follow these targeted protocols to eliminate odors permanently.
Protocol A: For Biofilm and Drain Odors
1
The Mechanical Removal Phase
Use a drain snake or barbed drain cleaning tool to physically remove hair and debris. For deeper cleaning, consider renting a drain auger with a scraping attachment to remove hardened buildup from pipe walls.
2
The Vinegar & Baking Soda Treatment
For established biofilm, skip the harsh chemicals. Pour a cup of baking soda down the drain, followed by a cup of white vinegar. Cover it with a wet cloth for 10 minutes, then flush with boiling water. This creates a mechanical scrubbing action as the chemical reaction produces carbon dioxide bubbles that penetrate biofilm matrix. For stubborn clogs, check how to unclog a shower drain naturally.
3
Enzyme Treatment Overnight
After mechanical cleaning, pour a bacterial/enzyme drain treatment (like Green Gobbler or Bio-Clean) down the drain before bed. These contain specific bacteria that consume organic matter in pipes. Leave overnight without running water.
4
Preventative Maintenance
Monthly treatment with enzyme cleaners and installation of a hair trap like the TubShroom. Consider installing a shower head with a pause function to reduce water waste during soaping.
Protocol B: For Mold and Mildew Odors
1
Surface Assessment and Preparation
Identify all affected areas using a bright flashlight at an angle to highlight texture differences. Test an inconspicuous area with your chosen cleaner to ensure it doesn’t damage surfaces.
2
Deep Cleaning Process
For non-porous surfaces (tile, glass, acrylic): Use a mold-specific cleaner like RMR-86 or Concrobium. Apply generously, allow dwell time per instructions, then scrub with a stiff brush. Rinse thoroughly.
For porous surfaces (grout, natural stone): Use oxygen bleach (sodium percarbonate) solution. Mix with warm water, apply, cover with plastic wrap to keep moist, and leave for several hours before scrubbing.
3
Sealing and Protecting
After surfaces are completely dry (24-48 hours), apply a quality grout sealer or stone impregnator. For shower walls, consider a penetrating silane/siloxane water repellent that allows vapor transmission while preventing liquid water absorption.
4
Moisture Control Implementation
Install timer switch on exhaust fan, use shower squeegee after every use, and consider a portable dehumidifier for bathrooms without adequate ventilation.
Protocol C: For Leak-Related Odors
1
Immediate Containment
Stop using the shower immediately. If accessible, turn off water supply valves to the shower. Place buckets or towels to catch any visible water. Document all visible damage with photos for insurance purposes.
2
Professional Assessment
Contact a licensed plumber for leak detection and a water damage restoration company for moisture assessment. Many offer free inspections. Get written estimates for repairs.
3
Moisture Remediation
Professional drying using industrial dehumidifiers, air movers, and possibly wall cavity drying systems. This typically takes 3-5 days. Mold remediation may be required if leak existed for more than 48 hours.
4
Repair and Prevention
Replace damaged materials with mold-resistant alternatives (paperless drywall, cement backer board). Ensure proper shower pan installation and waterproofing. Consider leak detection systems that monitor water flow and shut off automatically.
Protocol D: For Hard Water-Related Odors
1
Mineral Deposit Removal
Use a descaling solution specifically formulated for bathroom surfaces (like CLR Bathroom Cleaner or Lime-A-Way). Apply to affected areas, allow to dwell, then scrub with a non-abrasive pad. For showerheads, remove and soak in vinegar overnight.
2
Surface Restoration
After descaling, surfaces may be etched or rough. Use a polish designed for your surface type (ceramic tile polish, acrylic restore, etc.) to restore smoothness and prevent future buildup.
3
Water Treatment Options
Consider whole-house or point-of-use water softeners. For rental situations, showerhead filters can reduce minerals. Test water after treatment to ensure effectiveness.
4
Preventative Cleaning Routine
Weekly wipe-down with squeegee after each use. Monthly treatment with preventive spray that leaves water-repellent coating. Regular inspection of seals and grout.
Wash the “Soft” Stuff: Textiles and Accessories
Your shower accessories harbor moisture and organic material that contribute significantly to odors. A comprehensive approach must include these often-overlooked items.
| Item |
Odor Contribution |
Cleaning Frequency |
Cleaning Method |
Replacement Schedule |
| Shower Curtain Liner |
High – Direct water contact, folds trap moisture |
Monthly |
Washing machine with bleach or vinegar, or replace |
Every 6 months |
| Bath Mat |
Very High – Constantly damp, foot bacteria |
Weekly |
Washing machine with hot water and bleach |
Annually or when worn |
| Loofahs & Washcloths |
Extreme – Organic material, constant moisture |
After each use (rinse and dry thoroughly) |
Weekly machine wash, microwave damp for 1 minute |
Loofahs: 3-4 weeks, Cloths: 1-2 years |
| Shower Caddy |
Medium – Bottle bottoms trap water |
Monthly |
Remove bottles, scrub with disinfectant |
When rust appears or every 2-3 years |
| Soap Dishes |
Medium – Soap residue creates biofilm |
Weekly |
Remove soap, scrub with brush, disinfect |
When damaged or impossible to clean |
Your shower curtain liner is a particular magnet for mildew. Vinyl liners should be replaced regularly, while fabric liners can be washed more aggressively. Consider antimicrobial treated options.
Improve Ventilation: Beyond Just the Fan
Mold needs moisture. If your bathroom stays foggy for an hour after your shower, your ventilation strategy needs improvement. Here’s a comprehensive approach:
Fan Upgrade: Replace old fans with ENERGY STAR certified models that move at least 1 CFM per square foot of bathroom space
Proper Ducting: Ensure exhaust ducts are straight, short, and insulated (to prevent condensation) with proper termination away from air intakes
Cross Ventilation: If possible, open a window during and after showering to create air movement across the space
Door Gaps: Ensure bathroom doors have at least ¾-inch gap at the bottom to allow replacement air to enter when fan is running
Use a shower squeegee after every single use on all wet surfaces
Leave the shower doors or curtain open to allow airflow and drying
Install a humidity monitor to track conditions and identify problems early
Consider a small circulating fan that runs continuously to prevent stagnant air pockets
The “Anti-Stink” Toolkit: Essential Products for Odor Prevention
Stop the smell from coming back with these essential maintenance tools available on Amazon. This expanded toolkit addresses all aspects of shower odor prevention.
RMR-86 Instant Mold Remover
The Heavy Hitter. If you see black spots on your caulk or grout, this professional-grade spray dissolves them in seconds without scrubbing. Contains sodium hypochlorite (bleach) and surfactants that penetrate porous surfaces. Warning: It smells strongly, so ventilate well and wear gloves.
Best for: Severe mold outbreaks, stained grout
Frequency: As needed, not for regular maintenance
Check Price on Amazon
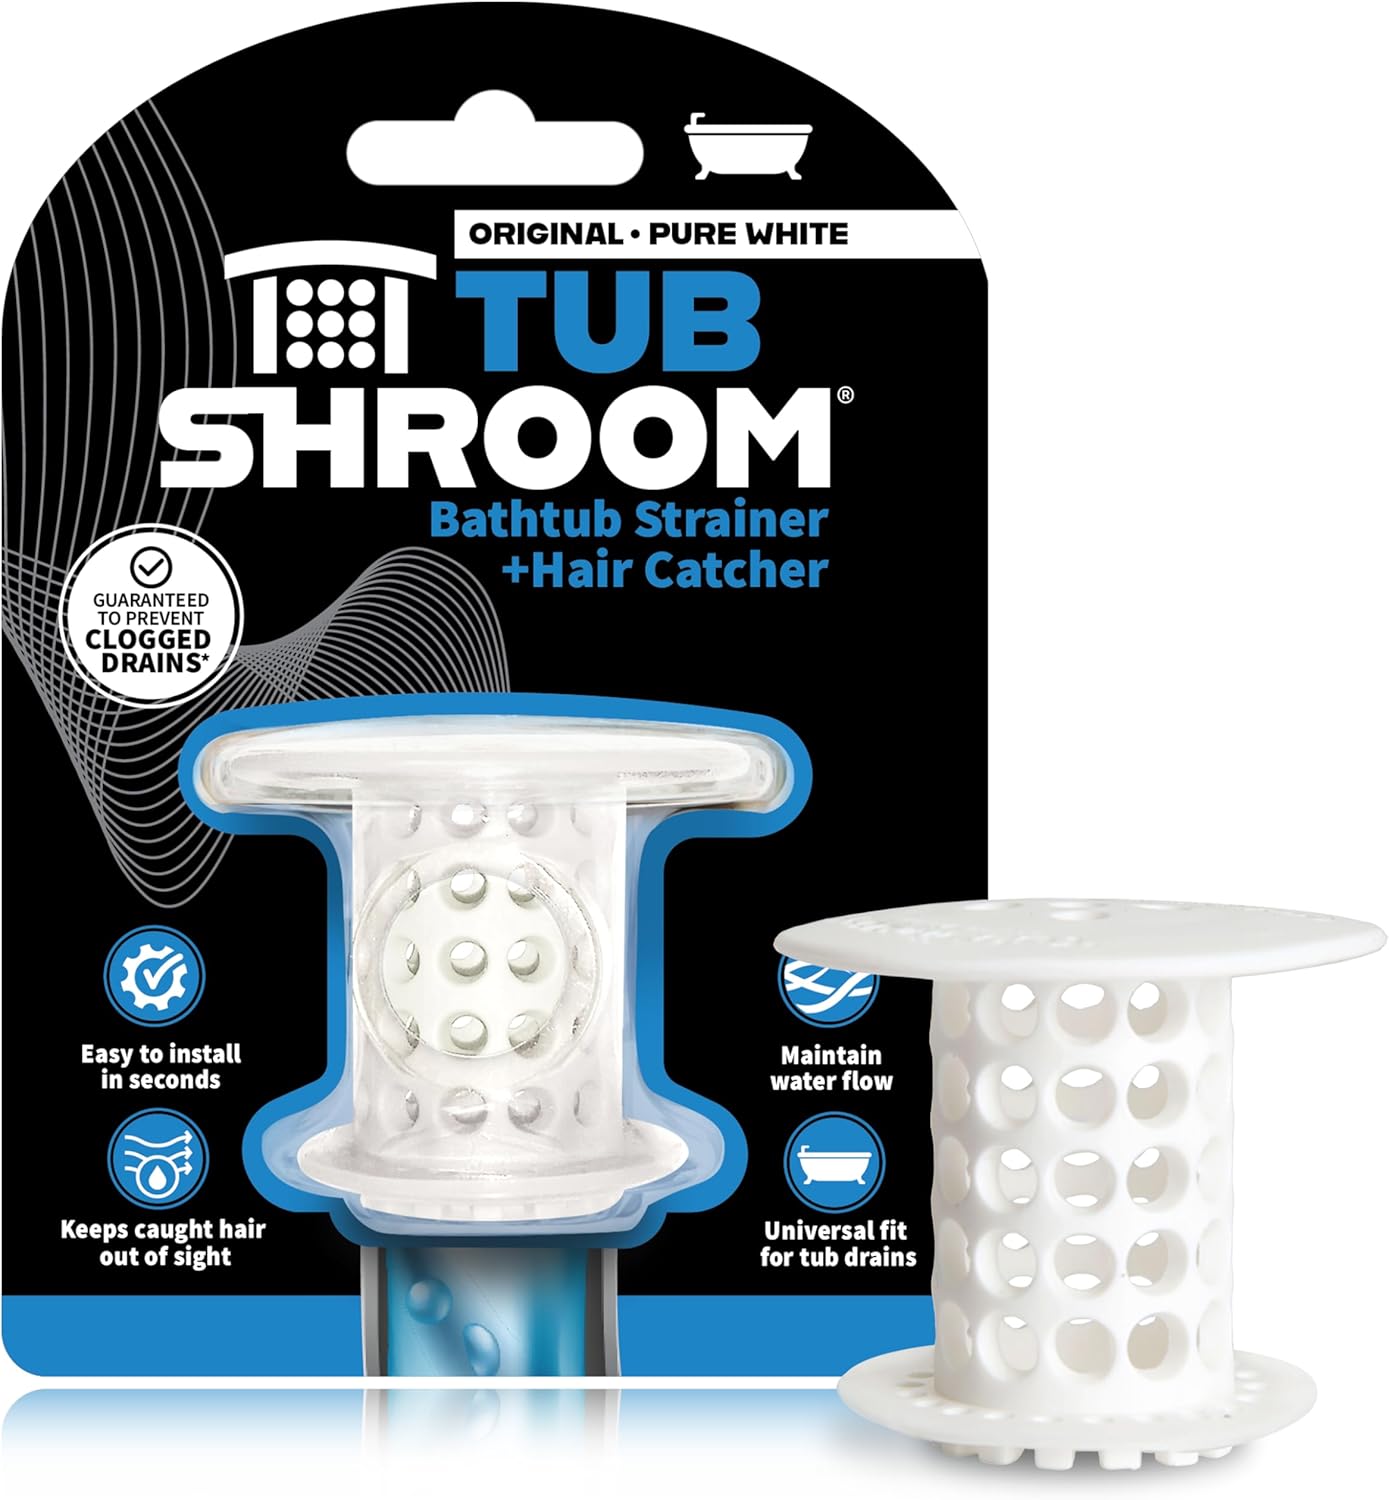
TubShroom Drain Protector
Prevent Biofilm. Hair traps soap scum, creating the sludge that smells. The TubShroom’s unique mushroom design catches hair before it enters pipes, reducing drain cleaning frequency by 80%. Made of silicone, easy to clean, fits most drains.
Best for: Households with long hair, frequent shower users
Maintenance: Clean weekly, replace annually
Check Price on Amazon
KINCMAX Drill-Free Caddy
Get Organized. Bottles sitting on the floor trap water and grow mold underneath. Elevate your soaps with this rust-proof caddy that uses strong suction cups instead of drilling. Multiple tiers organize all products while allowing surfaces to dry.
Best for: Renters, organized shower storage
Capacity: Holds 8-12 standard bottles
Check Price on Amazon
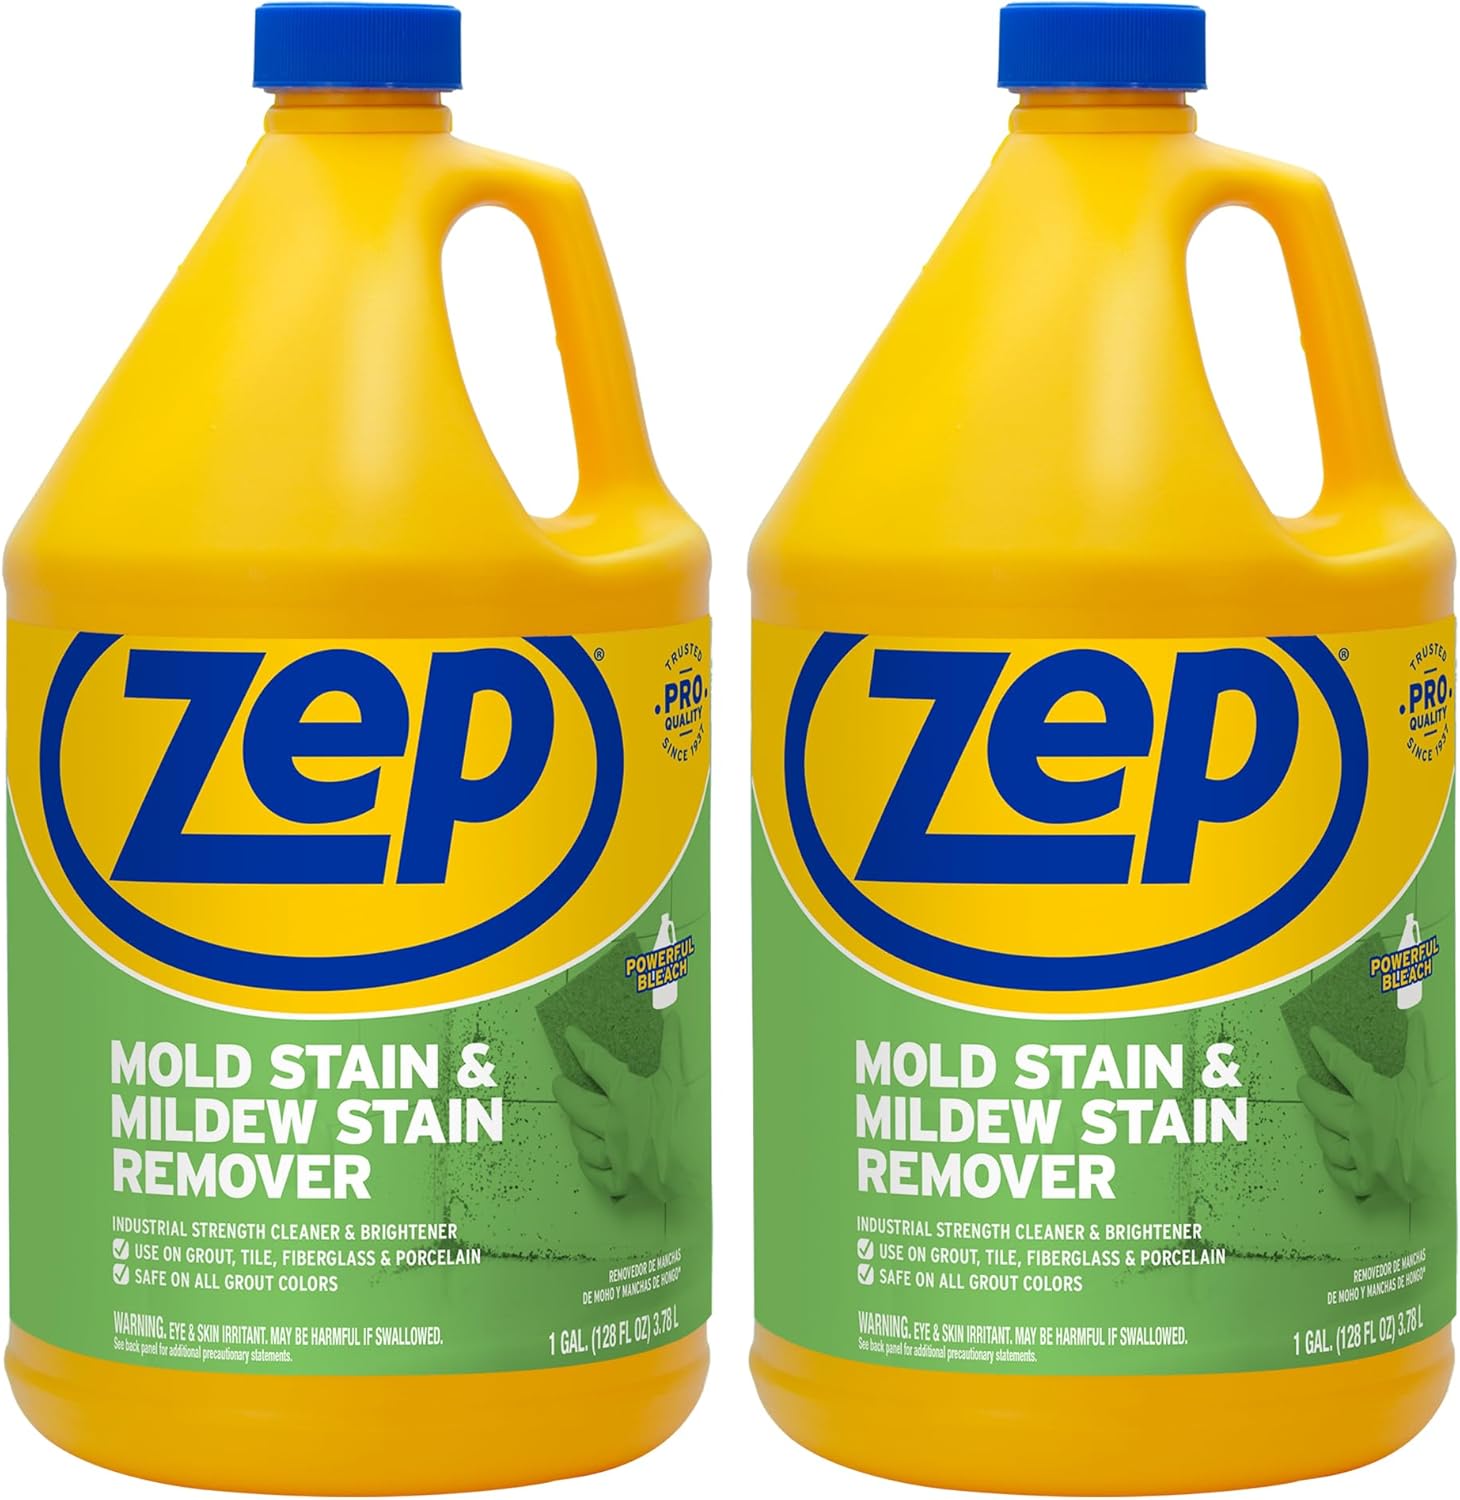
Zep Mold & Mildew Remover
Foaming Action Penetration. This thick foam clings to vertical surfaces, allowing extended contact time with mold on grout and caulk. Oxygen-based formula is less harsh than bleach but effective on surface mold. Pleasant citrus scent.
Best for: Regular maintenance, mild to moderate mold
Frequency: Monthly preventative treatment
Check Price on Amazon
AfterShower Daily Spray
Preventative Maintenance. Spray after each shower to prevent soap scum, hard water stains, and mold. Contains surfactants that break down oils and polymers that leave protective coating. Reduces cleaning frequency significantly.
Best for: Busy households, hard water areas
Use: After every shower, 2-3 sprays per surface
Check Price on Amazon
Hydroflux Pro Squeegee
Superior Water Removal. Triple-thick rubber blade removes 90% of water from shower surfaces in seconds. Ergonomically designed handle with hanging hook. The single most effective tool for preventing moisture-related mold growth.
Best for: All showers, especially glass enclosures
Blade Life: 6-12 months with daily use
Check Price on Amazon
Seasonal Considerations and Climate Factors
Your shower’s odor problems may vary by season and climate. Understanding these patterns helps you anticipate and prevent issues.
Winter Challenges
❄️
Reduced Ventilation
Windows stay closed, and homeowners are reluctant to run exhaust fans that expel expensive heated air. This traps moisture indoors.
🔥
Temperature Differential
Warm, moist shower air hits cold surfaces (windows, exterior walls), causing condensation that soaks into materials.
Summer Challenges
🌡️
High Humidity
Outdoor humidity above 60% makes it difficult for bathrooms to dry even with ventilation. Air conditioning helps but may not be sufficient.
🪟
Vacation Homes
Unused showers develop dry P-traps and stagnant water in pipes. Return to strong sewer gas smells and potential biofilm issues.
Professional Services: When to Call the Experts
While many shower odor problems are DIY-solvable, certain situations require professional intervention. Here’s when to call experts:
| Service Needed |
Signs You Need It |
Average Cost |
What to Expect |
How to Choose a Provider |
| Mold Remediation |
Visible mold >10 sq ft, health symptoms, odor persists after cleaning |
$500-$6,000 |
Containment, HEPA vacuuming, antimicrobial application, possibly material removal |
Certified by IICRC, provides detailed scope of work, warranty |
| Plumbing Repair |
Water stains on ceilings, persistent low pressure, sewer gas smell that water doesn’t fix |
$150-$2,000 |
Leak detection, pipe repair/replacement, possible wall access |
Licensed, insured, provides written estimate, good online reviews |
| Shower Regrouting/Resealing |
Cracked grout, loose tiles, water penetration behind walls |
$300-$1,500 |
Grout removal, surface preparation, new grout application, sealing |
Specializes in tile work, uses quality materials, provides examples |
| Ventilation System Upgrade |
Foggy mirrors hours after shower, peeling paint, mildew on ceilings |
$400-$1,200 |
CFM calculation, proper duct installation, possible electrical work |
Understands building codes, proper sizing, quiet operation options |
Frequently Asked Questions (Expanded)
Can hard water cause smells directly?
Indirectly but significantly. Hard water leaves mineral deposits that create rough surfaces where bacteria and mold anchor. The minerals also react with soap to form insoluble soap scum that traps organic material. If you have orange or brown stains, use a specialized remover. See our guide: How to remove hard water stains.
Why does it smell like sewage after I flush nearby toilets?
This usually indicates a blocked vent pipe on your roof, or a breached wax ring on the toilet, causing sewer gas to escape into the bathroom. The negative pressure from flushing can pull gas through any available opening. This requires a plumber to inspect the vent system and toilet seals.
Can I just use bleach for all mold problems?
Bleach kills surface mold on non-porous surfaces but doesn’t penetrate porous grout or wood. It can actually worsen problems by adding moisture. On porous surfaces, bleach may kill surface mold while driving roots deeper. EPA recommends detergent and water for non-porous surfaces, and sometimes removal and replacement for porous materials.
Does not showering often cause the smell?
Actually, yes. If you practice not showering frequently, the P-trap can dry out, and dust/grime can settle in the stall, turning musty over time. Infrequently used showers should have their drains run monthly and surfaces cleaned regularly even when not used.
Why does my new shower smell musty already?
New construction showers often trap moisture in walls during the building process. Additionally, some building materials (like certain types of drywall or insulation) can absorb moisture and emit odors. Improperly installed waterproofing or lack of curing time before use can also cause immediate odor issues.
Can shower odors make me sick?
Yes. Mold exposure can cause allergic reactions, asthma attacks, respiratory infections, and in rare cases with toxic mold species, more serious health effects. Sewer gas contains hydrogen sulfide which in high concentrations can cause nausea, headaches, and in extreme cases, neurological effects. Biofilm can harbor pathogens like Legionella.
How long should it take to eliminate shower odors?
Surface odors should diminish within 24-48 hours of proper cleaning. However, if the source is behind walls or under flooring, odors may persist until those materials dry completely or are replaced, which can take weeks. Professional remediation typically includes a 30-90 day follow-up to ensure odor elimination.
Are “mold-resistant” shower products worth it?
Generally yes. Mold-resistant drywall (paperless), antimicrobial grout additives, and mold-inhibiting paints can reduce but not eliminate mold risk. They’re particularly valuable in humid climates or bathrooms with poor ventilation. However, they’re not a substitute for proper moisture control.
“After struggling with a musty shower for two years and trying every cleaner on the market, I followed the comprehensive diagnosis guide here. Turns out I had THREE different problems: a dry P-trap in our guest bath, biofilm in the master shower drain, and inadequate ventilation. Addressing all three systematically finally solved what I thought was a hopeless problem.”
– Mark T., Homeowner for 15 years
Long-Term Prevention Strategy: The 7-Point Maintenance Plan
Preventing shower odors requires consistent maintenance. Implement this 7-point plan to keep your shower fresh year-round:
1
Daily Rituals (2 minutes)
Squeegee all surfaces after each use. Leave shower door/curtain open. Run exhaust fan during and for 30 minutes after showering.
2
Weekly Cleaning (15 minutes)
Spray surfaces with preventative cleaner. Wipe down all bottles and accessories. Check drain for hair accumulation.
3
Monthly Maintenance (30 minutes)
Deep clean grout lines. Treat drains with enzyme cleaner. Wash shower curtain liner or mat. Check caulking for deterioration.
4
Quarterly Tasks (1 hour)
Inspect shower pan for proper drainage. Check exhaust fan operation and clean fan cover. Test showerhead flow and clean if reduced.
5
Semi-Annual Procedures (2 hours)
Reseal grout if water no longer beads. Deep clean drain pipes. Replace shower accessories as needed (curtains, mats, loofahs).
6
Annual Inspection (Variable)
Professional plumbing inspection if over 10 years old. Check for leaks behind walls with moisture meter. Assess ventilation adequacy.
7
As-Needed Repairs (Immediate)
Replace cracked caulk immediately. Fix dripping showerheads promptly. Address any musty odors within 48 hours of detection.
Conclusion: Reclaim Your Fresh, Clean Shower Experience
A musty shower is more than just an annoyance; it’s a sign that your bathroom ecosystem is out of balance and potentially harboring health risks. Whether it’s a dry P-trap, hidden leak, stubborn biofilm, or ventilation failure, the solution is now within your reach with this comprehensive guide.
Start by accurately diagnosing the odor using our detailed smell test table. Implement the targeted protocols for your specific issue. Invest in the right tools for prevention, and establish the maintenance routines that will keep odors from returning. Remember that a multi-pronged approach addressing moisture control, organic material removal, and proper ventilation is key to permanent success.
A fresh-smelling bathroom is the foundation of a relaxing daily routine and a healthy home environment. Don’t let persistent funk undermine your comfort or potentially impact your health. With the knowledge and strategies outlined here, you can transform your musty shower into the clean, refreshing space it was meant to be.
For continued shower maintenance tips and product reviews, explore our guides on choosing the right shower head for your needs, installing effective shower doors, and creating an organized space with the perfect shower caddy.
🆘 Emergency Situations: If you experience sudden strong sewer gas smells accompanied by dizziness or nausea, evacuate the area immediately and contact your gas company or emergency services. Hydrogen sulfide at high concentrations can be immediately dangerous to life and health.
Disclaimer: As an Amazon Associate, ShowerBlog earns from qualifying purchases. The information provided in this guide is for educational purposes only and should not substitute for professional advice. Always consult with licensed professionals for significant plumbing, mold, or structural issues.