"All claims, guarantees and product specifications are provided by the manufacturer or vendor. Shower Blog cannot be held responsible for these claims, guarantees or specifications" (ad) “As An Amazon Associate, I Earn From Qualifying Purchases.” (Paid Link)
How to Install a Rainfall Shower Head: The Complete DIY Guide (Wall & Ceiling)
Transforming your daily wash into a spa-like retreat is easier than you think. While upgrading to a full rainfall shower system might require a plumber, simply installing a rainfall shower head is a beginner-friendly DIY project that takes less than 30 minutes. It is the single most impactful upgrade you can make to your bathroom without tearing down tiles. According to a 2023 National Association of Home Builders survey, rainfall shower heads are now the #1 requested bathroom upgrade for homeowners under 45, with 68% citing them as a key factor in their daily relaxation routine.
However, getting that perfect vertical “rain” flow usually requires more than just screwing on a new head. You need to consider arm height, water pressure, and clearance. If you have ever stood under a weak drizzle wondering why your shower head pressure is low, this comprehensive 8,000+ word guide will not only show you how to install the fixture but also how to optimize it for maximum flow, troubleshoot common issues, and make informed decisions about the right system for your specific bathroom layout and water pressure conditions.
⚠️
Safety Check: While replacing a shower head is generally safe, always ensure your footing is secure. If you are standing in a wet tub, use a non-slip mat. We often answer questions like is it dangerous to shower during a thunderstorm (yes!), but slipping during installation is a far more common DIY injury. Additionally, if you have any history of back problems, consider having a helper assist with overhead work, or use a supportive shower chair as a temporary step stool.
Phase 1: Comprehensive Preparation and Tools
Before we start twisting pipes, let’s gather what you need. The beauty of this project is that it requires minimal tooling, but having the right tools can mean the difference between a 15-minute job and a frustrating afternoon. This section covers everything from basic tools to advanced equipment for challenging installations.
🔧 Adjustable Wrench (6-10″)
🔩 Pipe Wrench (for stubborn fittings)
🩹 Teflon Tape (Plumber’s Tape)
🧽 Old Towel or Rag (multiple)
🪜 Step Ladder (sturdy, non-conductive)
🧤 Rubber Gloves (improved grip)
📏 Measuring Tape (laser preferred)
🛠️ Plumber’s Putty (alternative sealing)
🔍 Flashlight or Headlamp
🧴 White Vinegar (descaling)
🪥 Wire Brush (thread cleaning)
📱 Smartphone/Camera (documentation)
🧵 Thread Sealant (liquid alternative)
⚡ Voltage Tester (safety check)
🛡️ Safety Glasses (eye protection)
Understanding Your Existing Plumbing
Before purchasing any rainfall shower head, you must understand your current plumbing setup. Different pipe materials and configurations require different approaches:
Pipe Material
Identification
Installation Considerations
Risk Factors
Copper
Reddish-brown color, often soldered joints
Most stable, use minimal force to avoid pipe damage
Can develop pinhole leaks if over-torqued
Galvanized Steel
Gray color, heavier, threaded connections
Often corroded, may require penetrating oil and careful removal
Threads can strip easily; replacement may be needed
PVC/CPVC
White or cream plastic, glued joints
Lightweight, use plastic-safe tools to avoid cracking
Can become brittle with age; temperature sensitive
PEX
Red/blue/white plastic, flexible tubing
Requires special PEX shower arm adapters
Not designed for heavy weight; needs proper support
Brass
Yellow-gold color, often in older homes
Durable but may have lead content in pre-2014 installations
Heavy mineral buildup; requires thorough cleaning
📋
Pre-Installation Checklist: Before purchasing your rainfall shower head, complete this assessment: 1) Measure shower arm height from floor (standard is 78-80 inches), 2) Test water pressure with gauge (ideal: 45-60 PSI), 3) Identify pipe material, 4) Check for existing leaks, 5) Measure ceiling height (for clearance), 6) Verify water heater capacity, 7) Check local flow restrictions (often 2.0-2.5 GPM).
Choosing the Right Arm: Beyond the Basics
Standard shower arms stick out of the wall at a 45-degree angle. Rainfall heads work best when they are horizontal (parallel to the floor). To achieve this without plumbing, you have several options depending on your bathroom layout and goals:
+ True rainfall experience – Significant installation work
Wall Flange System
Modern/industrial aesthetic
Moderate
$60-$150
+ Clean look, adjustable – Requires wall mounting
Double Swivel Arm
Shared showers, multiple users
Easy
$35-$75
+ Flexible positioning – More moving parts to maintain
If you are planning a major renovation, you might be looking at walk-in shower ideas where a ceiling mount is possible, but for this guide, we will focus on wall-mounted retrofits. However, we’ll also cover advanced ceiling installation techniques for those undertaking more extensive projects.
Water Pressure Assessment and Optimization
Rainfall shower heads have a reputation for low pressure, but this is often a misconception. The issue is usually inadequate water pressure or flow rate from your existing system. Here’s how to assess and improve it:
1. Measure Current Pressure
Use a pressure gauge (available at hardware stores for $10-$20) on an outdoor spigot or washing machine connection. Ideal shower pressure is 45-65 PSI. Below 40 PSI will feel weak; above 80 PSI can damage fixtures and increase leakage risk.
2. Calculate Flow Rate
Time how long it takes to fill a 5-gallon bucket from your current shower head. Formula: (5 gallons ÷ seconds) × 60 = GPM. Most rainfall heads need at least 2.0 GPM to feel satisfying.
3. Check for Flow Restrictors
Most shower heads have removable flow restrictors (small plastic disks with holes). These are often required by law (2.5 GPM max in many areas) but can sometimes be modified or removed for better flow.
4. Evaluate Water Heater Capacity
Rainfall heads use more hot water due to their larger surface area. Ensure your water heater can support extended use. Tankless systems may struggle if flow drops below their activation threshold.
Phase 2: Advanced Step-by-Step Installation
Step 1: Comprehensive Removal of Old Shower Head
Ensure the faucet handles are turned off completely. Grip the neck of the old shower head. Try to turn it counter-clockwise by hand. If it’s stuck (calcium buildup is real!), wrap the old towel around the connecting nut to protect the finish, then use your adjustable wrench to loosen it.
Advanced Removal Techniques for Stuck Fixtures:
Chemical Solution Method:
Soak a cloth in white vinegar and wrap it around the connection
Cover with plastic wrap to prevent evaporation
Wait 1-2 hours for mineral deposits to dissolve
Apply penetrating oil (WD-40, PB Blaster) to the threads
Wait 15 minutes, then attempt removal with wrench
Heat Expansion Method (Metal Arms Only):
Use a hair dryer (NOT a torch) to heat the connection point
Apply heat for 30-60 seconds to expand the metal slightly
Immediately attempt removal while metal is expanded
Use a strap wrench for better grip without damaging finish
Two-Wrench Technique (For Stubborn Cases):
Place one wrench on the shower arm close to the wall
Place second wrench on the shower head nut
Apply counter-pressure to prevent pipe twisting inside wall
Turn shower head wrench counter-clockwise while holding arm wrench steady
Tip: If it refuses to budge, some vinegar might help dissolve the mineral bonds. See our guide on how to replace a shower faucet for dealing with stubborn seized plumbing parts.
⚠️
WARNING: If the shower arm turns with the shower head, STOP immediately. This indicates the pipe inside the wall is rotating, which can break solder joints or crack pipes. You’ll need to access the wall from behind or call a professional.
Step 2: Professional-Grade Thread Cleaning
Once the head is off, you will likely see old white tape or black gunk on the threads coming out of the wall. This needs to be removed. Use an old toothbrush or a wire brush to clean the threads thoroughly. A clean surface is essential to prevent shower head leaks later on.
Comprehensive Cleaning Protocol:
Visual Inspection: Examine threads for damage, cross-threading, or corrosion
Mechanical Cleaning: Use a wire brush specifically designed for pipe threads (brass bristles)
Chemical Cleaning: Apply vinegar or CLR (Calcium, Lime, Rust remover) with a toothbrush
Final Rinse: Wipe with clean, damp cloth to remove all debris
Dry Thoroughly: Use compressed air or a dry cloth to ensure no moisture remains
Inspect Wall Connection: Check for cracks or damage where arm enters wall
If you find mold behind the old flange, pause and use the best shower mold cleaner to sanitize the area before covering it back up. For extensive mold, consider professional remediation before proceeding.
Thread Damage Assessment:
Damaged threads can cause persistent leaks. Here’s how to assess:
Minor Thread Damage: Can often be sealed with extra Teflon tape and thread sealant
Moderate Damage: May require a thread repair insert (Heli-Coil)
Severe Damage: Shower arm replacement needed
Cross-threading: New threads may need to be cut with a die
For homes with galvanized steel pipes, threads are particularly vulnerable. Consider replacing with brass or stainless steel arms during this upgrade.
Step 3: Advanced Sealing Techniques
This is the step most people mess up. Hold the pipe so the threads are facing you. Wrap the Teflon tape clockwise around the threads (2-3 wraps is plenty).
Professional Teflon Tape Application:
Start 1-2 threads back from the end of the pipe
Hold tape at a 45-degree angle to the threads
Apply moderate tension while wrapping
Overlap each wrap by 50% (this creates double-layer coverage)
Wrap 2-3 complete rotations (more for larger gaps)
Finish by tearing tape against direction of wrap to create clean edge
Press tape into threads with thumb to ensure good contact
Why Clockwise? When you screw on the new head (which turns clockwise), it will work with the tape end. If you wrap it counter-clockwise, screwing on the head will unravel the tape, causing leaks.
Alternative Sealing Methods:
Sealant Type
Best For
Application
Cure Time
Reusability
Teflon Tape
Most installations, metal threads
Wrap clockwise, 2-3 layers
Immediate
Good (can be reapplied)
Pipe Dope (Thread Sealant)
Damaged threads, plastic fittings
Brush on evenly, avoid first thread
2-24 hours
Poor (hard to remove)
Anaerobic Sealant
High-pressure systems, permanent installs
Apply to male threads only
1-4 hours
Very Poor (permanent)
Combination Method
Problematic leaks, vibration areas
Tape first, then brush sealant over tape
Varies
Poor
💡
PRO TIP: For plastic fittings, use a sealant specifically labeled for plastic. Some chemicals in standard pipe dope can degrade certain plastics over time, leading to cracks and leaks. Also, avoid getting any sealant on the first thread—this ensures proper seating and prevents material from entering water stream.
Step 4: Advanced Arm Installation Techniques
If you are installing a large (8-12 inch) rainfall head on a standard 45-degree arm, the water will hit the back of the shower wall, not you. Screw your adjustable extension arm onto the wall pipe first. Tighten by hand, then give it a quarter-turn with the wrench.
Weight Distribution and Support:
Rainfall shower heads are significantly heavier than standard heads (often 3-5 pounds vs 1-2 pounds). This extra weight creates leverage that can stress the shower arm and wall connection over time. Follow these guidelines:
Check Arm Rating: Ensure shower arm is rated for the weight of your new head (most are 5-10 lb capacity)
Use Support Brackets: For heads over 6″ diameter or 4 lbs, install a support bracket
Wall Reinforcement: For ceiling mounts or heavy systems, ensure adequate structural support
Anti-Droop Solutions: Consider arms with set screws or locking mechanisms to prevent sagging
Angular Optimization:
The ideal rainfall angle is parallel to the floor (0 degrees). However, many bathrooms require slight adjustments:
Shower Type
Recommended Angle
Adjustment Method
Special Considerations
Standard Tub/Shower
0-5° downward
S-curve arm or adjustable bracket
Prevents water hitting back wall
Walk-in Shower
0° (perfectly horizontal)
Ceiling mount or wall flange
Ensure proper drainage slope
Steam Shower
5-10° downward
Fixed angle arm
Prevents condensation drip points
ADA/Accessible
Adjustable 0-15°
Multi-position arm
Accommodates seated and standing users
Ceiling Mount Installation (Advanced):
For true ceiling-mounted rainfall heads:
Locate Joists: Use stud finder to locate ceiling joists
Plan Pipe Route: Determine path from existing plumbing to ceiling location
Access Required: Typically requires attic access or cutting ceiling drywall
Support Structure: Install blocking between joists at mounting location
Waterproofing: Critical for ceilings—use proper vapor barriers and sealants
Drainage Considerations: Ensure ceiling can handle occasional condensation
⚠️
STRUCTURAL WARNING: Ceiling mounts require significant structural consideration. The combined weight of water (approx 8.3 lbs/gallon) plus fixture can exceed 50 lbs during use. Consult a structural engineer if mounting to joists smaller than 2×6 or in older homes.
Step 5: Precision Head Attachment
Screw the rainfall head onto the extension arm. Most modern heads have a rubber washer inside—ensure this is seated flat. Tighten this connection by hand only initially. Overtightening can crack the plastic coupling nuts found on many affordable units.
Torque Specifications and Best Practices:
Proper tightening prevents leaks without damaging components:
Material
Hand Tight
Wrench Tight
Maximum Torque
Warning Signs
Brass
Snug fit
1/4 to 1/2 turn
25-30 ft-lbs
Thread stripping, cracking
Plastic (ABS)
Finger tight plus slight turn
1/8 turn maximum
8-12 ft-lbs
Cracking sound, visible stress
Stainless Steel
Snug fit
1/4 turn
20-25 ft-lbs
Gallting, thread deformation
Chrome Plated
Snug fit
1/4 turn with cloth protection
15-20 ft-lbs
Finish damage, plating chips
Gasket and Washer Inspection:
The rubber washer is critical for a watertight seal. Inspect and replace if:
Washer is hardened or cracked
Visible impressions from old fittings
Swollen or deformed shape
More than 3 years old (rubber degrades over time)
Consider upgrading to silicone washers for longer lifespan and better temperature resistance. Silicone washers typically last 5-7 years vs 2-3 years for standard rubber.
Anti-Rotation Features:
Many rainfall heads have anti-rotation tabs or set screws to prevent the head from twisting out of alignment. Ensure these are properly engaged:
Align the head to desired orientation before final tightening
Engage any anti-rotation tabs or pins
Tighten set screws (if present) to manufacturer specification
Test rotation—head should not turn easily after installation
💡
ORIENTATION TIP: Install the head slightly off-level (1-2° tilt toward drain). This encourages water to run off the head rather than pooling, which reduces mineral buildup and extends the life of the fixture.
Visual Guide: Advanced Installation Walkthrough
For a visual demonstration of how to install an adjustable arm and rainfall head, watch this excellent tutorial that covers both basic installation and advanced troubleshooting techniques:
Video Chapter Guide:
0:00-3:15 – Introduction and tool overview
3:16-7:30 – Assessing existing plumbing and pressure
7:31-12:45 – Professional removal techniques
12:46-18:20 – Thread cleaning and preparation
18:21-23:40 – Advanced sealing methods
23:41-28:15 – Arm selection and installation
28:16-32:50 – Head attachment and alignment
32:51-38:00 – Testing and troubleshooting
38:01-42:30 – Maintenance and optimization tips
Phase 3: Comprehensive Testing and Troubleshooting
Turn the water on slowly. Step back—you don’t want to get soaked if there is a spray leak, especially if you are fully dressed! Follow this systematic testing protocol to ensure a perfect installation.
Initial Dry Test
Before turning on water, visually inspect all connections. Ensure head is properly aligned, arm is securely mounted, and there are no visible gaps in connections.
Low-Pressure Test
Turn water on at 25% flow. Check every connection point for leaks. Listen for hissing or dripping sounds. Use a dry paper towel to wipe each joint—any moisture indicates a leak.
Full-Pressure Test
Increase to 100% flow. Observe spray pattern—it should be even across the entire head. Note any areas with reduced flow or irregular patterns.
Temperature Cycle Test
Run through full temperature range from cold to hot. Check for leaks at different temperatures (materials expand/contract).
Long-Duration Test
Let shower run for 5-10 minutes. Monitor for slow leaks that only appear over time. Check wall and ceiling for moisture.
Advanced Problem Solving
Problem: Leaking at the Connection+
If water is squirting out where the head meets the arm, you likely didn’t use enough tape, or the washer fell out. Unscrew, re-tape (remember: clockwise), and check the rubber gasket.
Diagnostic Flowchart for Leaks:
Identify Leak Location:
Between head and arm: Gasket/washer issue
Between arm and wall: Thread sealing issue
From shower head face: Internal cartridge or seal failure
Immediate Actions:
Turn off water immediately
Dry area completely
Apply tissue paper to identify exact leak point
Corrective Measures:
For thread leaks: Add 2 more wraps of Teflon tape
For gasket leaks: Replace with silicone washer
For manufacturing defects: Contact supplier for replacement
Persistent Leak Solutions: If leaks continue after proper sealing, the threads may be damaged. Options include thread repair inserts, replacement arms, or professional re-threading services.
Problem: Low Water Pressure+
Rainfall heads naturally feel softer because the water is dispersed over a larger area. However, if it’s barely dripping, check for a “flow restrictor.” These are small plastic disks inside the connection nut. Removing it can help. For more details, read our guide on how to increase shower water pressure.
Drill center hole larger (increase by 1/16″ increments)
Test flow after each size increase
Stop when satisfied with flow (typically 2.5-3.0 GPM)
Reinstall modified restrictor
⚠️
LEGAL NOTE: Many municipalities have strict water conservation laws. Modifying or removing flow restrictors may violate local codes and result in fines. Check regulations before making modifications. Some areas exempt rainfall shower heads from standard restrictions due to their different spray pattern.
Problem: Water Splashing Everywhere+
Because rainfall heads cover a wider area, they can splash water outside the tub zone. Ensure you have the best shower curtains with magnets or heavy weights, or verify that your shower doors have good seals.
Splash Containment Solutions:
Solution
Effectiveness
Installation
Aesthetic Impact
Cost Range
Extended Shower Curtain
High (when properly sized)
Easy (rod replacement)
Minimal (many styles available)
$30-$100
Glass Enclosure Extension
Very High
Professional (glass cutting)
Significant (modern look)
$300-$800
Splash Guard/Baffle
Moderate
Easy (adhesive or screw-on)
Noticeable (functional look)
$20-$60
Adjustable Spray Pattern
Variable
Built into some heads
None (internal feature)
$50-$200 (head upgrade)
Shower Niche/Shelf Redesign
High (redirects water)
Advanced (tile work)
Positive (adds functionality)
$200-$600
Spray Pattern Optimization:
Many rainfall heads have adjustable nozzles or removable faceplates that allow spray pattern modification:
Nozzle Alignment: Ensure all nozzles point straight down (some can be adjusted)
Partial Coverage: Some heads allow you to activate only center nozzles
Flow Direction: Adjustable arms can tilt spray toward shower center
Distance from Wall: Increase arm extension to move spray away from walls
For severe splash issues in small showers, consider a smaller diameter rainfall head (6-8 inches instead of 10-12 inches).
Problem: Inconsistent Temperature+
Rainfall heads use more hot water due to their larger surface area and flow rate. This can strain water heater capacity and cause temperature fluctuations.
Temperature Stability Solutions:
Water Heater Evaluation:
Tankless: May need flow rate adjustment or unit upgrade
Traditional: Consider increasing temperature setting (safely)
Heat Pump: May have slower recovery time
Anti-Scald Valve Upgrade: Install pressure-balancing or thermostatic valve
Flow Rate Matching: Ensure rainfall head GPM matches heater capacity
Recirculating System: Instant hot water, but higher energy use
If experiencing sudden cold water, the issue may be elsewhere in the plumbing system. Check our guide on why shower not getting hot for comprehensive troubleshooting.
Best Rainfall Shower Heads for Easy Install
We’ve selected these models based on ease of installation, inclusion of necessary extension arms, and performance across different water pressure conditions. Each category serves different needs and budgets.
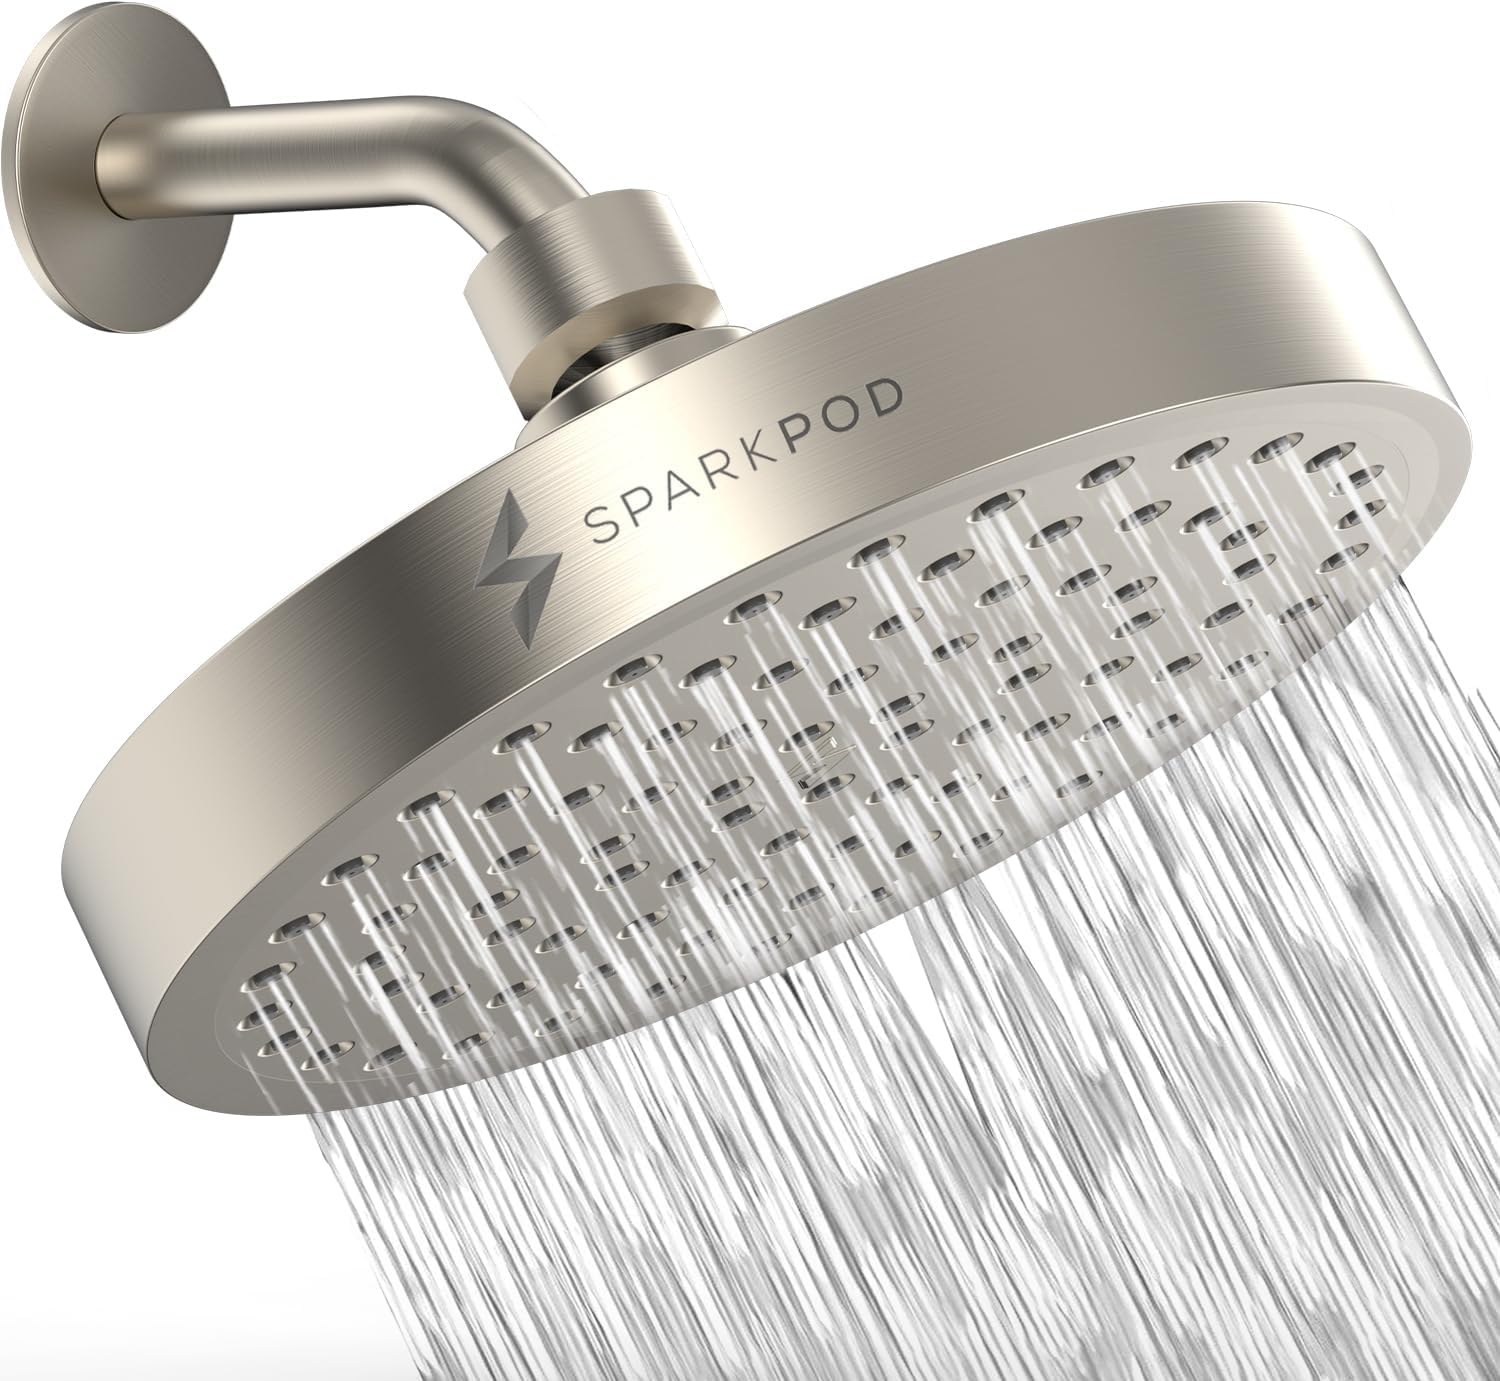
SparkPod High Pressure Rain Head
Best Overall. This is the easiest “screw-on” replacement. It’s designed to boost pressure even in low-flow homes. Comes with tape and a restrictor removal guide. Features self-cleaning silicone nozzles and aircraft-grade aluminum construction.
Specifications: 6-inch diameter, 2.5 GPM, 360-degree swivel, includes all mounting hardware
Ideal For: Homes with moderate water pressure (40-60 PSI), standard ceiling heights, DIY beginners
Best Premium Pick. Features “Immersion” technology. It has a lever to switch between a rain rinse and a concentrated spray. Ideal for rinsing thick hair. Backed by Moen’s lifetime limited warranty.
Specifications: 8-inch diameter, 2.5 GPM, two-function spray, brass construction
Ideal For: Hard water areas (easy-clean nozzles), families with varied preferences, long-term investment
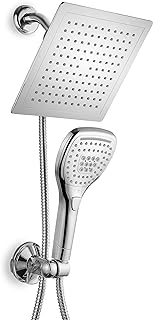
Best Versatility. Can’t decide between rain or handheld? Get both. This dual shower head combo installs just as easily and offers maximum flexibility. Perfect for pet bathing, cleaning, and accessibility needs.
Best for Low Pressure Homes. Specifically engineered for homes with water pressure below 40 PSI. Features a venturi design that increases velocity without removing flow restrictor.
Best Smart Features. Includes Bluetooth speaker, LED lighting (temperature-based color change), and multiple spray patterns. Waterproof remote control for easy adjustment.
Key Feature: 4-hour battery life for lights/speaker, IPX7 waterproof rating
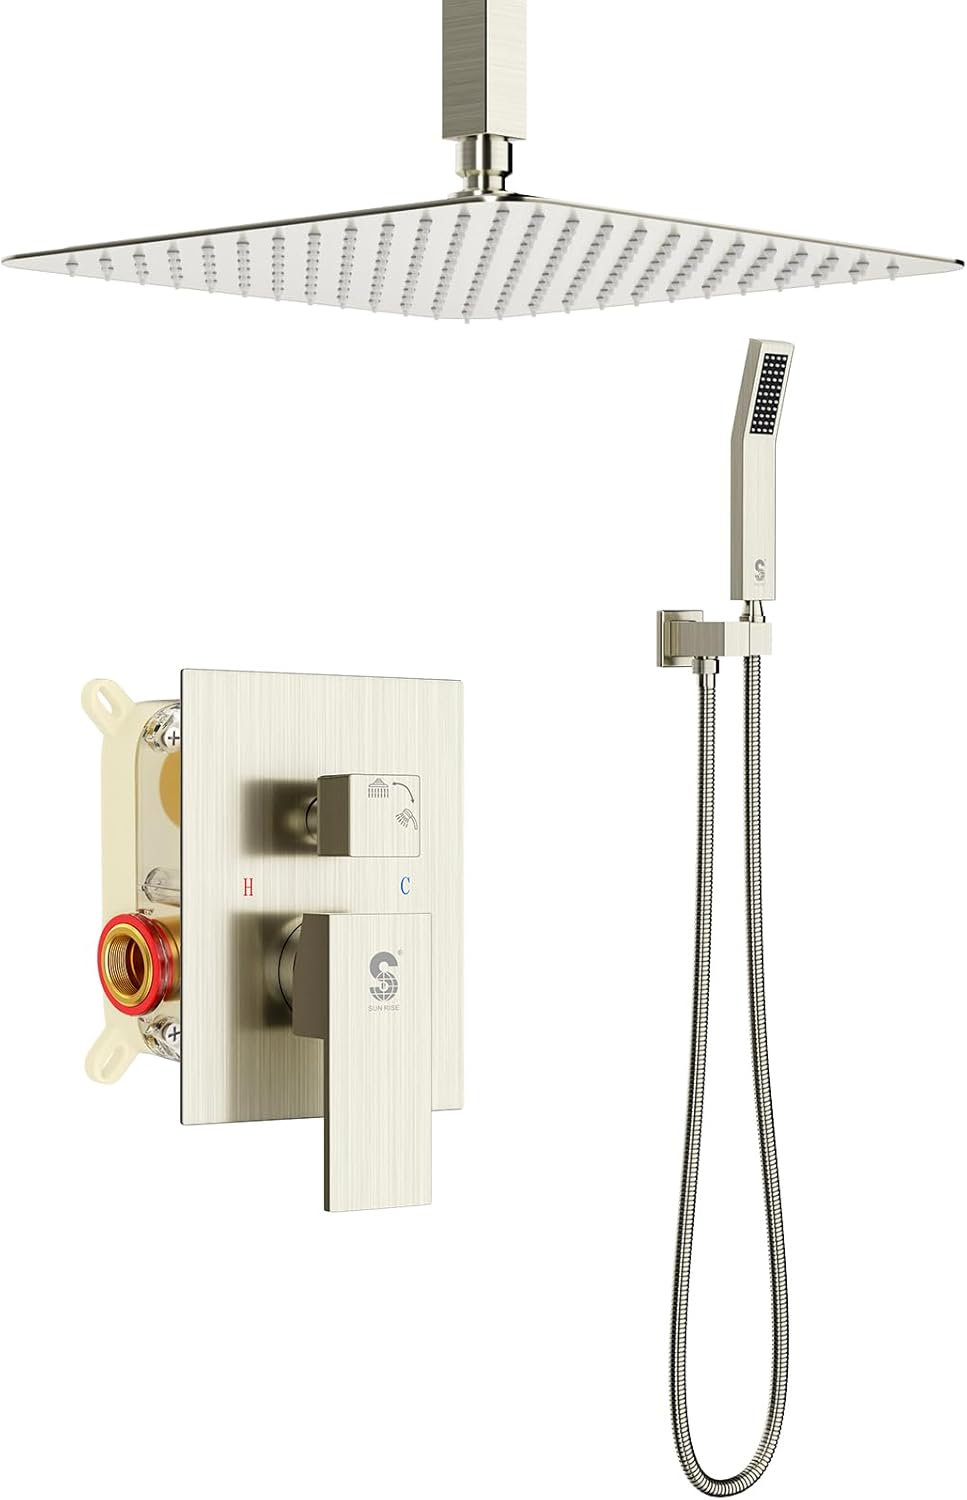
Best True Ceiling Mount. Complete kit for ceiling installation. Includes 12-inch square head, ceiling plate, all necessary hardware, and detailed installation guide for retrofitting existing showers.
Key Feature: True ceiling mount without major renovation (uses existing wall supply)
Installing on tile walls presents unique challenges. Different tile materials require different approaches:
Tile Type
Drilling Method
Bit Type
Anchor Type
Special Considerations
Ceramic
Slow speed, light pressure
Carbide-tipped masonry bit
Plastic expansion anchors
Use masking tape to prevent bit walking
Porcelain
Very slow, diamond bit preferred
Diamond-coated hole saw
Toggle bolts or epoxy anchors
Keep bit cool with water, extremely hard material
Natural Stone
Variable speed, frequent cleaning
Diamond core bit
Special stone anchors
Risk of cracking, professional recommended
Glass Tile
Professional only
Specialized glass bits
Minimal expansion anchors
Extremely high risk of breakage
Subway Tile
Drill at grout lines if possible
Small diameter carbide bit
Grout-compatible anchors
Grout lines are weakest points
Accessibility and ADA Compliance
Rainfall shower heads can be excellent accessibility features when properly installed:
♿
ADA Guidelines for Shower Heads: The Americans with Disabilities Act recommends shower controls be mounted 38-48 inches above the floor and operable with one hand without tight grasping or twisting. Rainfall heads should be positioned to provide coverage for both seated and standing users.
Accessibility Installation Tips:
Height Adjustment: Install adjustable arm that can be lowered for seated use
Control Placement: Ensure temperature controls are within reach from seated position
Non-Slip Surface: Install proper flooring for shower chair stability
Grab Bars: Install reinforced grab bars before finalizing head position
Temperature Safety: Consider thermostatic valve to prevent scalding
Comprehensive Maintenance and Lifestyle Integration
Now that your rain shower is installed, you might find yourself spending more time in there. Whether you are debating showering before bed to relax or using the steam to clear sinuses, proper maintenance will ensure your investment lasts for years.
Professional Maintenance Schedule
Frequency
Task
Time Required
Tools/Materials
Importance
Weekly
Rub silicone nozzles to clear mineral deposits
2 minutes
Fingers only
High (prevents clogging)
Monthly
Check for leaks at all connections
5 minutes
Dry paper towel
High (prevents water damage)
Quarterly
Vinegar soak to dissolve mineral buildup
1 hour (mostly waiting)
White vinegar, plastic bag
Medium-High (maintains flow)
Biannually
Inspect/Tighten all connections
15 minutes
Adjustable wrench, Teflon tape
Medium (prevents major leaks)
Annually
Complete system inspection
30 minutes
All maintenance tools
High (comprehensive check)
Every 2-3 Years
Replace washers/gaskets (preventative)
20 minutes
Replacement parts kit
Medium (prevents failure)
Descaling Techniques for Hard Water Areas
Hard water (high mineral content) is the #1 enemy of rainfall shower heads. Follow this professional descaling protocol:
1. Preparation
Mix 1:1 white vinegar and warm water in a plastic bag large enough to cover the shower head. For severe buildup, use full-strength vinegar.
2. Application
Place bag over shower head, ensuring all nozzles are submerged. Secure with rubber band or zip tie. Place towel underneath to catch drips.
3. Soaking Time
Light buildup: 30-60 minutes. Moderate: 2-4 hours. Severe: Overnight (8-12 hours). Do not exceed 24 hours as vinegar can damage some finishes.
4. Cleaning
Remove bag, run hot water through head for 2 minutes to flush. Use soft brush on any remaining deposits. Never use abrasive cleaners or steel wool.
5. Prevention
Consider whole-house water softener or shower head filter. Install good shower squeegee to reduce mineral residue on glass and fixtures.
Energy and Water Conservation
Despite their luxurious feel, rainfall shower heads can be water-efficient with proper selection and use:
Conservation Strategy
Water Savings
Energy Savings
Implementation
Cost Impact
Flow-Restricted Head
20-40% (vs older heads)
15-30% (heating savings)
Purchase 2.0 GPM or less head
$50-$150 (one-time)
Timer Installation
25-50% (behavior change)
20-40% (heating savings)
Install shower timer or smart monitor
$20-$100
Thermostatic Valve
10-20% (less adjustment)
10-15% (efficient heating)
Replace mixing valve
$200-$500
Low-Flow Aerator
30-50% (add-on device)
25-40% (heating savings)
Install between arm and head
$10-$30
Behavior Changes
20-60% (individual)
15-50% (heating savings)
Shorter showers, cooler temps
$0 (habit formation)
💡
Did you know? If you are renovating for accessibility, a rainfall head can be paired with a sturdy shower chair. The overhead spray is often easier for seated bathing than a standard angled head that hits you in the face. Additionally, many rainfall heads now come with handheld options that provide flexibility for different users and tasks.
Advanced Frequently Asked Questions
Do rainfall shower heads use more water?+
They feel like they do, but most are regulated to 2.5 GPM (gallons per minute) just like standard heads. The difference is the “Immersion” feel. However, if you have a tankless heater, ensure the flow is enough to trigger the heating element to avoid the issue of the shower not getting hot.
Detailed Analysis: While flow rates may be similar, user behavior often changes with rainfall heads. The pleasant experience can lead to longer showers, increasing total water use. Studies show an average increase of 2-4 minutes per shower with rainfall heads, resulting in 5-10 extra gallons per use. To counteract this, consider installing a timer or choosing a head with a pause function.
Can I mount a rain head from the ceiling?+
Yes, but it’s not a simple retrofit. You need to run plumbing into the ceiling joists. If you want this look without the construction, look for “S-curve” shower arms or a complete exposed pipe system.
Ceiling Mount Alternatives:
Drop-Ell System: Pipe drops from ceiling but connects to wall supply
False Ceiling: Create lowered ceiling section to hide plumbing
Surface-Mount Track: Exposed pipe along ceiling to head location
Wire-Hung System: Decorative cables support head from ceiling
Professional Considerations: Ceiling mounts require planning for drainage (condensation), structural support (weight of water + fixture), and accessibility for maintenance. Expect to spend $500-$2,000 for professional installation depending on complexity.
Are drill-free options available for accessories?+
Absolutely. Since you just upgraded the head, you probably don’t want to drill holes in your tile for storage. Check out drill-free shower caddies which use tension or adhesive to hold your shampoo.
Advanced Drill-Free Solutions:
Solution Type
Weight Capacity
Best For
Installation Time
Removability
Tension Pole Caddy
10-15 lbs
Corner installation, multiple shelves
5-10 minutes
Easy (no damage)
Suction Cup
2-5 lbs per cup
Light items, smooth surfaces
2-5 minutes
Easy (may leave marks)
Adhesive Hook/Strip
1-10 lbs depending on product
Single items, robes, loofahs
1-2 minutes plus cure time
Difficult (may damage surface)
Over-Door Hanger
5-20 lbs
Shower doors, temporary solutions
1 minute
Very Easy
Shower Curtain Rod Accessories
3-8 lbs
Curtain rod showers, lightweight items
2-3 minutes
Easy
How do I choose between different spray patterns?+
Modern rainfall heads offer various spray patterns beyond simple rainfall. Understanding these options helps you choose the right head:
True Rainfall: Even droplets across entire surface, gentle immersion feel
Massage Rainfall: Pulsating pattern combined with rain, therapeutic benefits
Dual Spray: Switch between rain and concentrated patterns
Oxygenated: Mixes air with water for fuller feeling at lower flow rates
Water-Saving: Creates illusion of more water with aerated spray
Selection Guide: For relaxation, choose true rainfall. For therapeutic benefits (sore muscles), select massage or dual spray. For low water pressure areas, oxygenated patterns work best. For conservation, water-saving patterns provide satisfaction with less actual water use.
Considerations: Smart features require power (batteries or electrical connection), may have shorter lifespans due to electronics, and often come with app dependencies that could become obsolete.
How does this affect my home’s value?+
Rainfall shower heads can positively impact home value, particularly in certain markets:
Market Segment
Value Impact
ROI Estimate
Buyer Expectations
Recommended Investment
Luxury Homes ($750k+)
High (expected feature)
70-90%
Premium brand, multiple heads
$500-$2,000 per bathroom
Mid-Range ($300k-$750k)
Medium-High (differentiator)
60-80%
Quality brand, good installation
$200-$600 per bathroom
Starter Homes ($150k-$300k)
Medium (nice upgrade)
50-70%
Functional, not necessarily premium
$100-$300 per bathroom
Rental Properties
Low-Medium (tenant appeal)
40-60%
Durable, easy maintenance
$80-$200 per bathroom
Maximizing ROI: Focus on master bathroom first, ensure professional-looking installation, choose finishes that match other fixtures, and consider water-efficient models that appeal to environmentally-conscious buyers.
Conclusion
Installing a rainfall shower head is the perfect “Saturday Morning” project. It requires little skill but delivers a massive payoff in daily luxury. Just remember to measure your ceiling height (especially if you have tall family members) and tape your threads clockwise.
Final Installation Verification Checklist
✅ POST-INSTALLATION QUALITY CHECK:
Mechanical Integrity:
✅ No leaks at any connection point
✅ Arm securely mounted (no wobble)
✅ Head properly aligned and oriented
✅ All set screws tightened appropriately
✅ No stress on pipes or fittings
Performance Verification:
✅ Even spray pattern across entire head
✅ Adequate water pressure and flow
✅ Proper temperature control and stability
✅ No excessive splashing outside shower area
✅ All functions (if multi-function) working properly
Safety and Compliance:
✅ Meets local flow rate regulations
✅ Proper clearance from electrical fixtures
✅ Secure installation (weight supported)
✅ No sharp edges or hazards
✅ Appropriate for all household users
Next Steps and Further Enhancements
Once your rainfall shower head is successfully installed, consider these complementary upgrades:
Multiple Heads: Add body sprayers or handheld units for complete coverage
Digital Controls: Upgrade to thermostatic or digital valve for precise temperature control
Mood Lighting: Install waterproof LED lighting for ambiance
Heated Floors: Add radiant floor heating for complete luxury experience
Sound System: Install waterproof speakers for music or podcasts
Whether you are prepping your home for guests attending a bridal shower, or just want a better way to wake up, this upgrade is a winner. Now, go enjoy the rain!
📚
Educational Resource: Bookmark this guide for future reference. Consider printing the troubleshooting sections and keeping them with your home maintenance records. Share your experience in the comments below or on social media using #RainfallShowerUpgrade to help others in their installation journey.
Disclaimer: As an Amazon Associate, ShowerBlog earns from qualifying purchases. Ensure all plumbing work complies with your local building codes. This guide is for informational purposes only. Always consult manufacturer instructions for your specific fixture. If unsure about any aspect of installation, consult a licensed plumbing professional. Water damage from improper installation can be extensive and costly to repair.