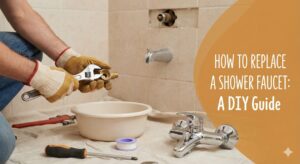
How to Replace a Shower Faucet: The Ultimate DIY Guide (Save $$ on Plumbers)
A dripping faucet isn’t just annoying; it’s money going down the drain. If you’ve been lying awake at night listening to that rhythmic drip-drip-drip, or if you’re standing in the shower wondering why the shower is not getting hot, the culprit is likely your shower valve or cartridge.
Many homeowners are intimidated by plumbing. The thought of water spraying everywhere is scary. But replacing a shower faucet (specifically the trim and cartridge) is a surprisingly manageable DIY project. In this guide, we’ll walk you through the process step-by-step, ensuring you don’t need to call a pro unless absolutely necessary.
⚠️ CRITICAL SAFETY STEP: Before you touch a single screw, you must locate your home’s main water shut-off valve. Do not attempt this repair with the water on!
Phase 1: Diagnosis & Preparation
Before buying parts, you need to know what you are dealing with. Are you changing the look (Trim) or the function (Valve)?
- The Trim: The visible handle and metal plate (escutcheon). Replacing this updates the look.
- The Cartridge: The internal plastic or brass mechanism that controls flow and temperature. If you have issues like low shower head pressure or leaks, this is what needs changing.
- The Rough-in Valve: The brass pipes inside the wall. Note: We are NOT replacing this today, as that requires cutting tiles and soldering.
🛠️ Tools You Will Need
- ✅ Phillips & Flathead Screwdrivers
- ✅ Allen Key Set (Hex Keys)
- ✅ Adjustable Wrench / Channellocks
- ✅ Cartridge Puller (Optional but recommended)
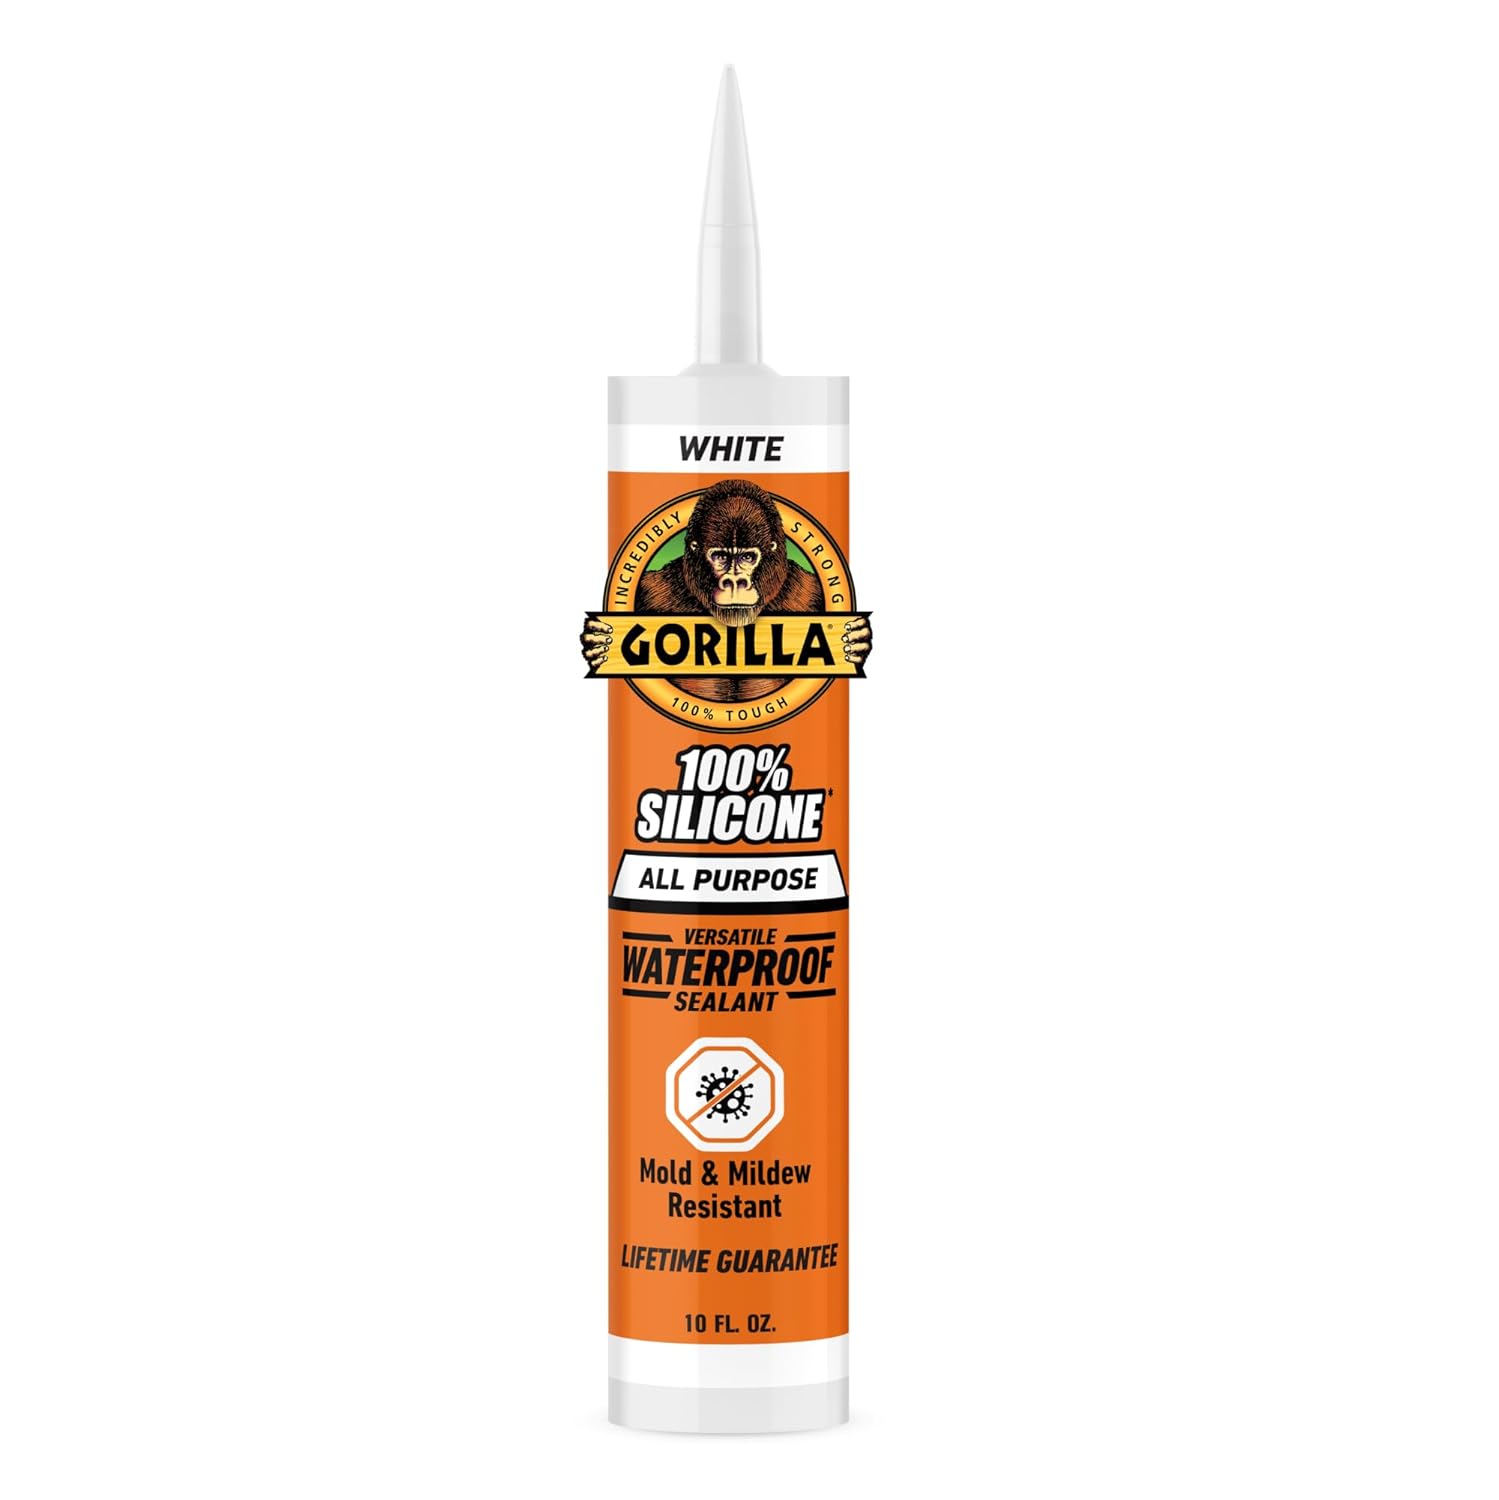
- ✅ Silicone Sealant
- ✅ Needlenose Pliers
- ✅ Old Towels (to block the drain)
- ✅ Flashlight
Phase 2: The Step-by-Step Replacement Process
01
Shut Off the Water & Prep
Turn off the water supply to the house. Open the shower faucet to drain the remaining water pressure. Pro Tip: Cover the drain with an old towel. There is nothing worse than dropping a tiny screw down the drain, forcing you to learn how to unclog a shower drain just to retrieve it!
02
Remove the Handle
Most handles have a small set screw underneath or hidden behind a decorative cap (index button).
1. Pop the cap off with a small flathead screwdriver.
2. Use an Allen key to loosen the set screw.
3. Pull the handle straight off.
If the handle is stuck due to corrosion, you might need a handle puller tool. Don’t force it too hard or you risk damaging the pipes.
03
Remove the Escutcheon (Trim Plate)
Unscrew the two long screws holding the round metal plate to the wall. Once removed, you might find old caulk holding it to the tile. Use a utility knife to gently score the caulk. Pull the plate off to reveal the valve inside the wall.
Check for Mold: This is a great time to inspect inside the wall. If you see black spots, use the best shower mold cleaner to sanitize the area before closing it back up.
04
The Main Event: Replacing the Cartridge
This is where the magic happens. You will see a retaining clip (usually a horseshoe shape) holding the cartridge in.
- Use needle-nose pliers to pull the clip straight up. Keep it safe!
- Grip the cartridge stem with pliers or use the white plastic tool often included with new cartridges.
- Wiggle and pull straight out. Do not twist unless the instructions say so, or you might break the valve body.
- Insert the new cartridge. Ensure the “H” (Hot) side is on the left.
- Re-insert the retaining clip.
If you have a dual shower head combo, this cartridge replacement often restores full diverter pressure.
Visual Guide: Watch a Pro Do It
Sometimes reading isn’t enough. Watch this detailed walkthrough to see exactly how the cartridge is pulled out.
05
Reassemble and Seal
Reverse the steps: Screw on the trim plate, attach the handle, and tighten the set screw. Turn the water back on and check for leaks.
Crucial Step: You must caulk around the top and sides of the escutcheon plate to prevent water from getting behind the wall. Leave the bottom open (the “weep hole”) so if a leak does happen, water drains into the tub, not into your drywall.
Recommended Tools & Parts for the Job
Having the right gear turns a nightmare job into a 30-minute fix. Here are the top-rated items on Amazon you’ll likely need.
Advanced Tips for Renovators
If you are doing this as part of a larger renovation, consider your future needs. If you are looking at walk-in shower ideas, ensure your valve height is accessible.
For those installing accessibility features like a shower chair, consider installing a specialized valve trim with a longer lever handle, which is easier to operate for those with limited grip strength.
Frequently Asked Questions (FAQ)
How do I know which cartridge I need?
The easiest way is to remove the handle and look at the brand name on the escutcheon plate (Moen, Delta, Kohler). Then, pull the old cartridge out and bring it to the hardware store to match it physically. Or, upload a photo to Google Lens.
Why is my shower leaking after replacing the cartridge?
You likely have a damaged O-ring, or debris is stuck inside the valve body. Remove the cartridge, flush the valve (turn water on briefly with cartridge out – careful, it will spray!), and re-grease the O-rings with plumber’s grease. Check our guide on why shower heads leak for more.
Can I replace a two-handle faucet with a single handle?
Not easily. That requires replacing the “rough-in” valve behind the wall, which means cutting tile and soldering pipes. This guide covers trim/cartridge replacement only.
Is it dangerous to do plumbing yourself?
Generally no, as long as the water is off. However, regarding safety, people often ask is it dangerous to shower during a thunderstorm? (Yes, it is due to metal pipes conducting electricity!). Always prioritize safety.
Conclusion
Replacing a shower faucet is one of the most rewarding DIY projects. You save hundreds of dollars and fix annoying drips immediately. Once your new faucet is installed and the pressure is back, treat yourself to an upgrade. Maybe install a rainfall shower system or, if you really want to relax, look into a steam shower generator.
Now that the water is flowing perfectly, you can get back to life’s important questions, like should you shave before or after a shower? (The answer is after—your blades will last longer!).
Disclaimer: As an Amazon Associate, ShowerBlog earns from qualifying purchases. Always follow local building codes when performing plumbing work.


